
Getting Started
Presenting Sheets
Sheets are modals that present themselves over the current context. To present a sheet, you need two components.
A condition to present the sheet
The Sheet's contents
The condition can come in the 2 forms—a Binding Boolean value or an Optional item.
In the example below, a isNewItemSheetPresented Boolean State variable can be set to true to present the sheet containing NewItemView.

Using a Binding Boolean
When the Binding Boolean value is set to true, the sheet will be presented. When the Binding Boolean is set to false, the sheet will be dismissed.
To present a sheet using a Binding Boolean, you will need
A Boolean State variable to manage the presentation of the sheet.
To add the
.sheetmodifier to a view that will be visible view.To pass that variable as a Binding value into the sheet
To set the variable to true, in order to present it
To supply the sheet with a view to display as its contents.

Using an Binding Optional Item
When using an Optional item, if the value is non-nil, the sheet will be presented. When the Binding Optional value is set to nil, the sheet will be dismissed.
To present a sheet using a Binding Optional value, you will need
A State variable of an Optional, Identifiable value to manage the presentation of the sheet.
To add the
.sheetmodifier to a view that will be visible view.To pass that variable as a Binding Optional value into the sheet.
To set the Optional value to an item, in order to present it.
To supply the sheet with a view to display as its contents.
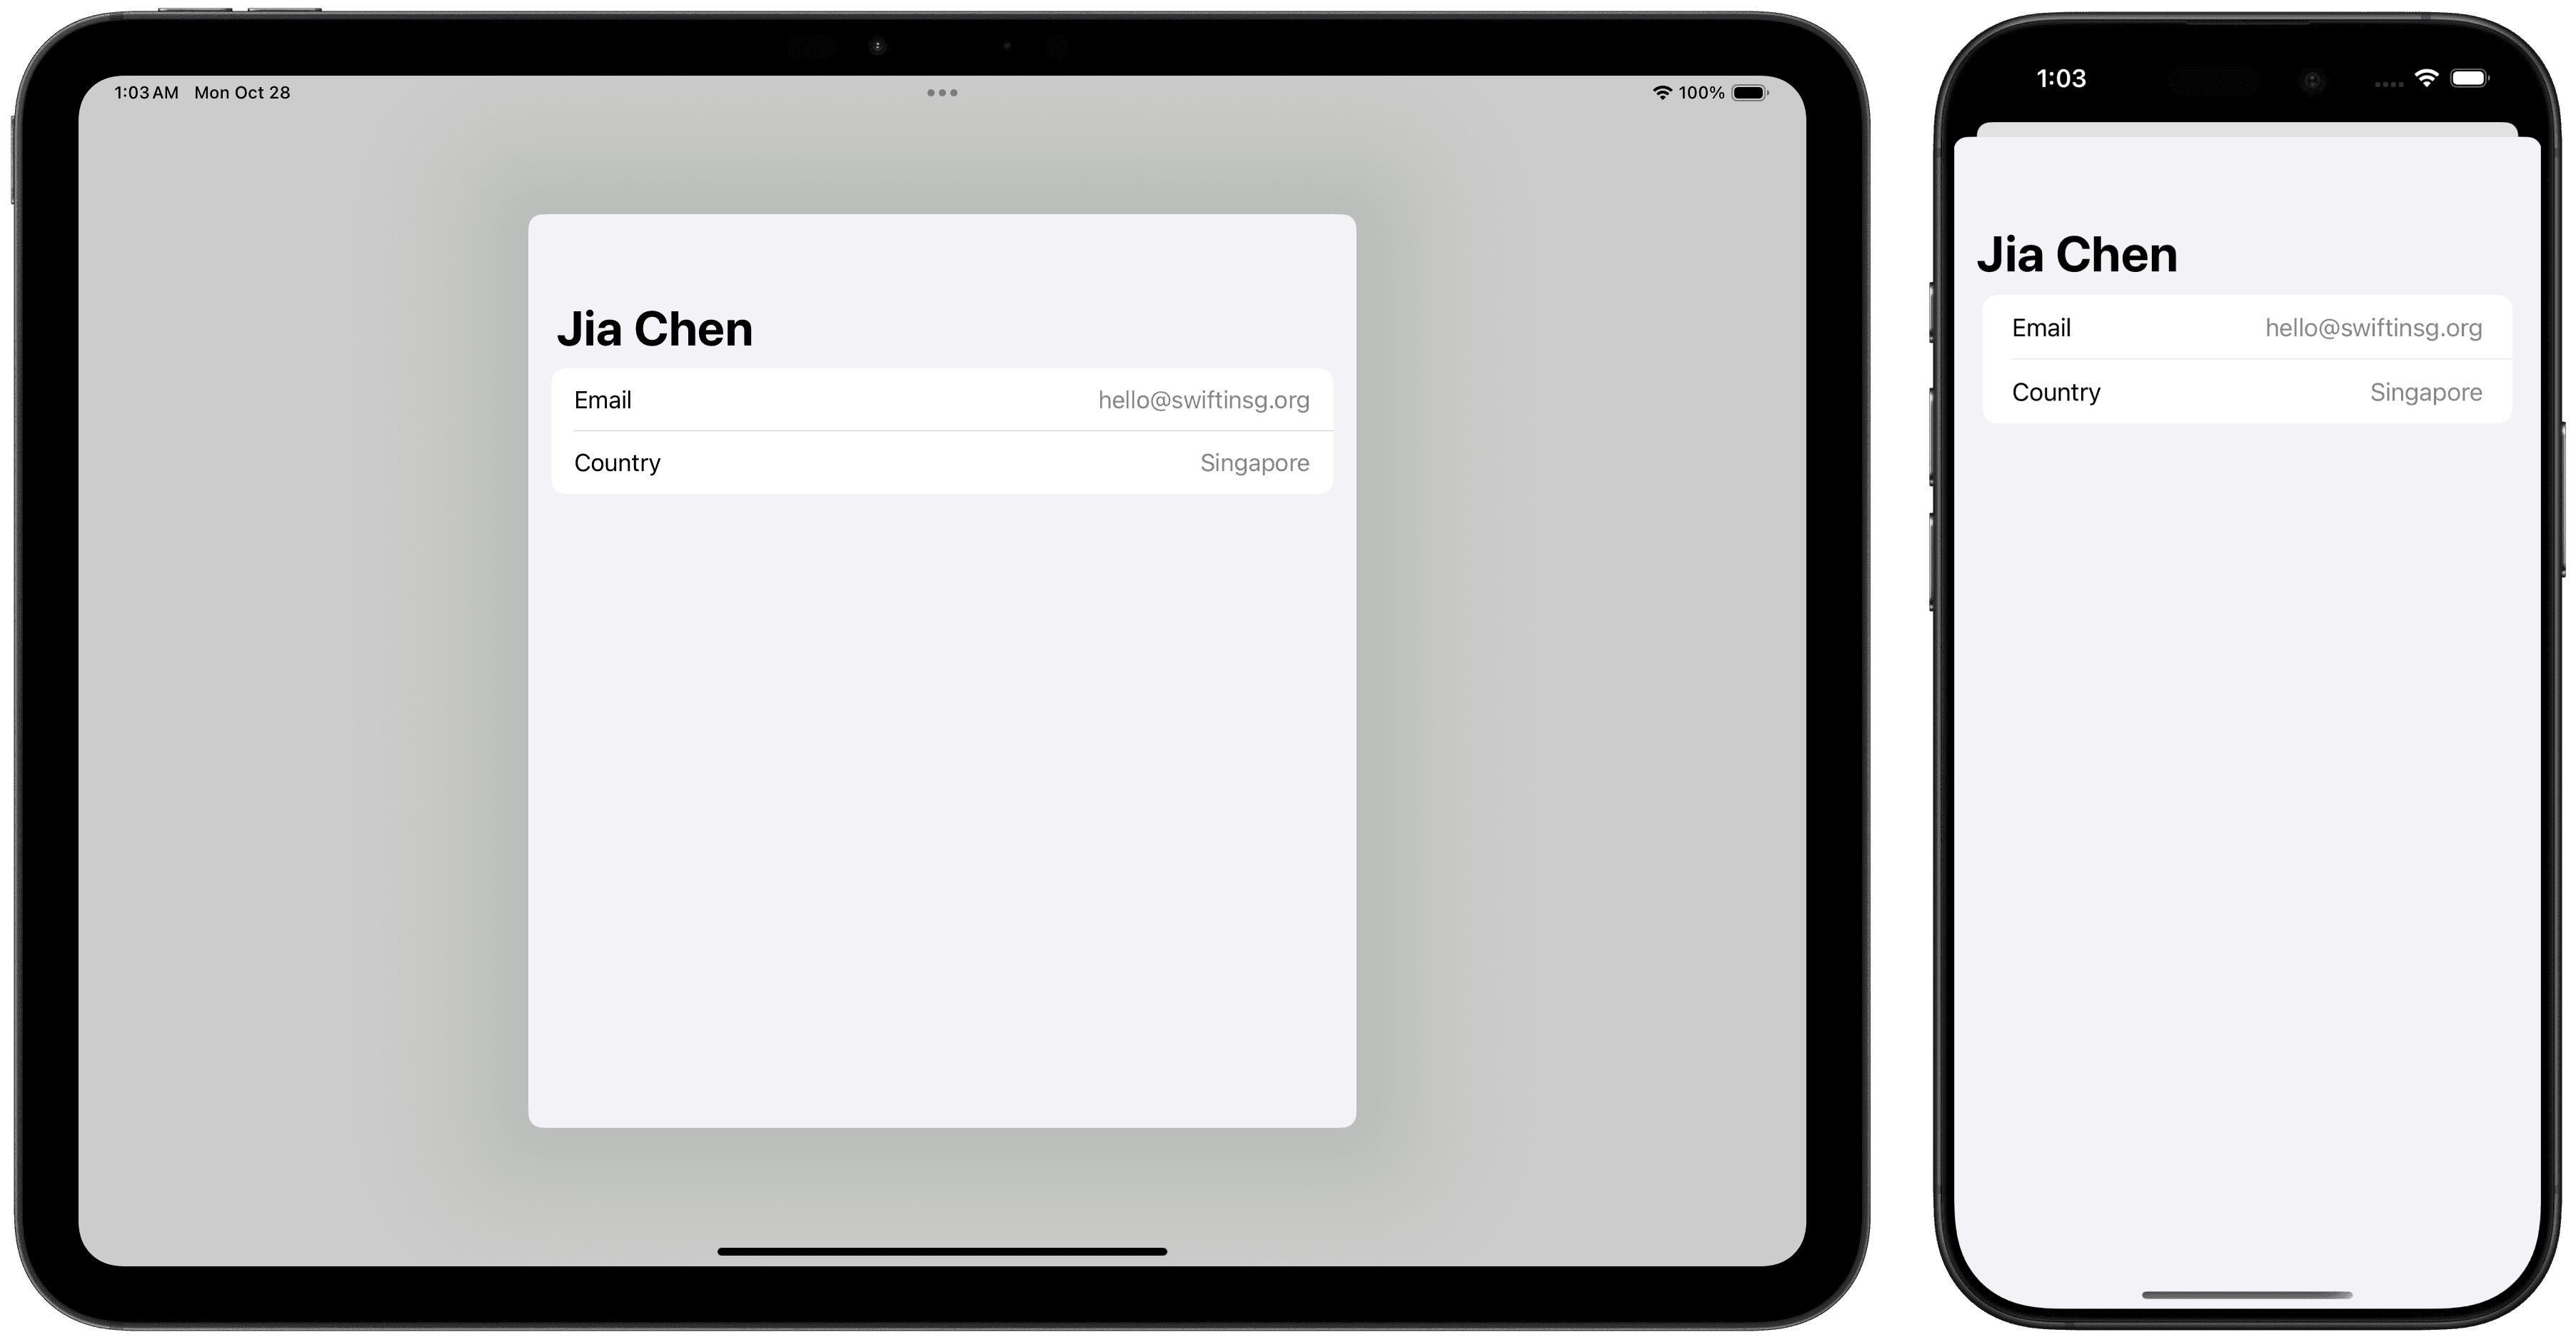
In the following example, the user can select a contact from a contacts list and view more information in a sheet.
Contactis a struct conforming to the Identifiable protocolA State variable,
presentedContactis created to manage the sheet's presentationWhen the
presentedContactvalue is non-nil, the sheet will appearThe sheet's contents is set to a custom
ContactDetailViewwhich accepts aContactvalue.The sheet's contents closure allows you to access an unwrapped
Contactvalue to be passed into theContactDetailView.
On Dismiss
You can execute code when the sheet is dismissed by supplying the sheet modifier with the on dismiss closure.
Dismissing from a Separate View
It is not uncommon to use an entirely separate view to compose the sheet's contents. From a separate view, you can dismiss the sheet with the dismiss environment value.
To do this,
Create a dismiss environment value
When you want to dismiss the sheet, you can call
dismiss().
Putting it all together, this is what it could look like.
Going Further
Presentation & Interactions
Presentation Detents
Presentation detents allow you to "lock" a sheet at specific point(s).
Built-In Detents
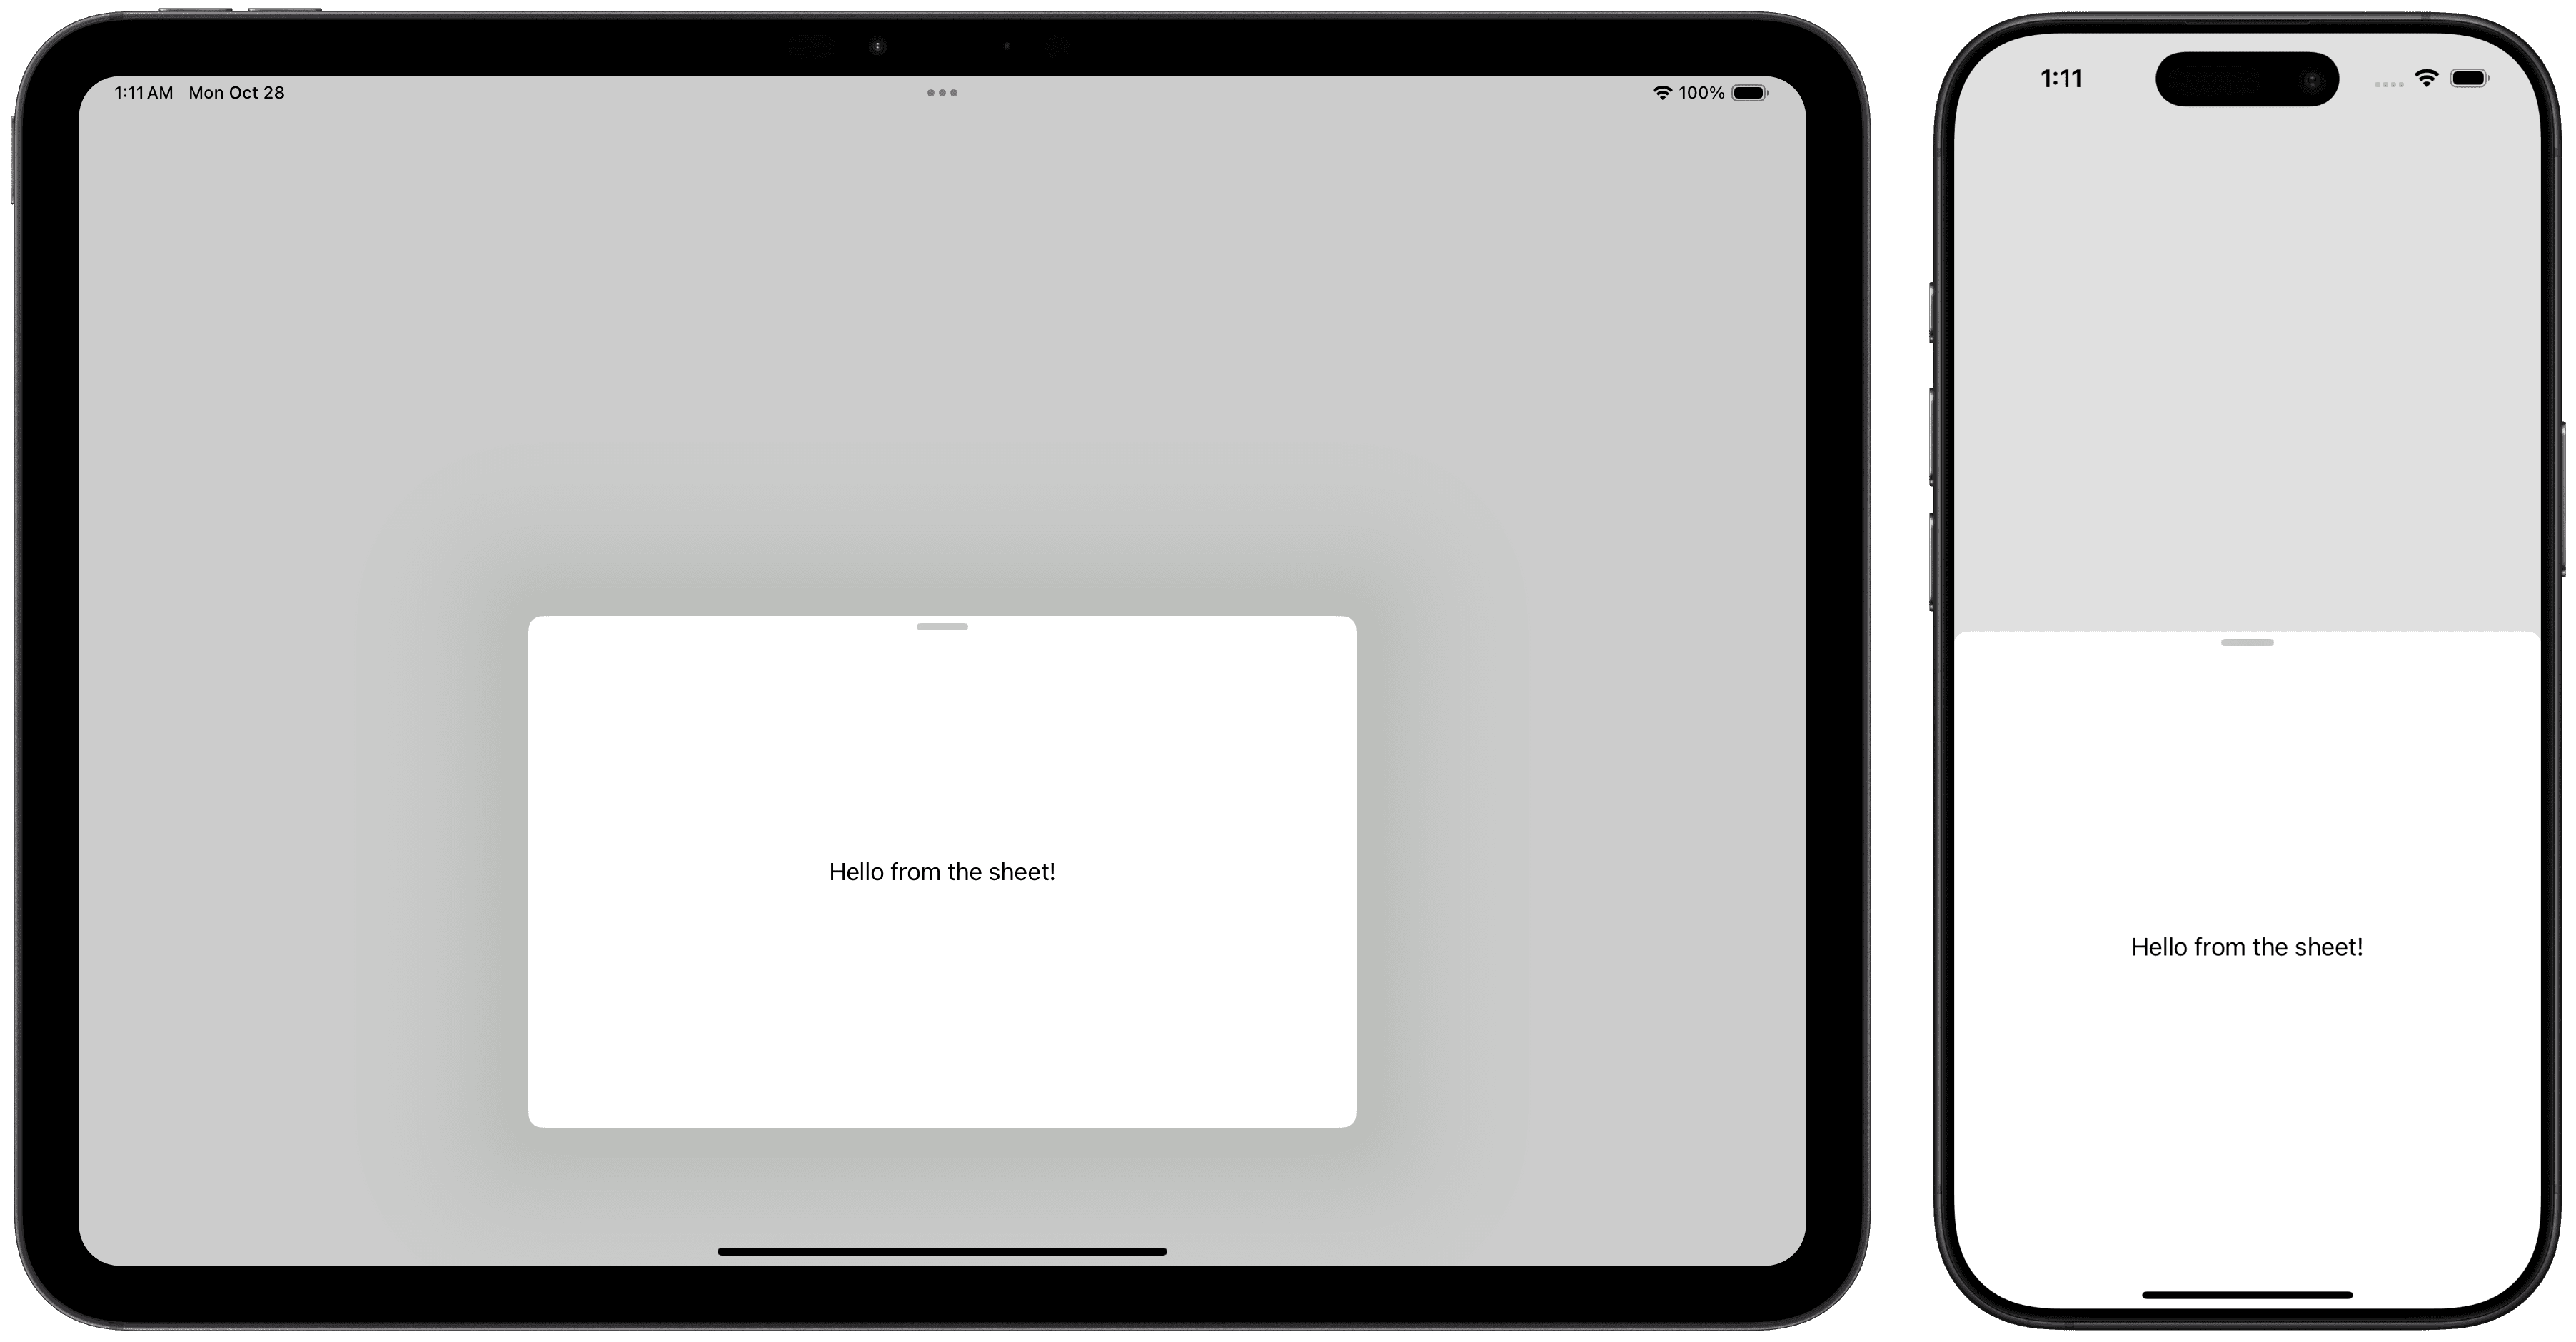
You can use the presentationDetents on the sheet's contents to supply the sheet with presentation detents. SwiftUI provides 2 built-in detent positions
.medium: Stops the view about halfway up.large: Similar to the normal full screen sheet style.

When you supply multiple detents to a sheet, a drag indicator is automatically visible. This helps to make it clear to users that they can drag it up or down to expand the view or dismiss.

Custom Detents
There are 3 ways to create a custom detent
Fraction: Setting the detent's height based on a fraction of the presentation's maximum height.
Height: Setting an absolute height value.
Completely Custom: You can customize it with a wide range of parameters.
Fraction-based and Height-based custom detents can be quickly created using the .fraction or .height functions.
Both built-in and custom detents can be used together. In the following example, a custom fraction and height detent is used with the built-in medium detent.
Completely Custom Detents
If you prefer to have even more control over your detent positions, you can opt for a completely custom detent.
To create a completely custom detent, you will need
An Enumeration / Struct that conforms to the
CustomPresentationDetentprotocolThe
height(in context: Context) -> CGFloat?static function within the Enumeration / StructTo use the
.custom(…)detent initializer to create it.
In the following example, the detents are set to halfway only in dark mode.
The
HalfDarkModeDetentenum is created to host theheightstatic functionThe
heightstatic function allows you to write any logic needed to find out the presentation heightYou can access information about the user's context with the
contextproperty
To use this as part of a detent, you can pass use the .custom value as your detent with the type of the Enumeration / Struct you created.


Disabling Interactive Dismiss
You can disable interactive dismiss of a sheet using the interactiveDismissDisabled modifier. In order to dismiss the view, you will have to use the Dismiss environment value or set the condition to present to false or nil
Allowing Interaction in the Background View
By default, when a sheet is presented, background views will not receive user interaction. You can customize this behavior using the presentationBackgroundInteraction modifier on the sheet's contents.
In the following example, the presentation background interaction modifier is used in conjunction with the interactive dismiss disabled modifier to create a permanent on-screen search field. Since the sheet will always be presented, with no intentions for it to be dismissed, instead of supplying a Boolean Binding variable, a .constant Binding value is used.
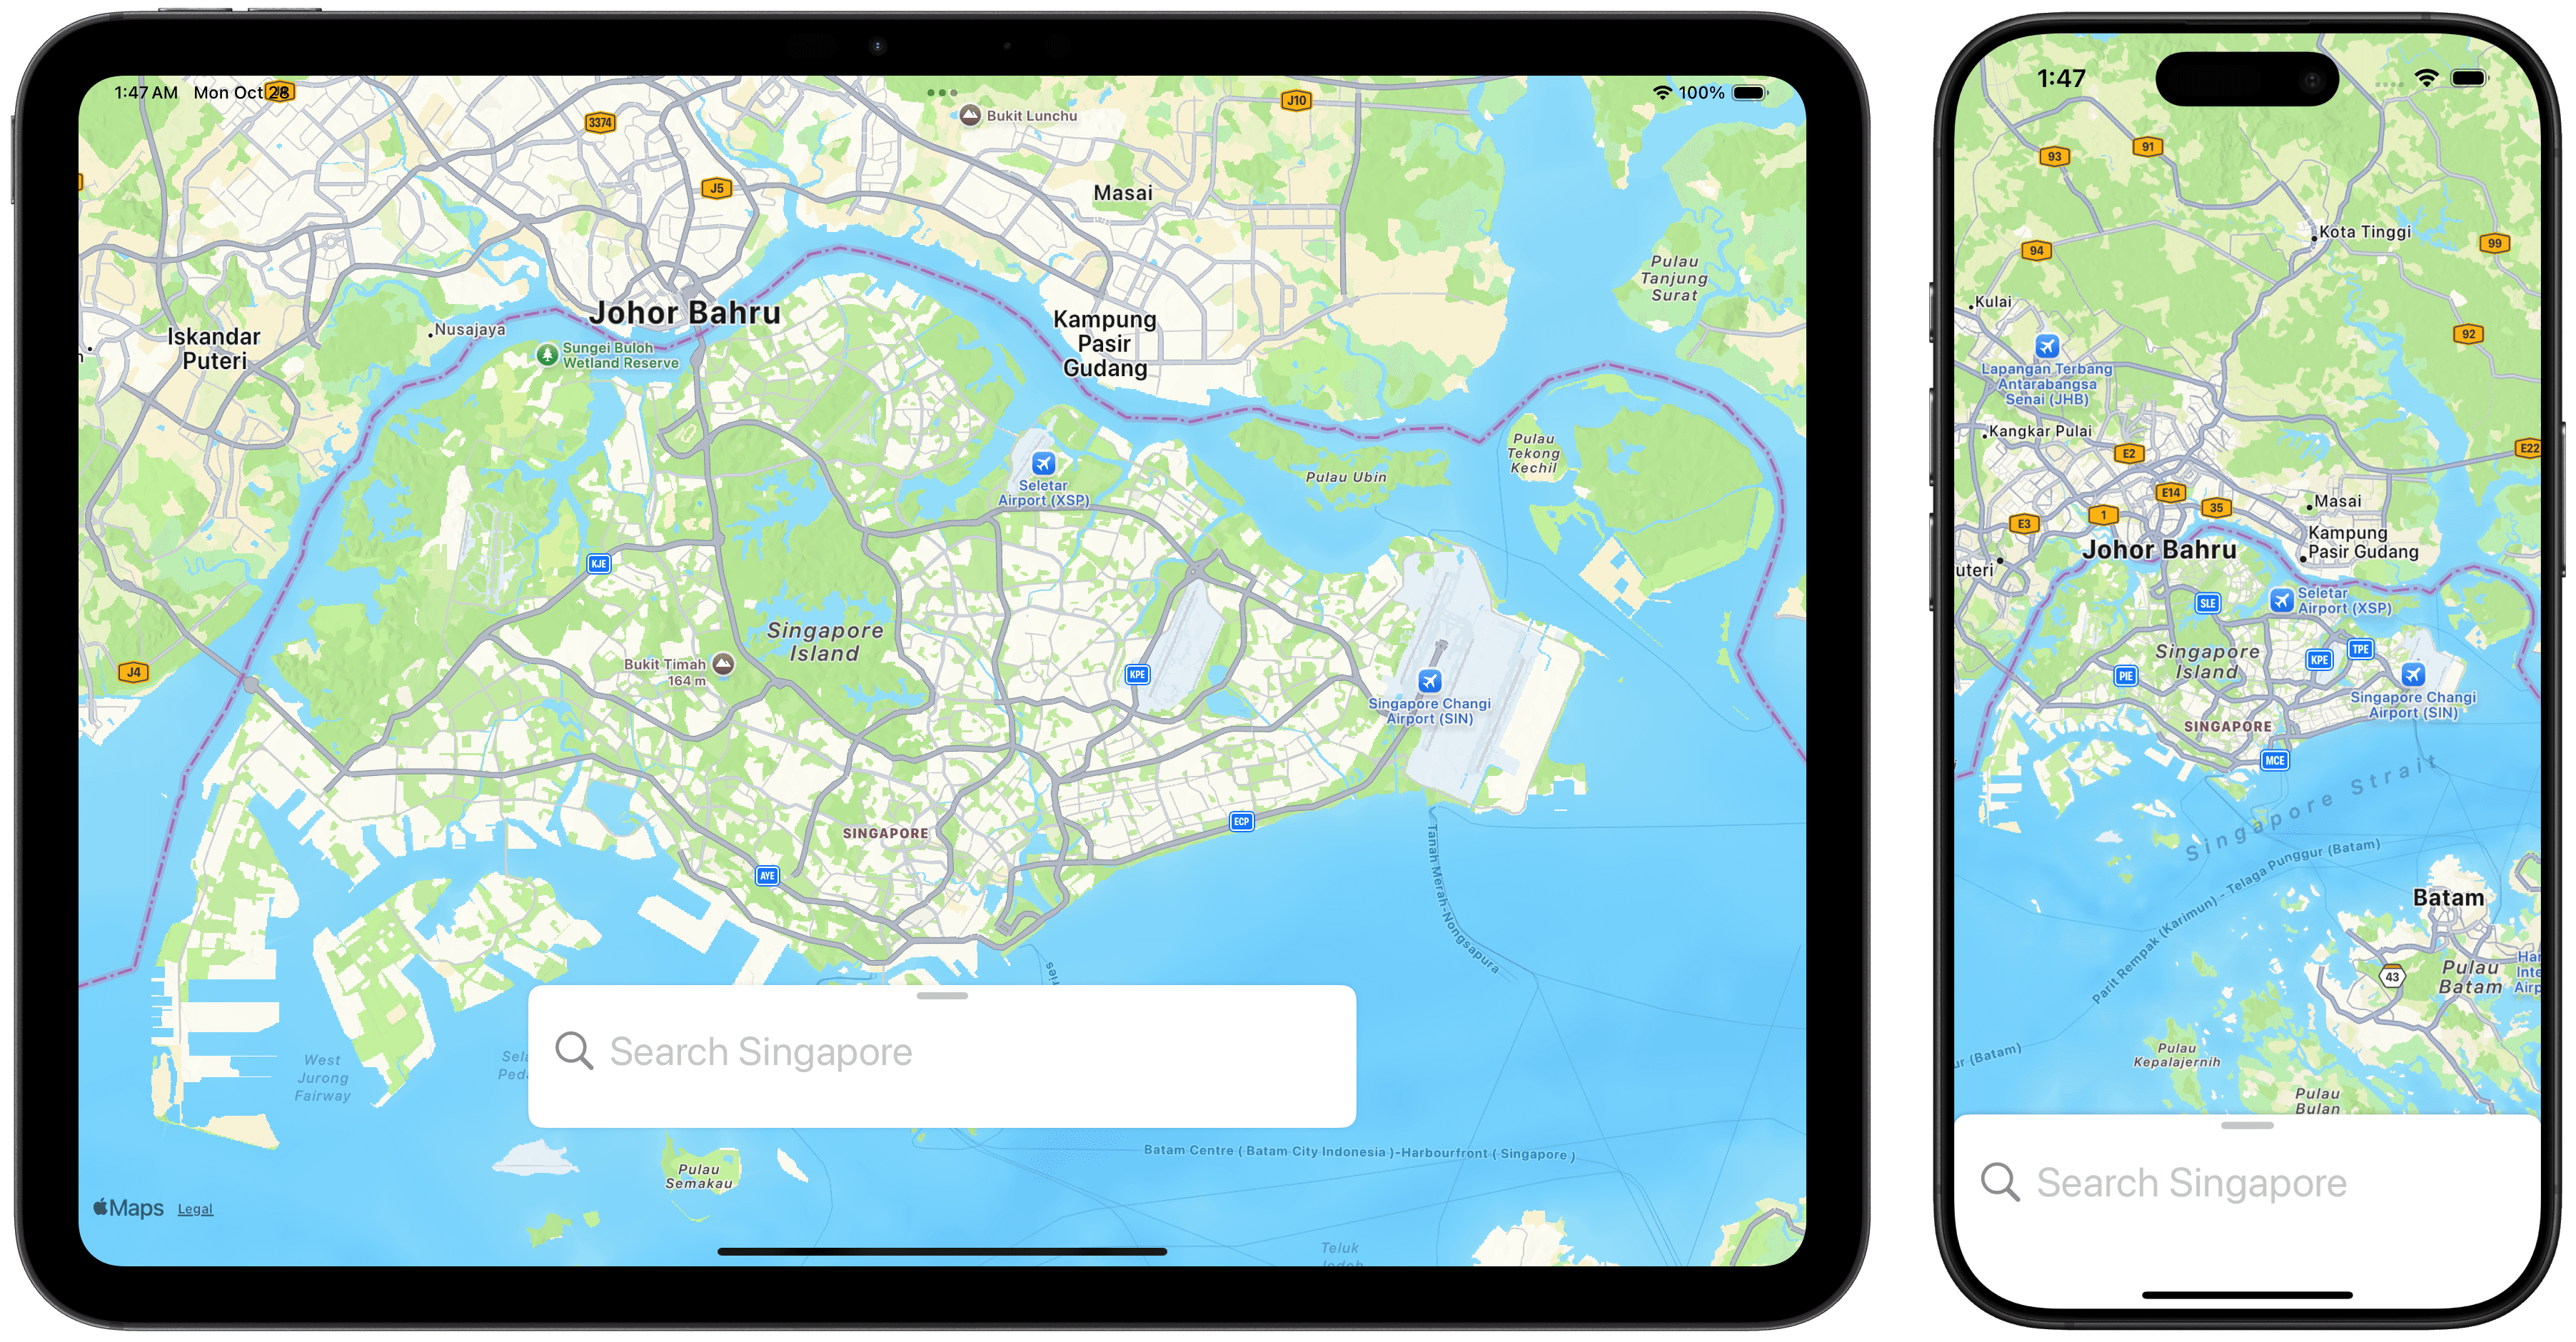
By default, when using the presentation background interaction modifier with the value set to enabled, background interaction will be disabled when the sheet is at its .large presentation detent.
You can customize this behavior with the .enabled(upThrough:) value. This allows you to supply a presentation detent where background interaction is enabled up through.
In the example below, with the upThrough value set to .large, interaction will be allowed even in the large presentation detent.
Configuring Scrolling / Resizing Behavior
When displaying a sheet with detents, if the sheet's contents contains a Scroll View, by default, the system will prioritize resizing the view before scrolling the contents.
If you prefer the view to prioritize scrolling before resizing, you can use the presentationContentInteraction modifier.
In the following example, a long scrolling List is created with a the presentation content interaction set to scroll. This allows the system to prioritize scrolling to the end of the List before resizing the view.
Presentation content interaction can also be set to resizes. When set to resizes, the sheet will prioritize resizing its contents before scrolling the contents. This is the default configuration.
Presentation Appearance
SwiftUI provides several different modifiers and methods to customize the appearance of a sheet.
Customizing Presentation Background
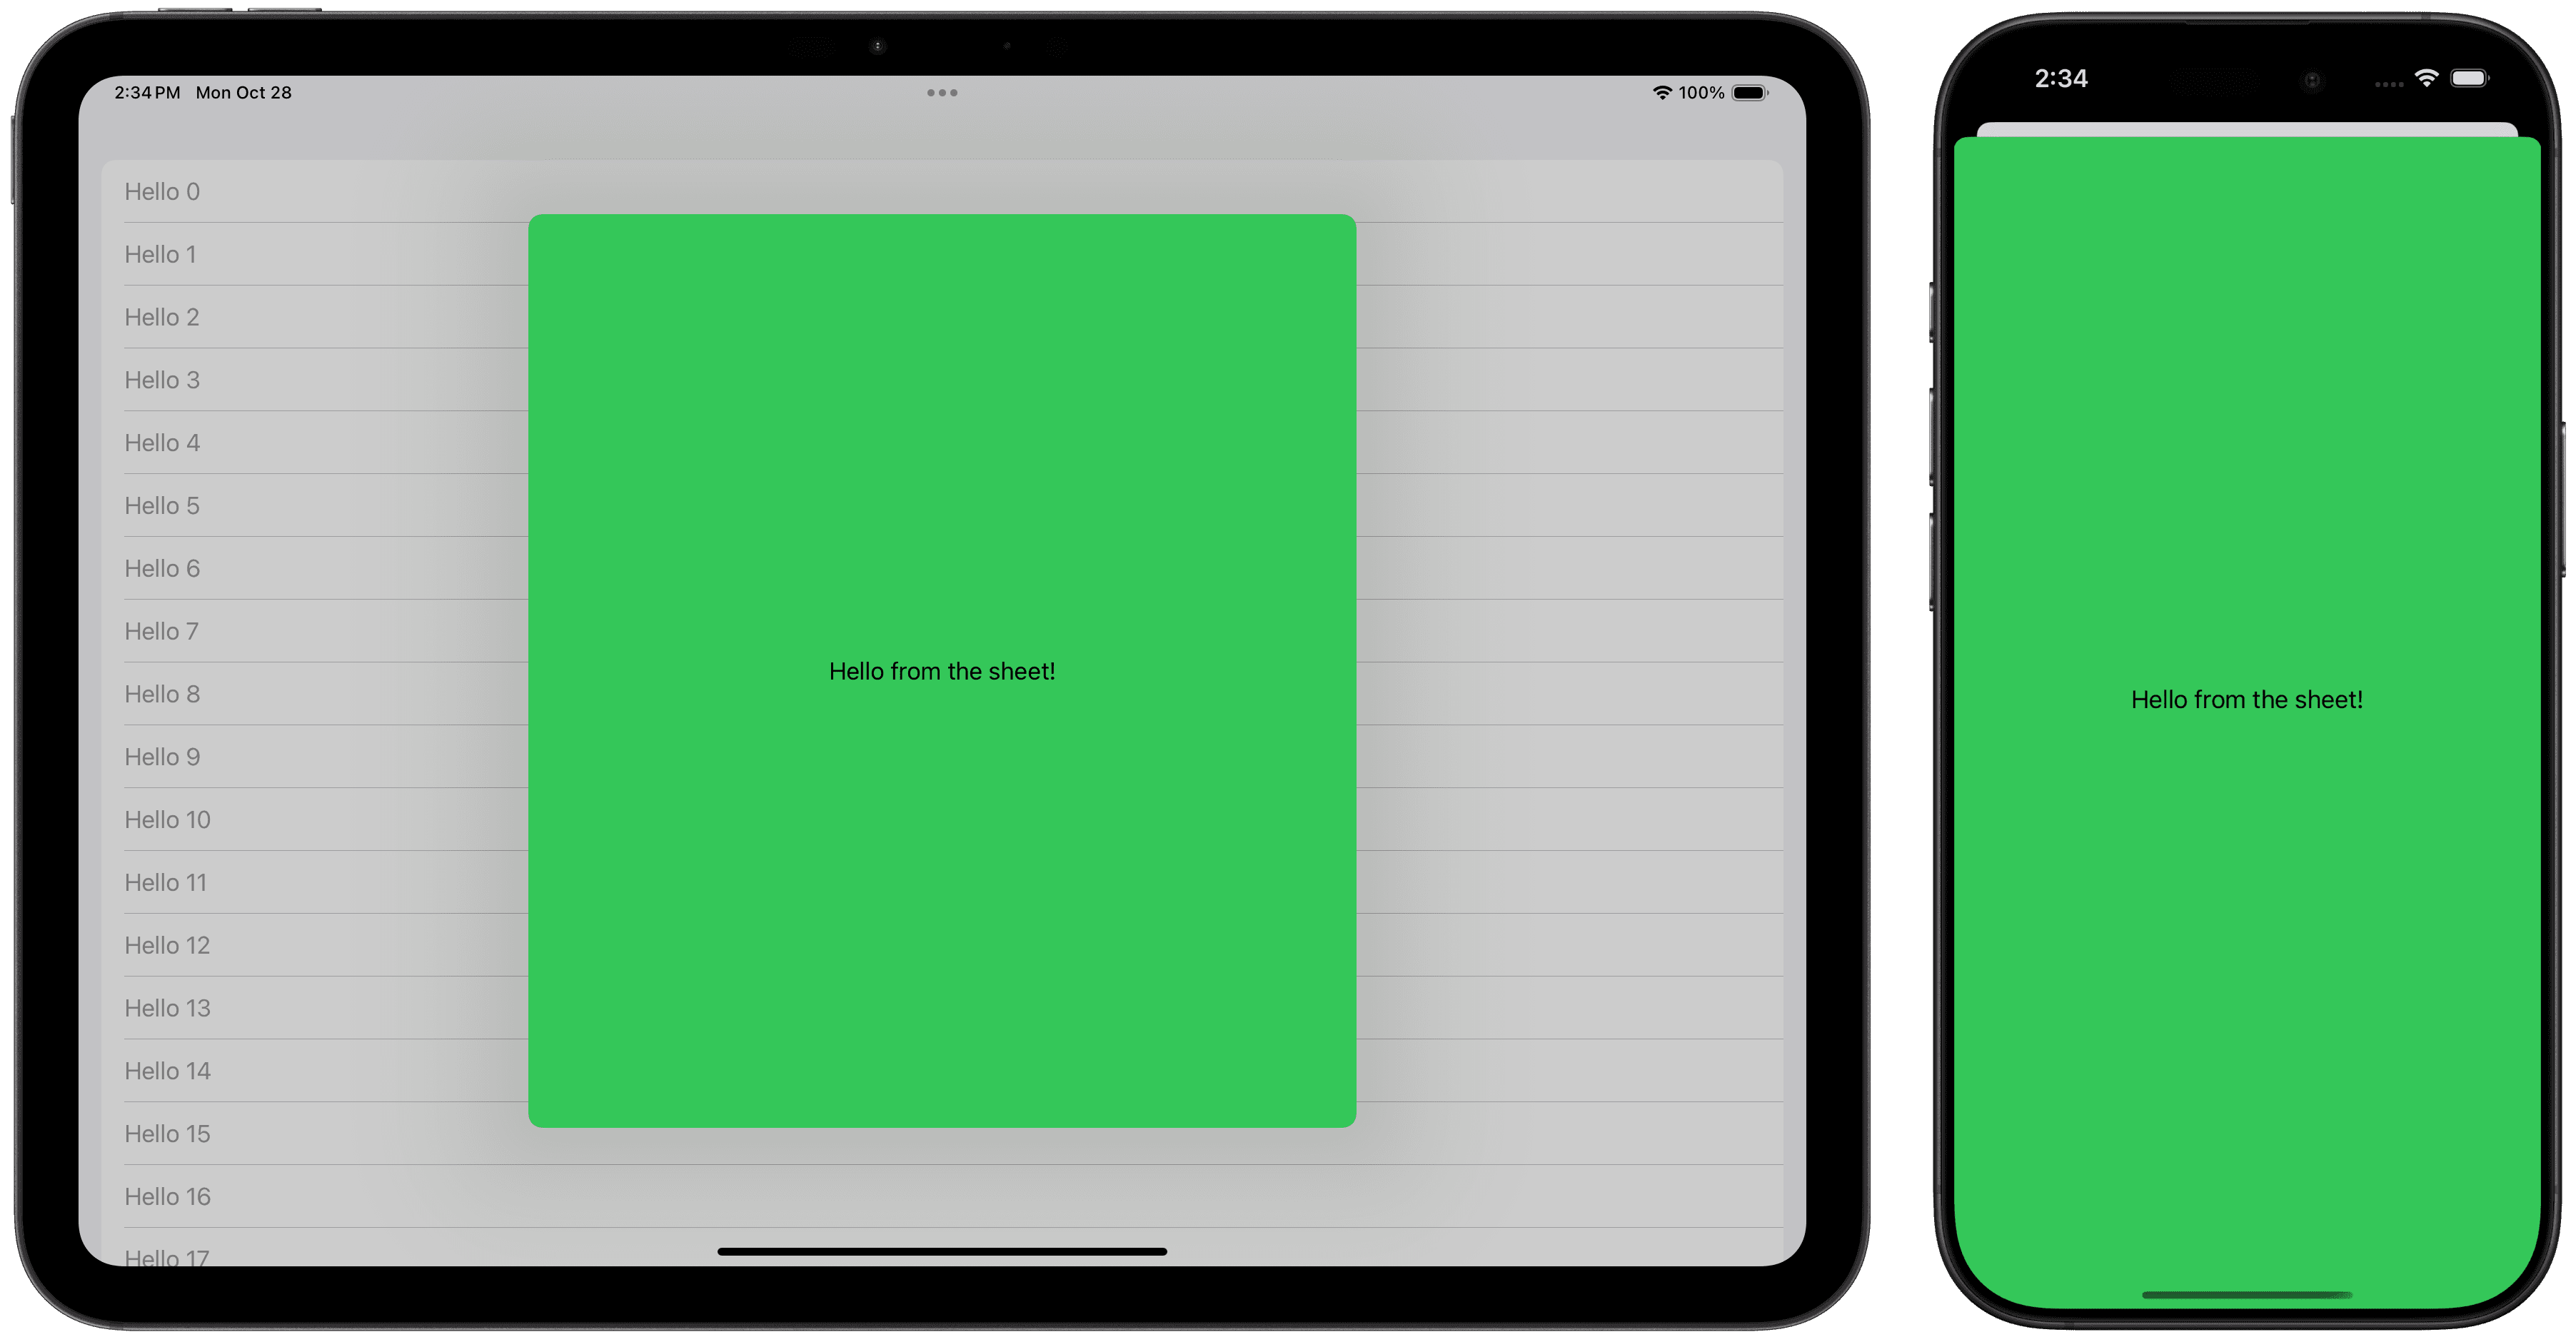
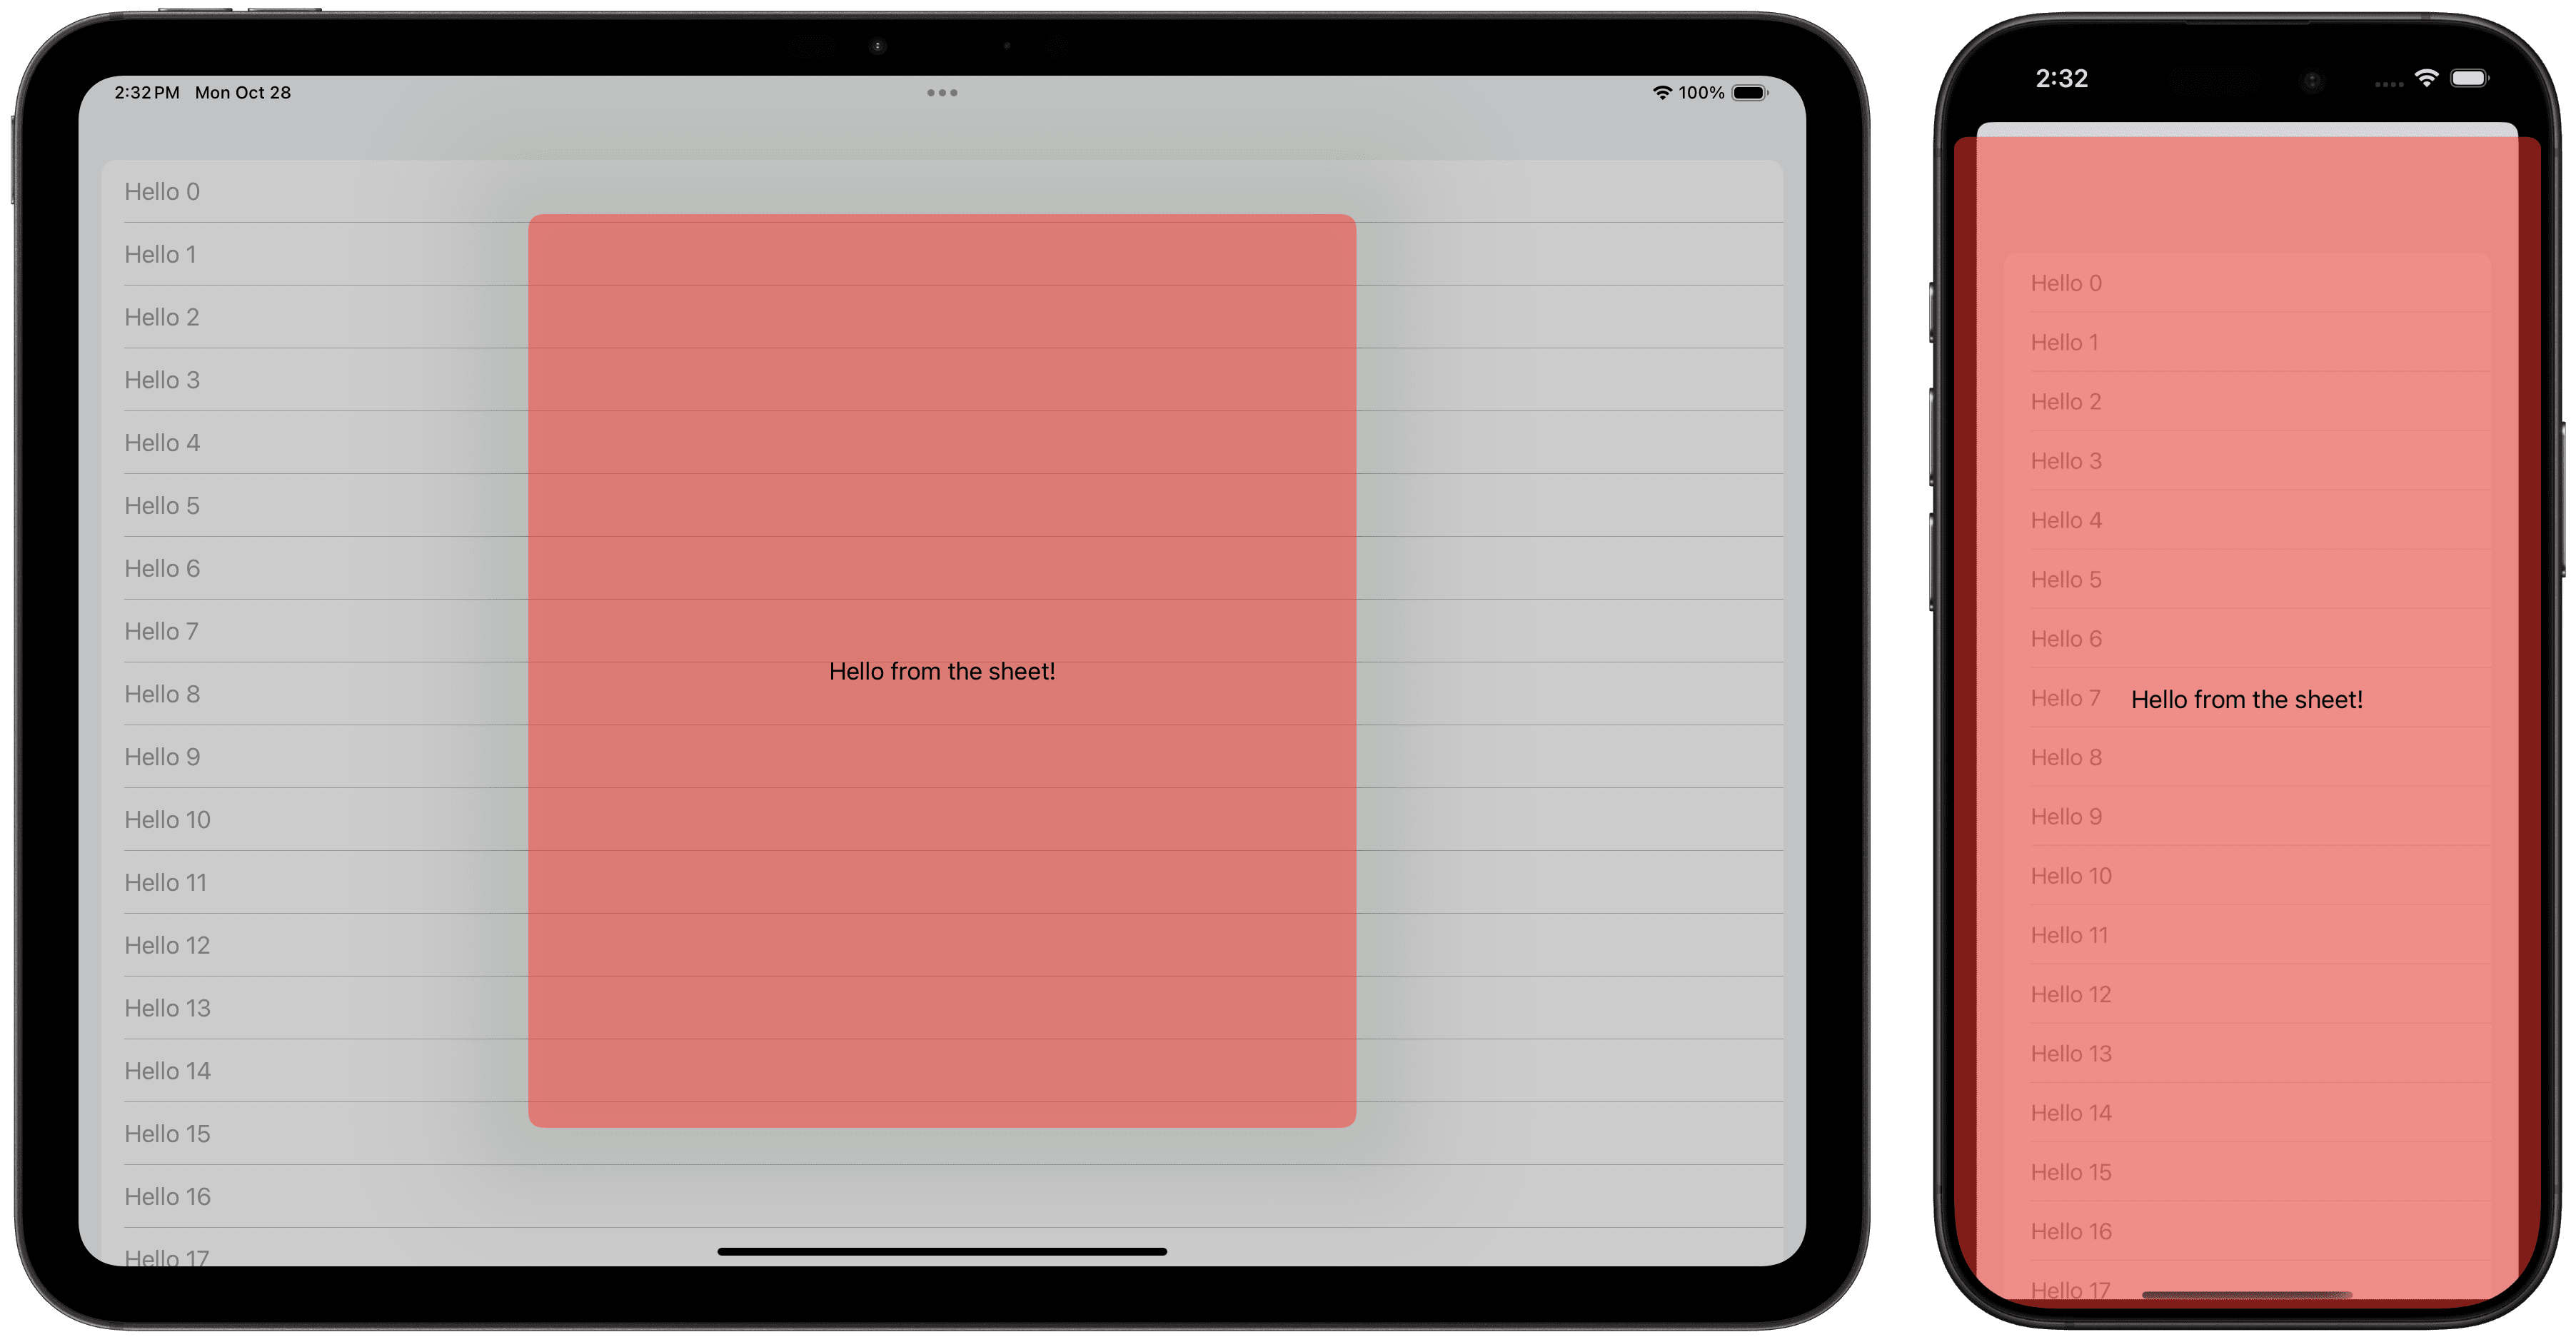
The presentation background refers to the sheet's content background. You can use a shape style or a custom view to set the background.
Providing a Shape Style
By default, sheets use the .thickMaterial shape style. This is a translucent material. However, based on your app's context, you may want to customize this appearance.
In the following example, the thick material background is switched for a thin material. This provides a more transparent background.
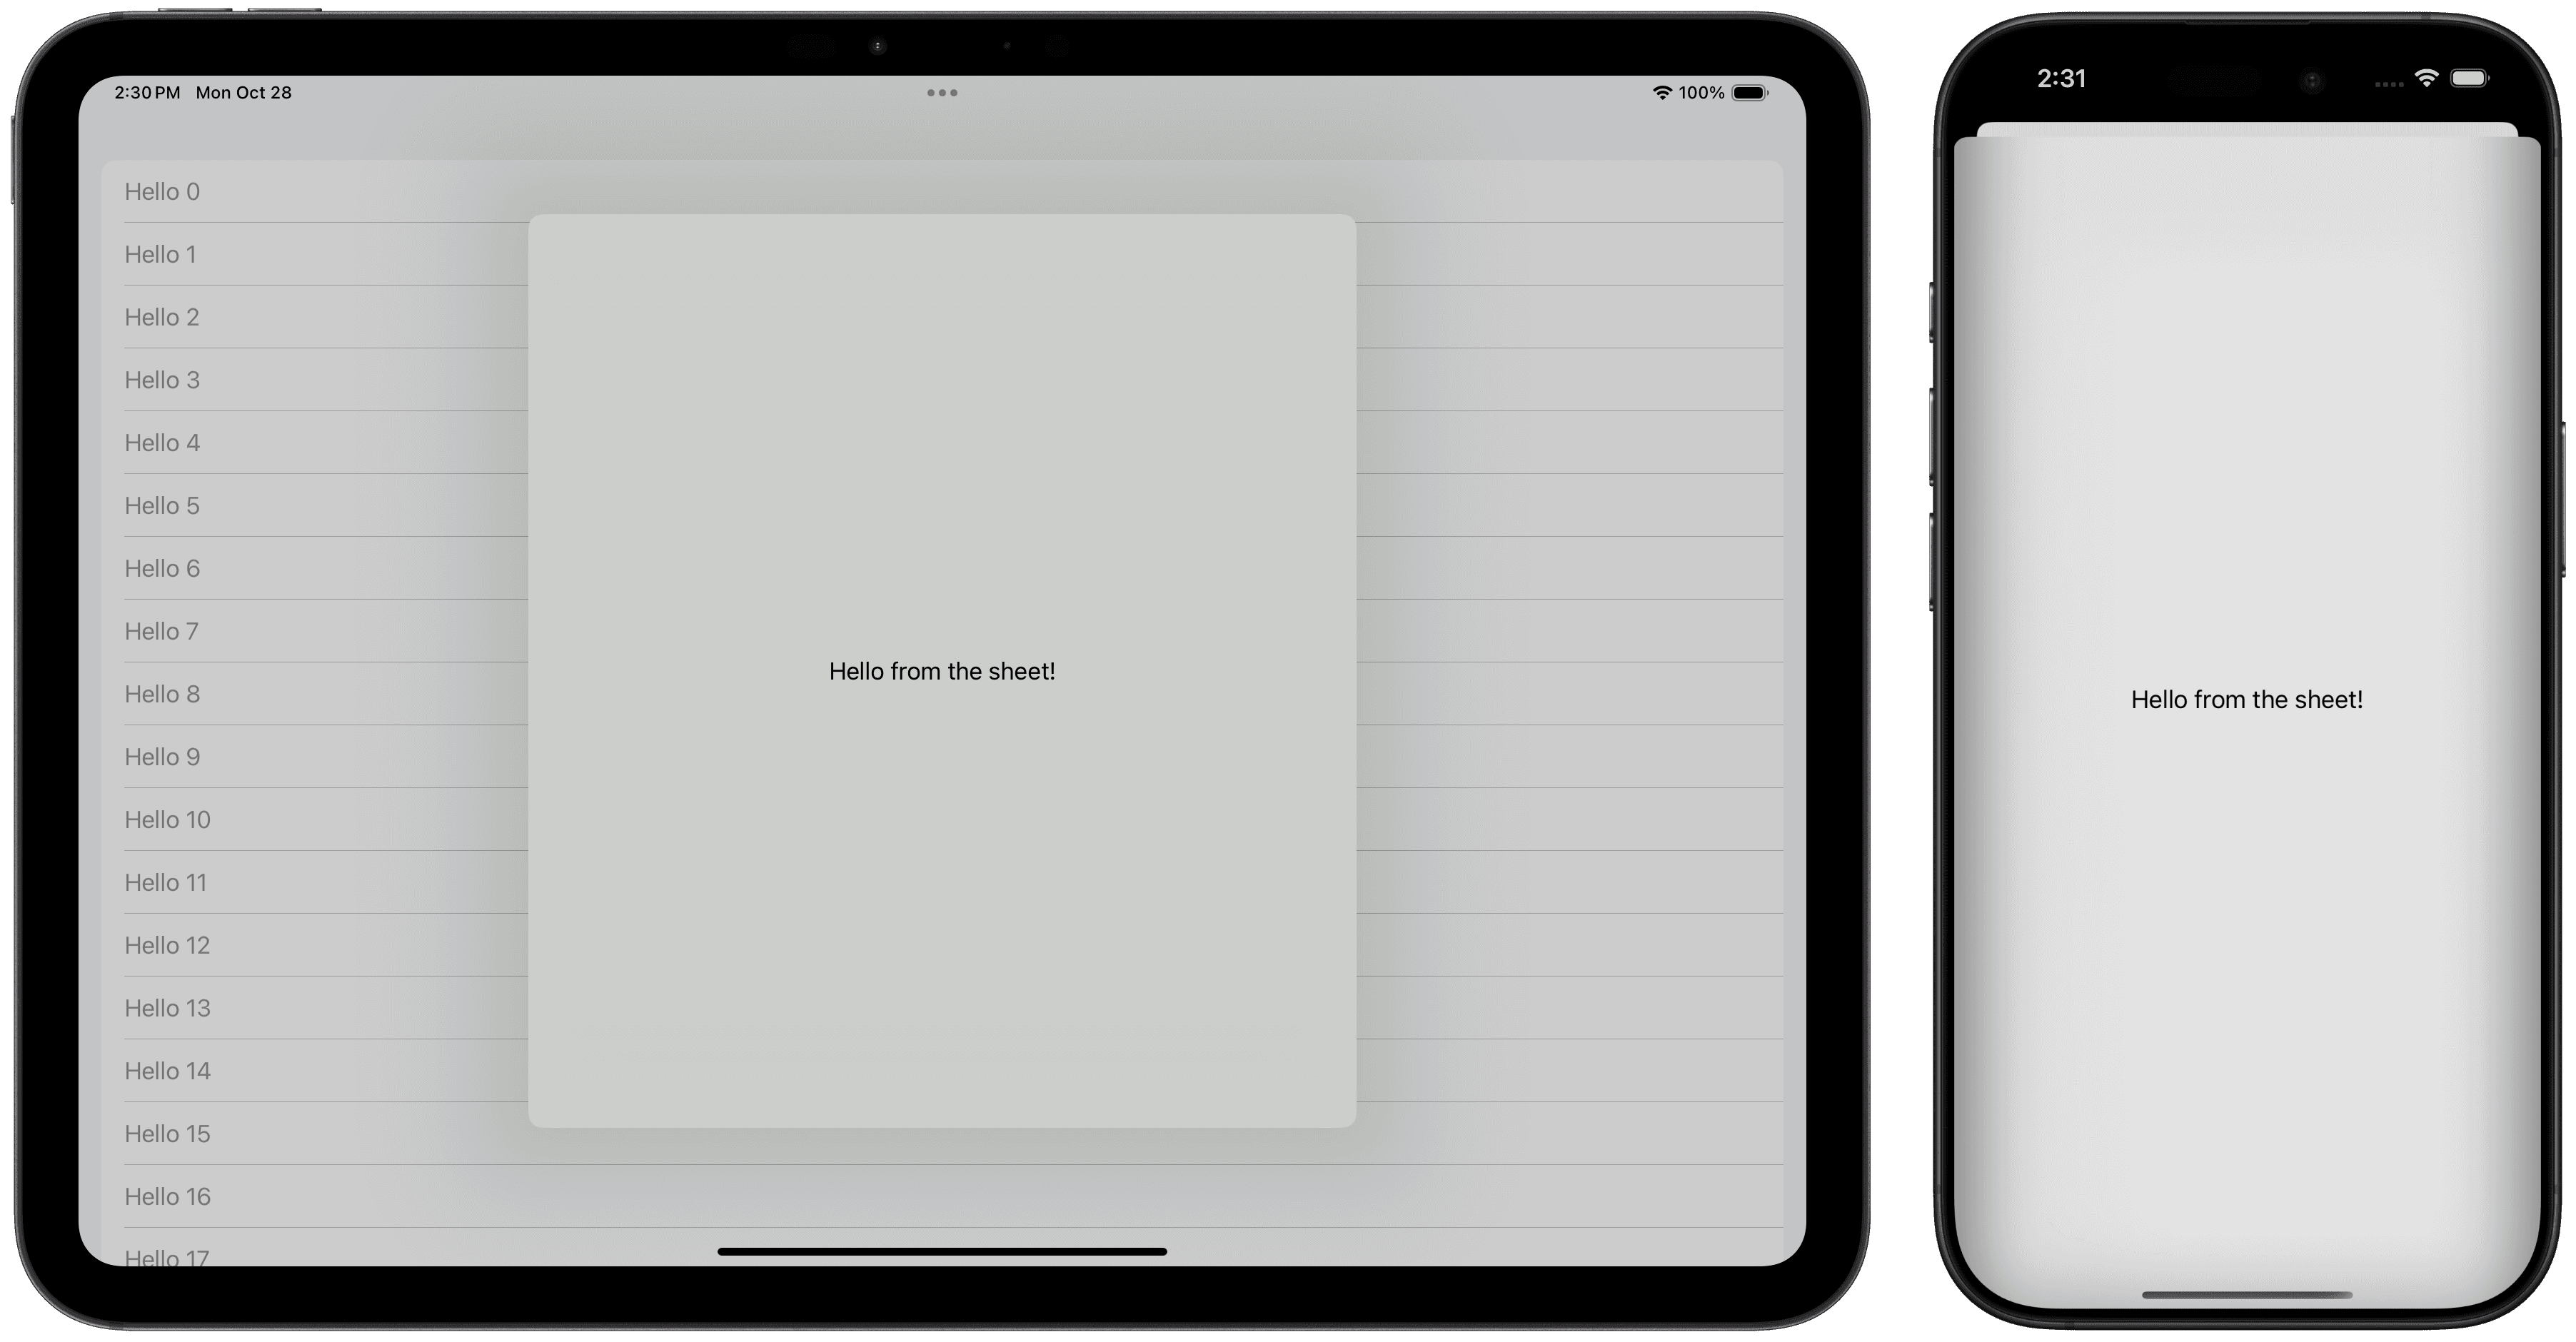
As the modifier accepts a Shape Style, you can also supply it with a color or gradient to set as the presentation background color.

Providing a Custom View
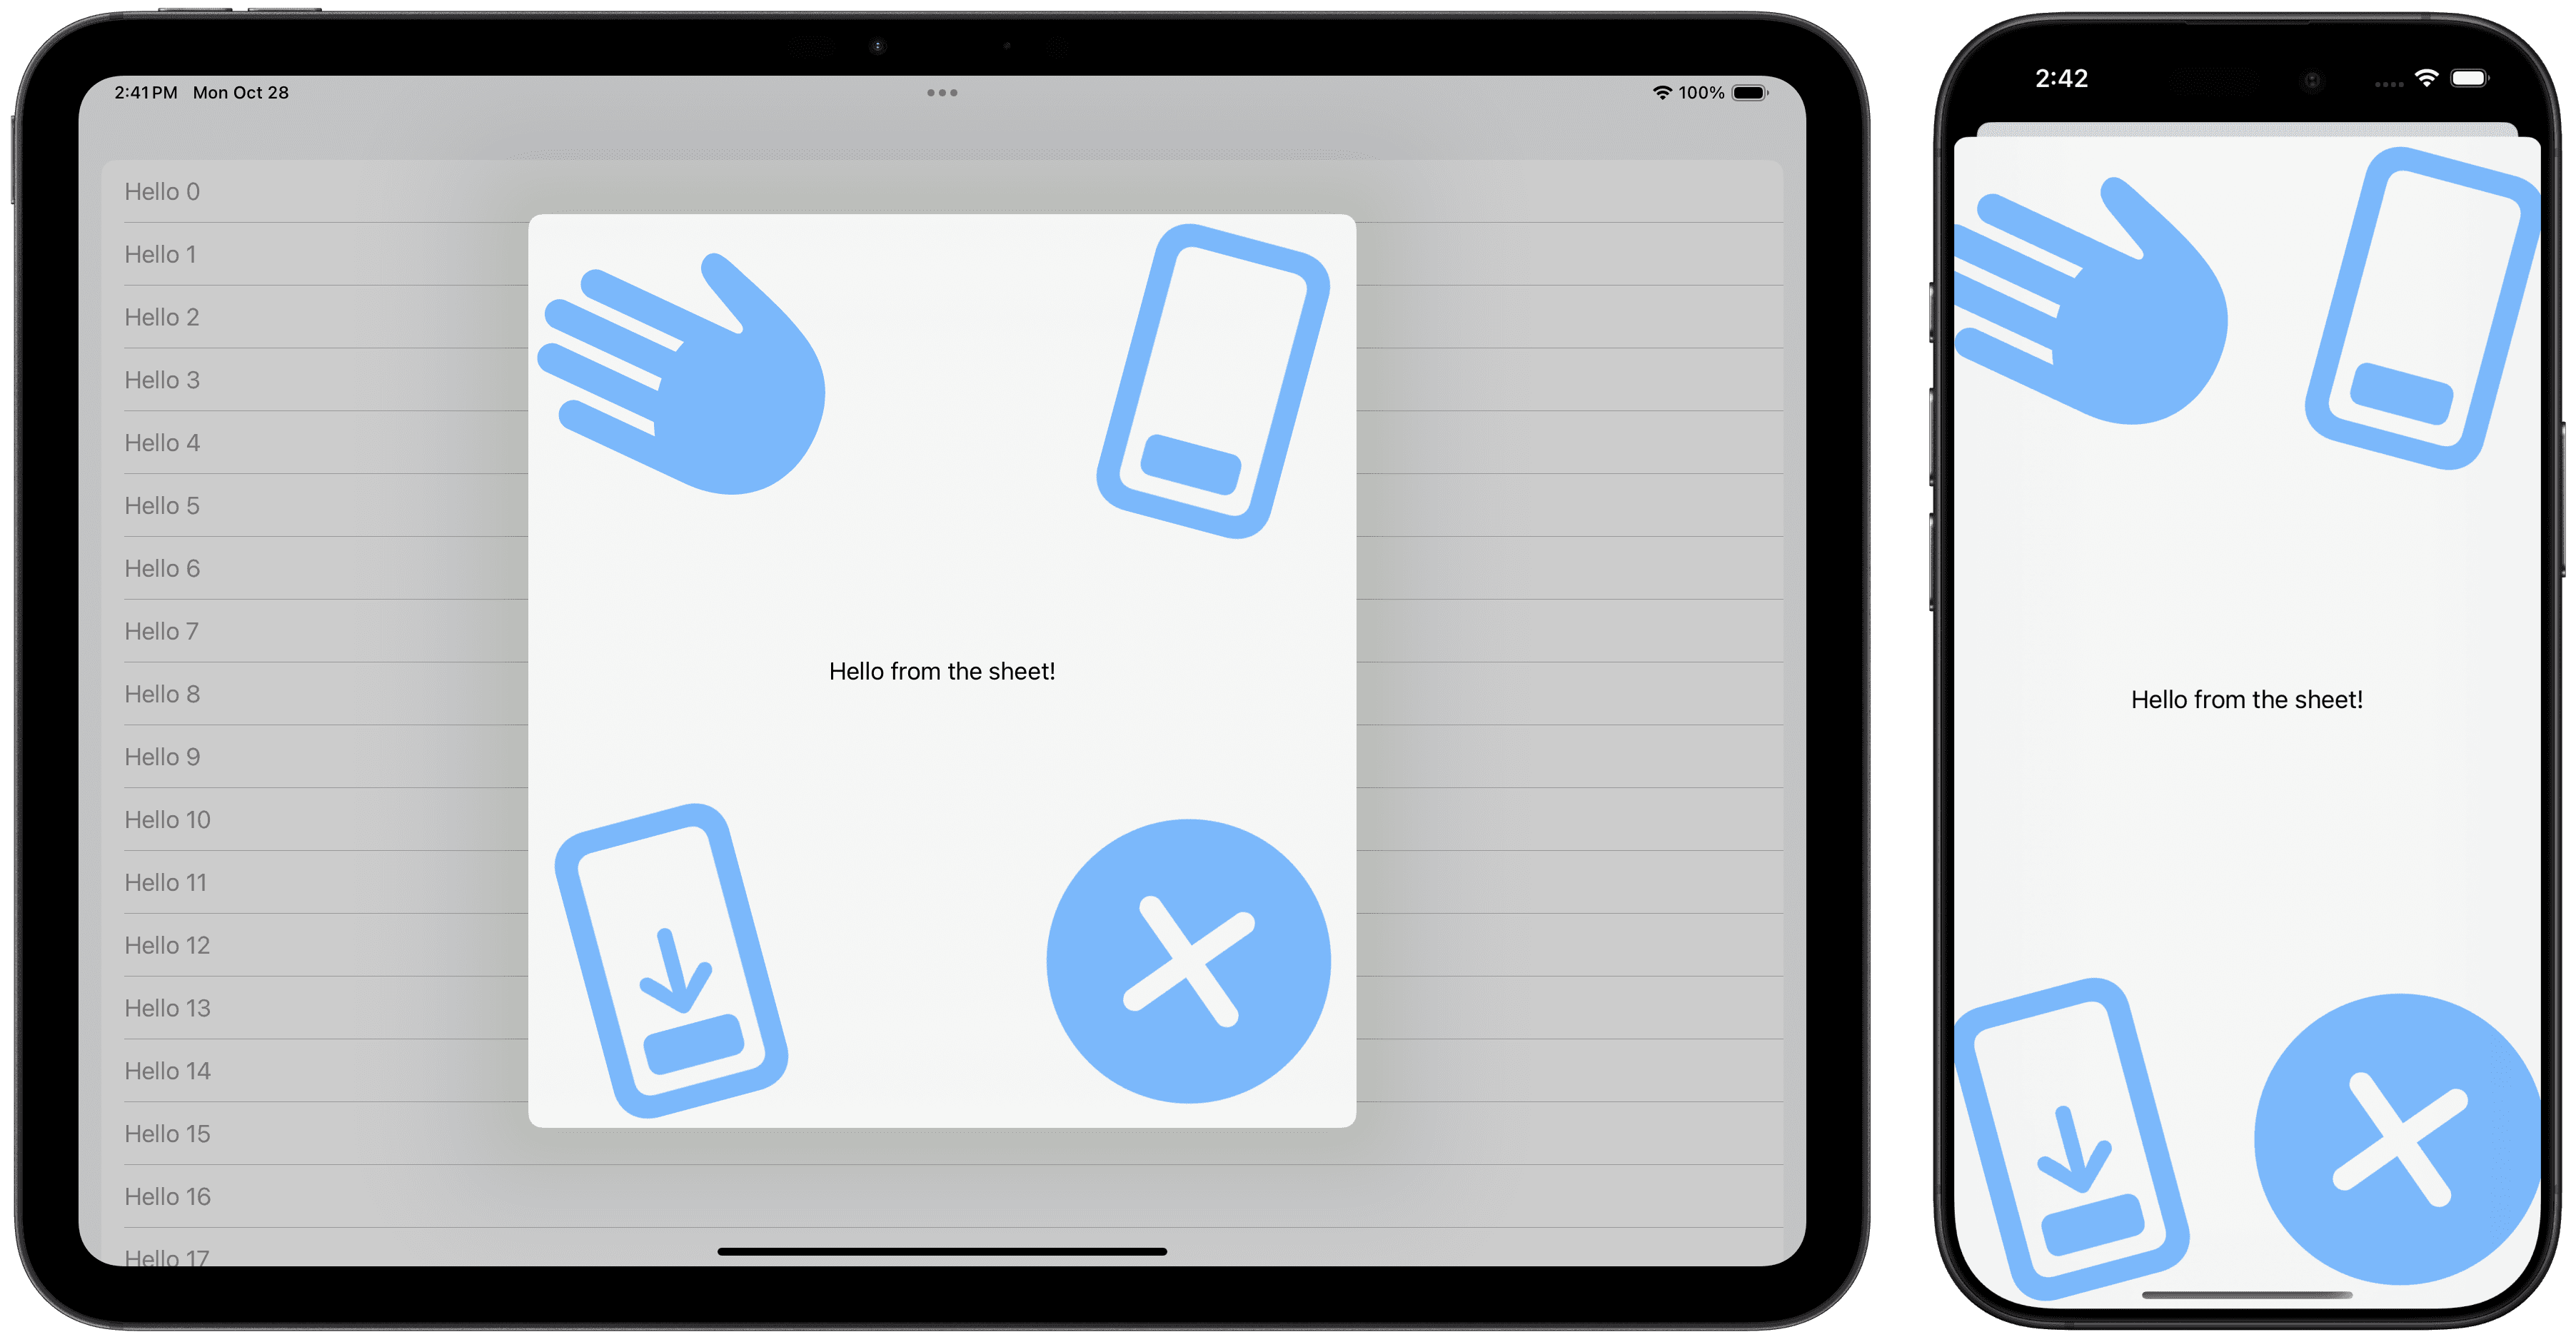
For even more customization, you can supply a custom SwiftUI view as the background.
In the following example, a custom SheetBackgroundView is created and passed in.
Corner Radius
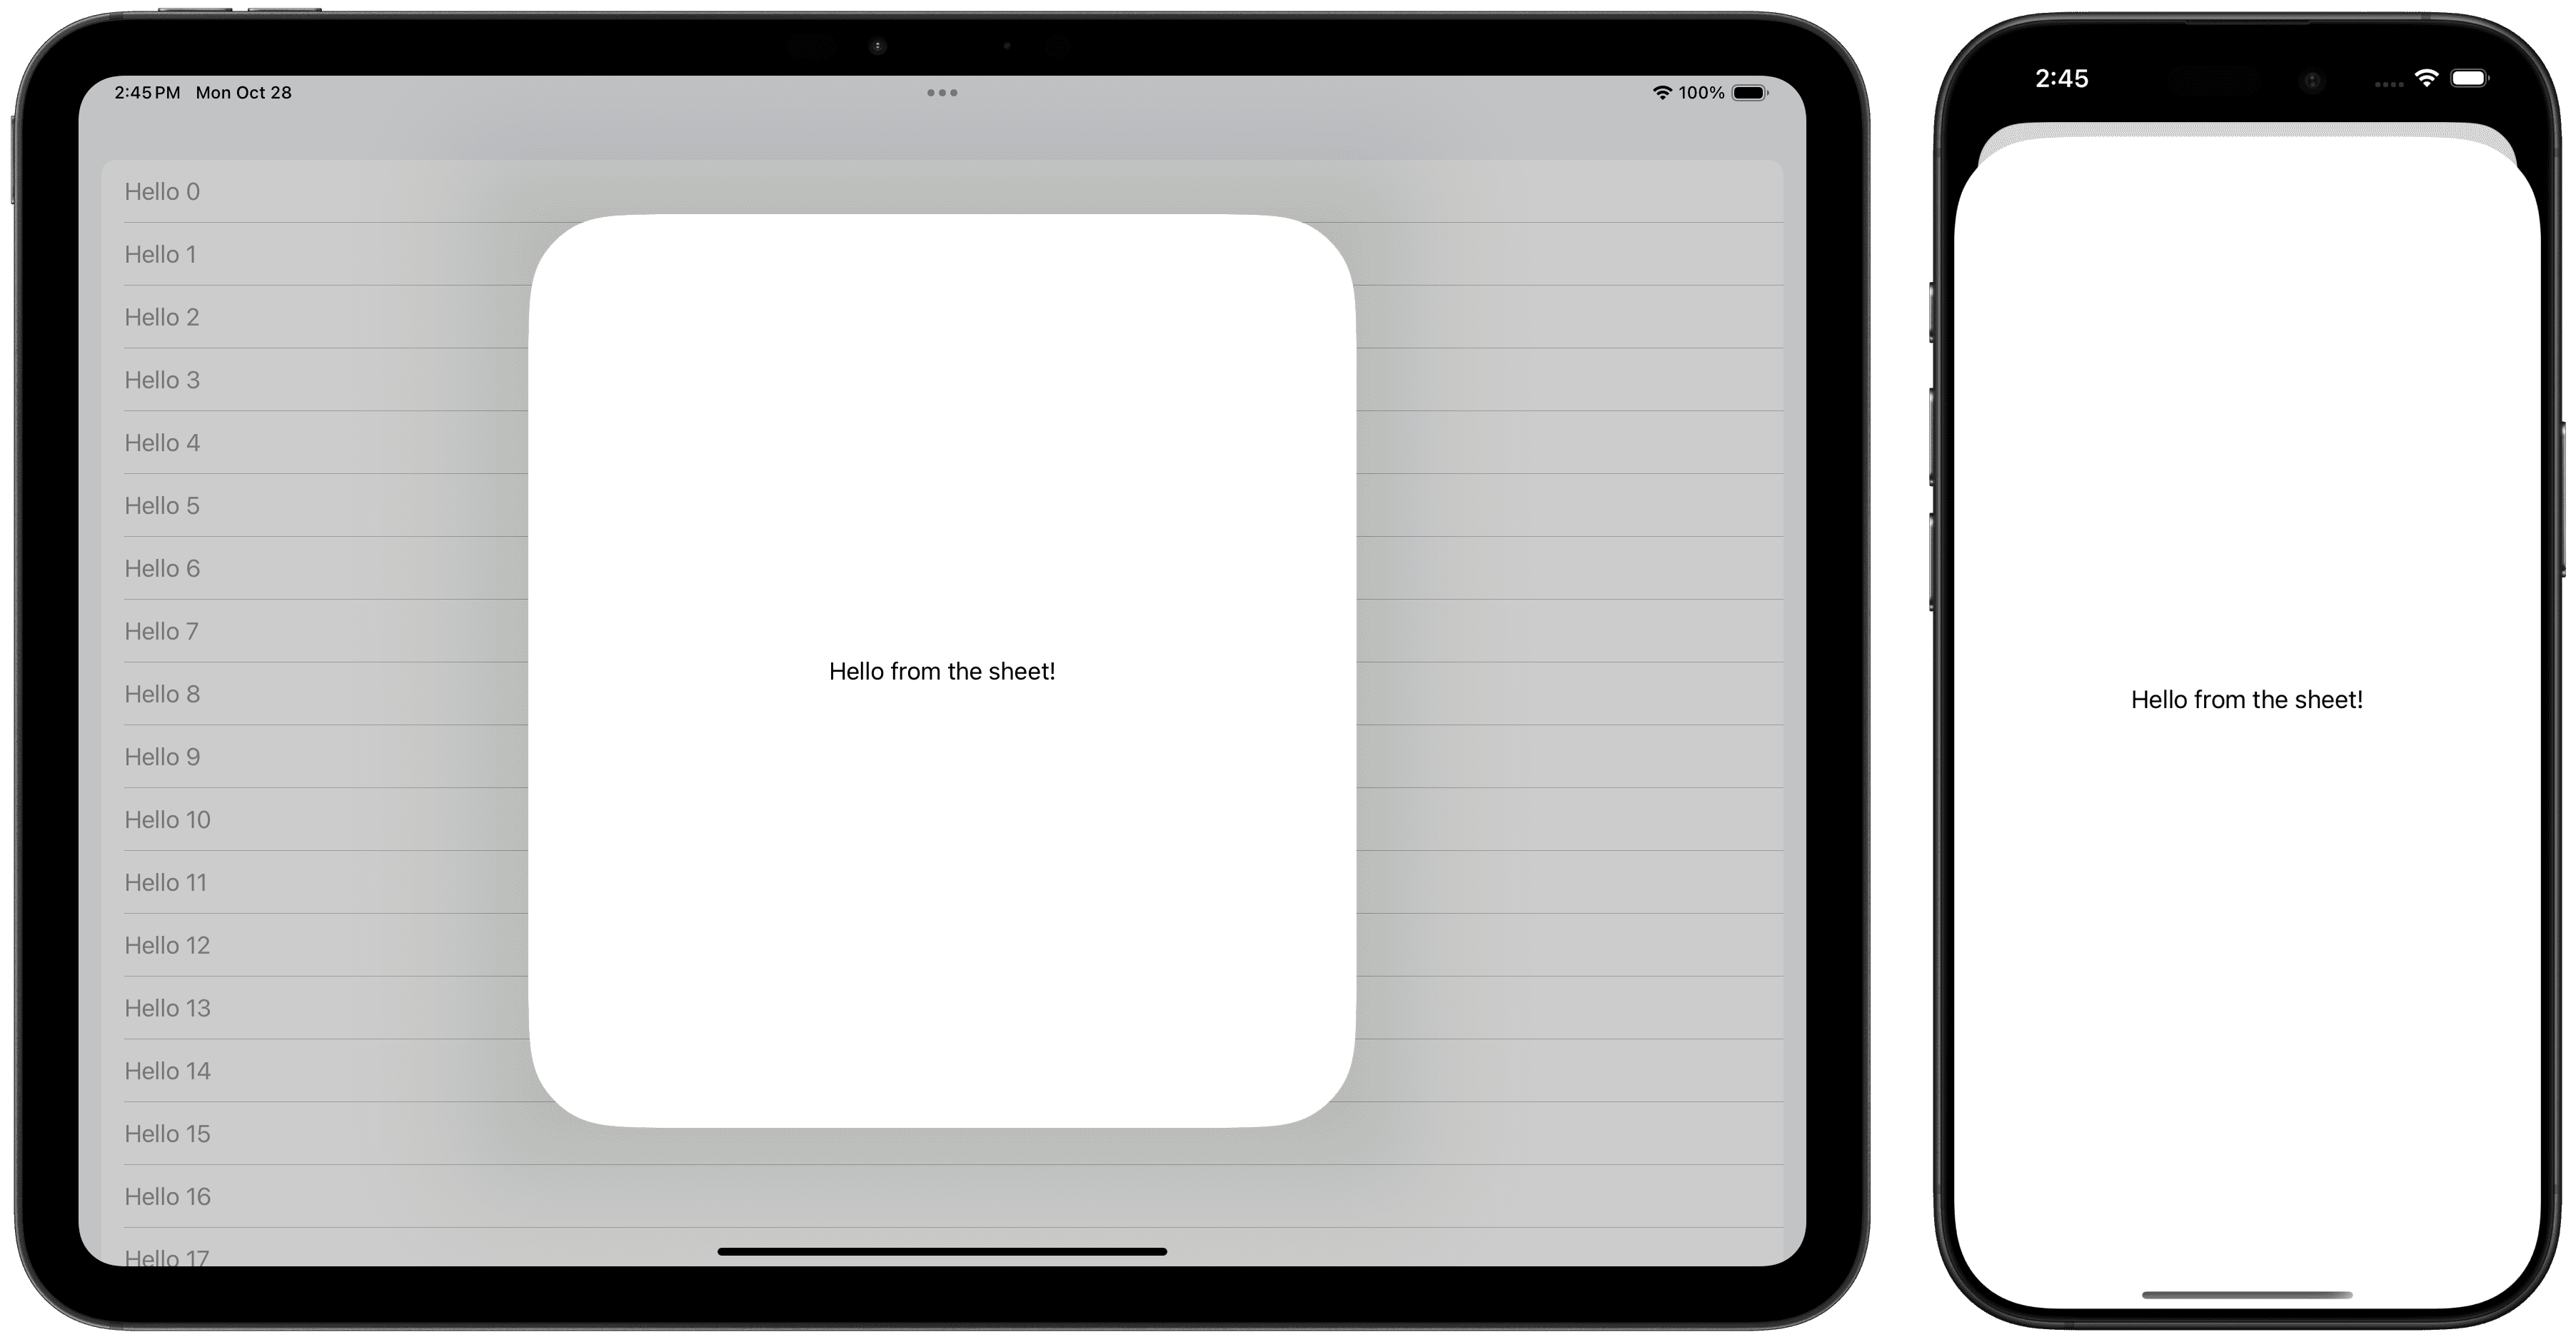
You can customize the sheet's corner radius by using the presentationCornerRadius modifier and supplying a corner radius amount.
Drag Indicator Visibility
You can customize the drag indicator's visibility with the presentationDragIndicator modifier.
By default,
If the sheet contains multiple detents, the drag indicator is automatically visible
If the sheet has no detents specified or just one, the drag indicator is hidden
In the following example, the drag indicator can be hidden from a sheet with detents. The detents will still continue to work as intended.
This can also be used to add the indicator to a context where it would otherwise be hidden, such as when there are no presentation detents specified or only one presentation detent.
Sizing
Compact Adaptation
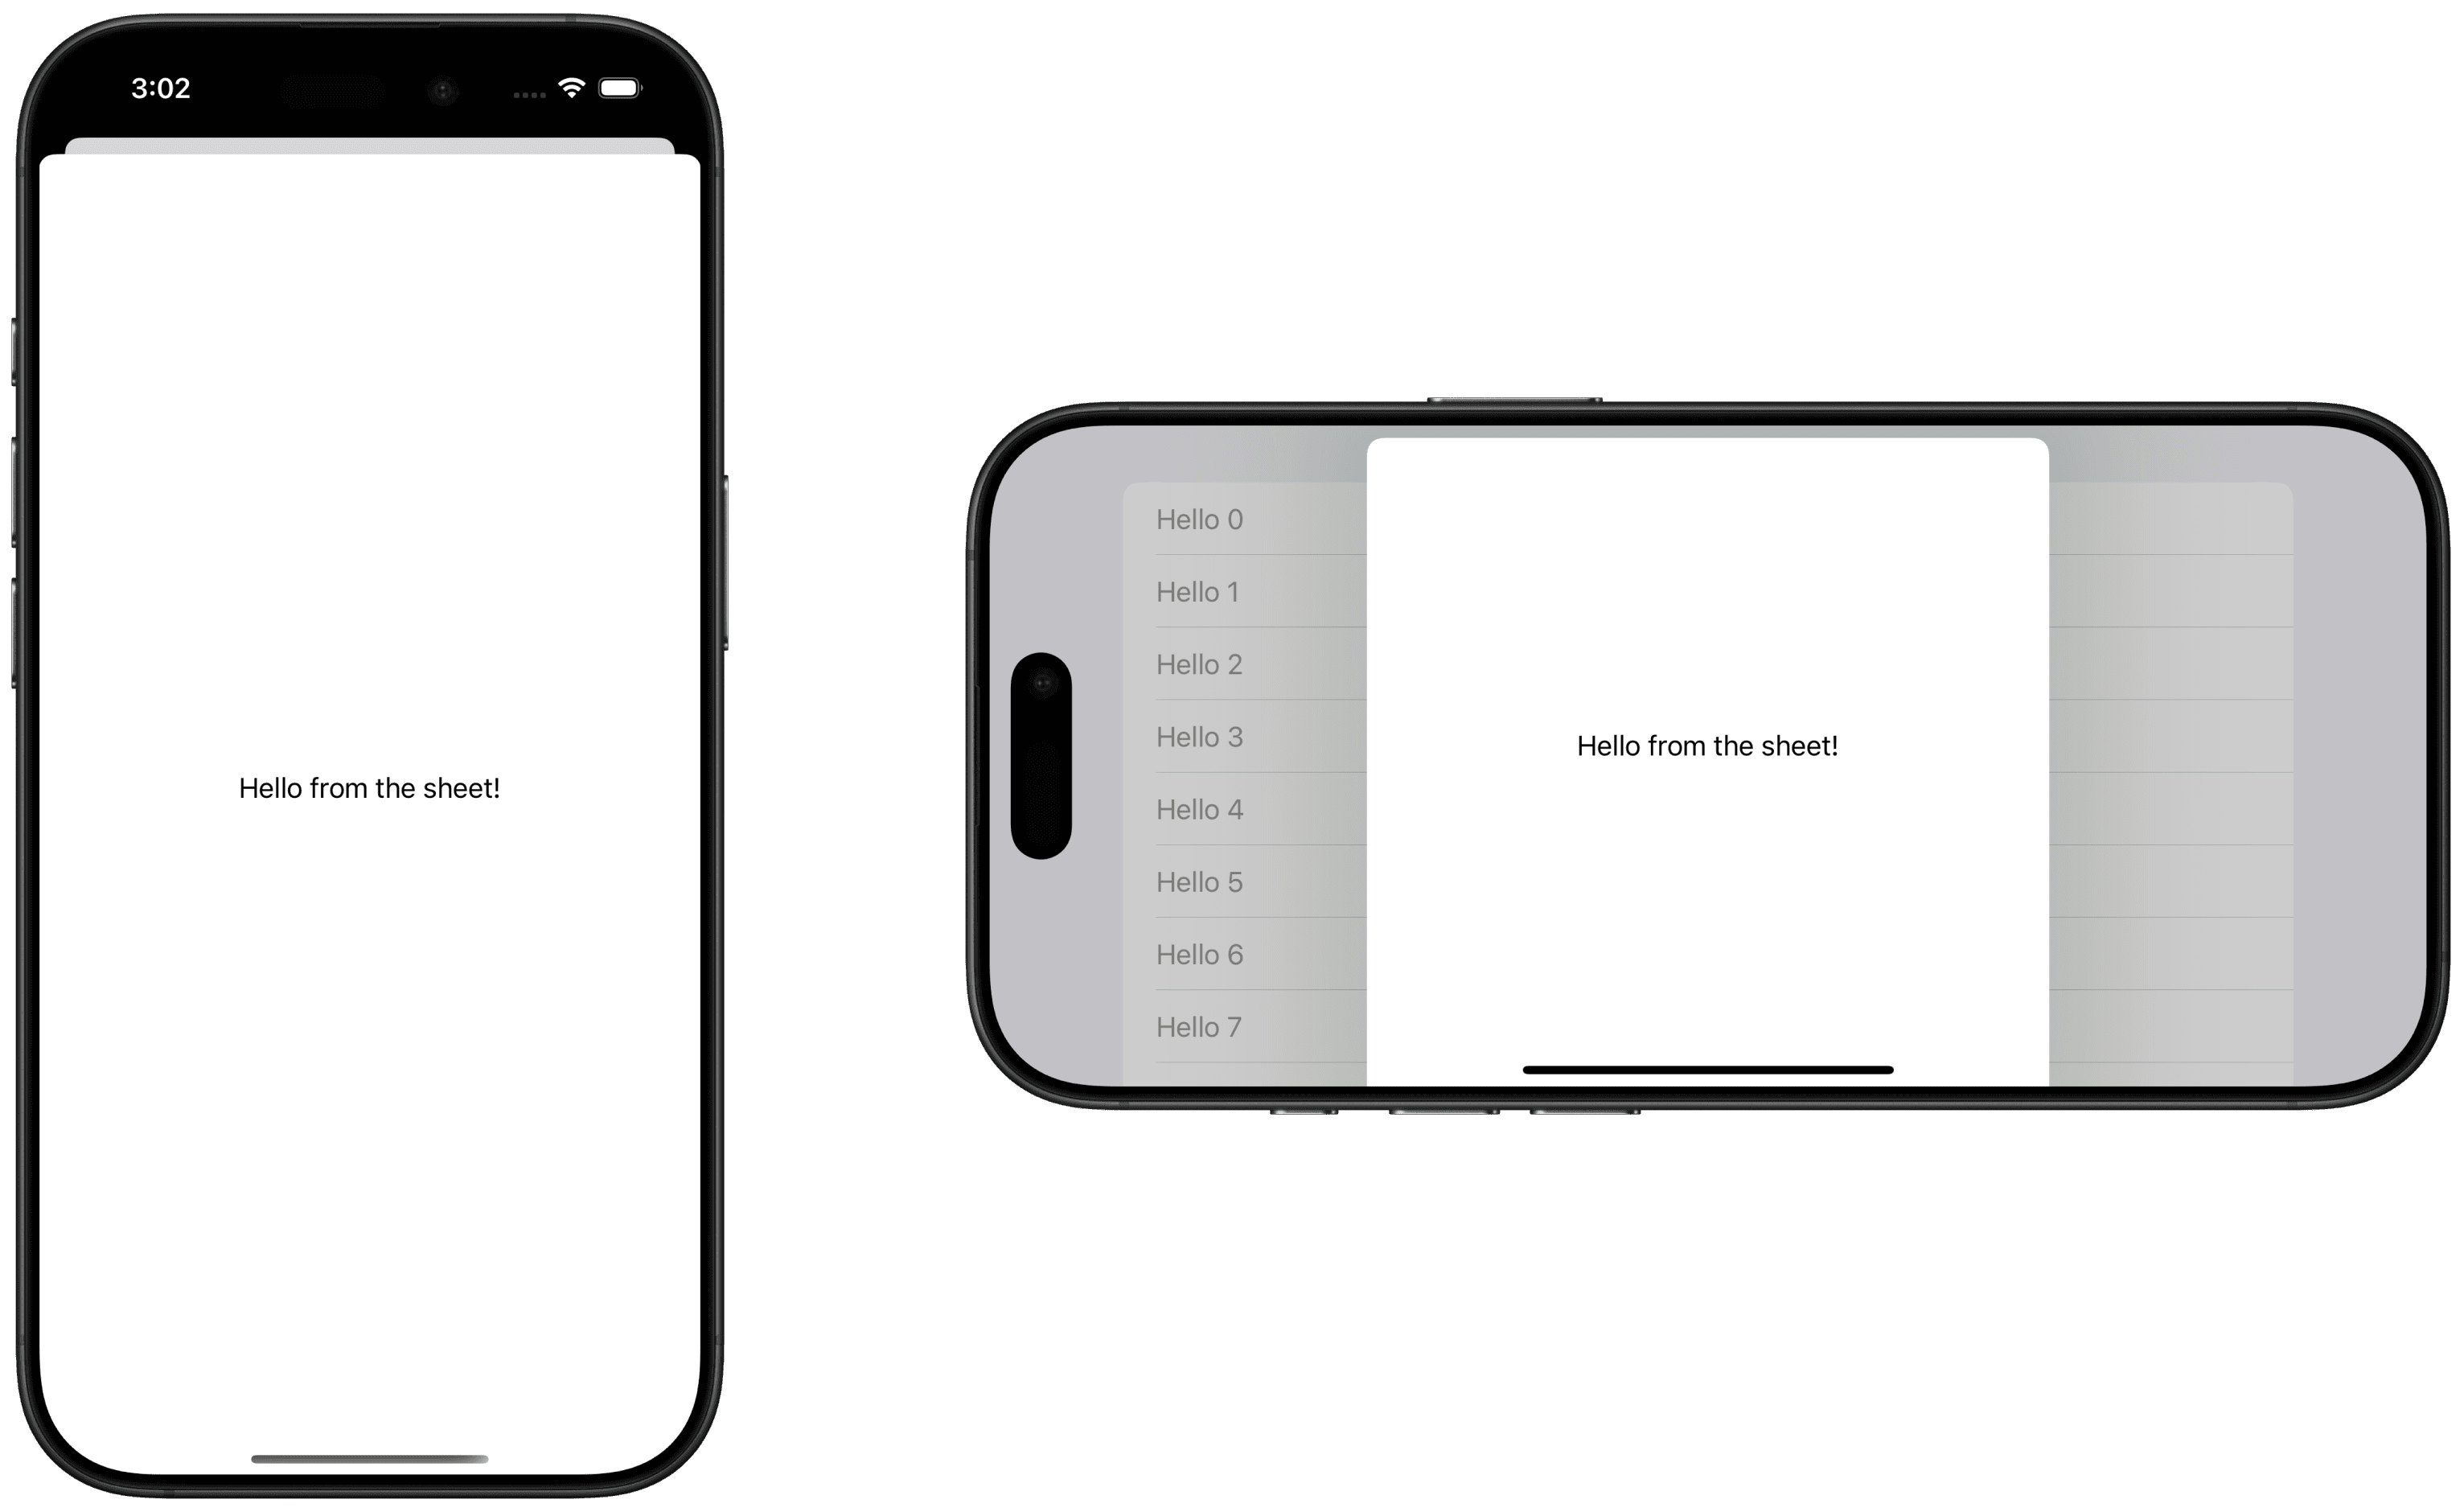
By default, on iPhone, sheets adapt based on the orientation.
When portrait, the sheet appears as the traditional sheet.
When landscape, the sheet appears as a full screen cover.
This behavior can be customized with the presentationCompactAdaptation modifier.
In the following example, by setting the presentation compact adaptation to none, the sheet appears as a sheet when in landscape on iPhone.
Presentation Sizing
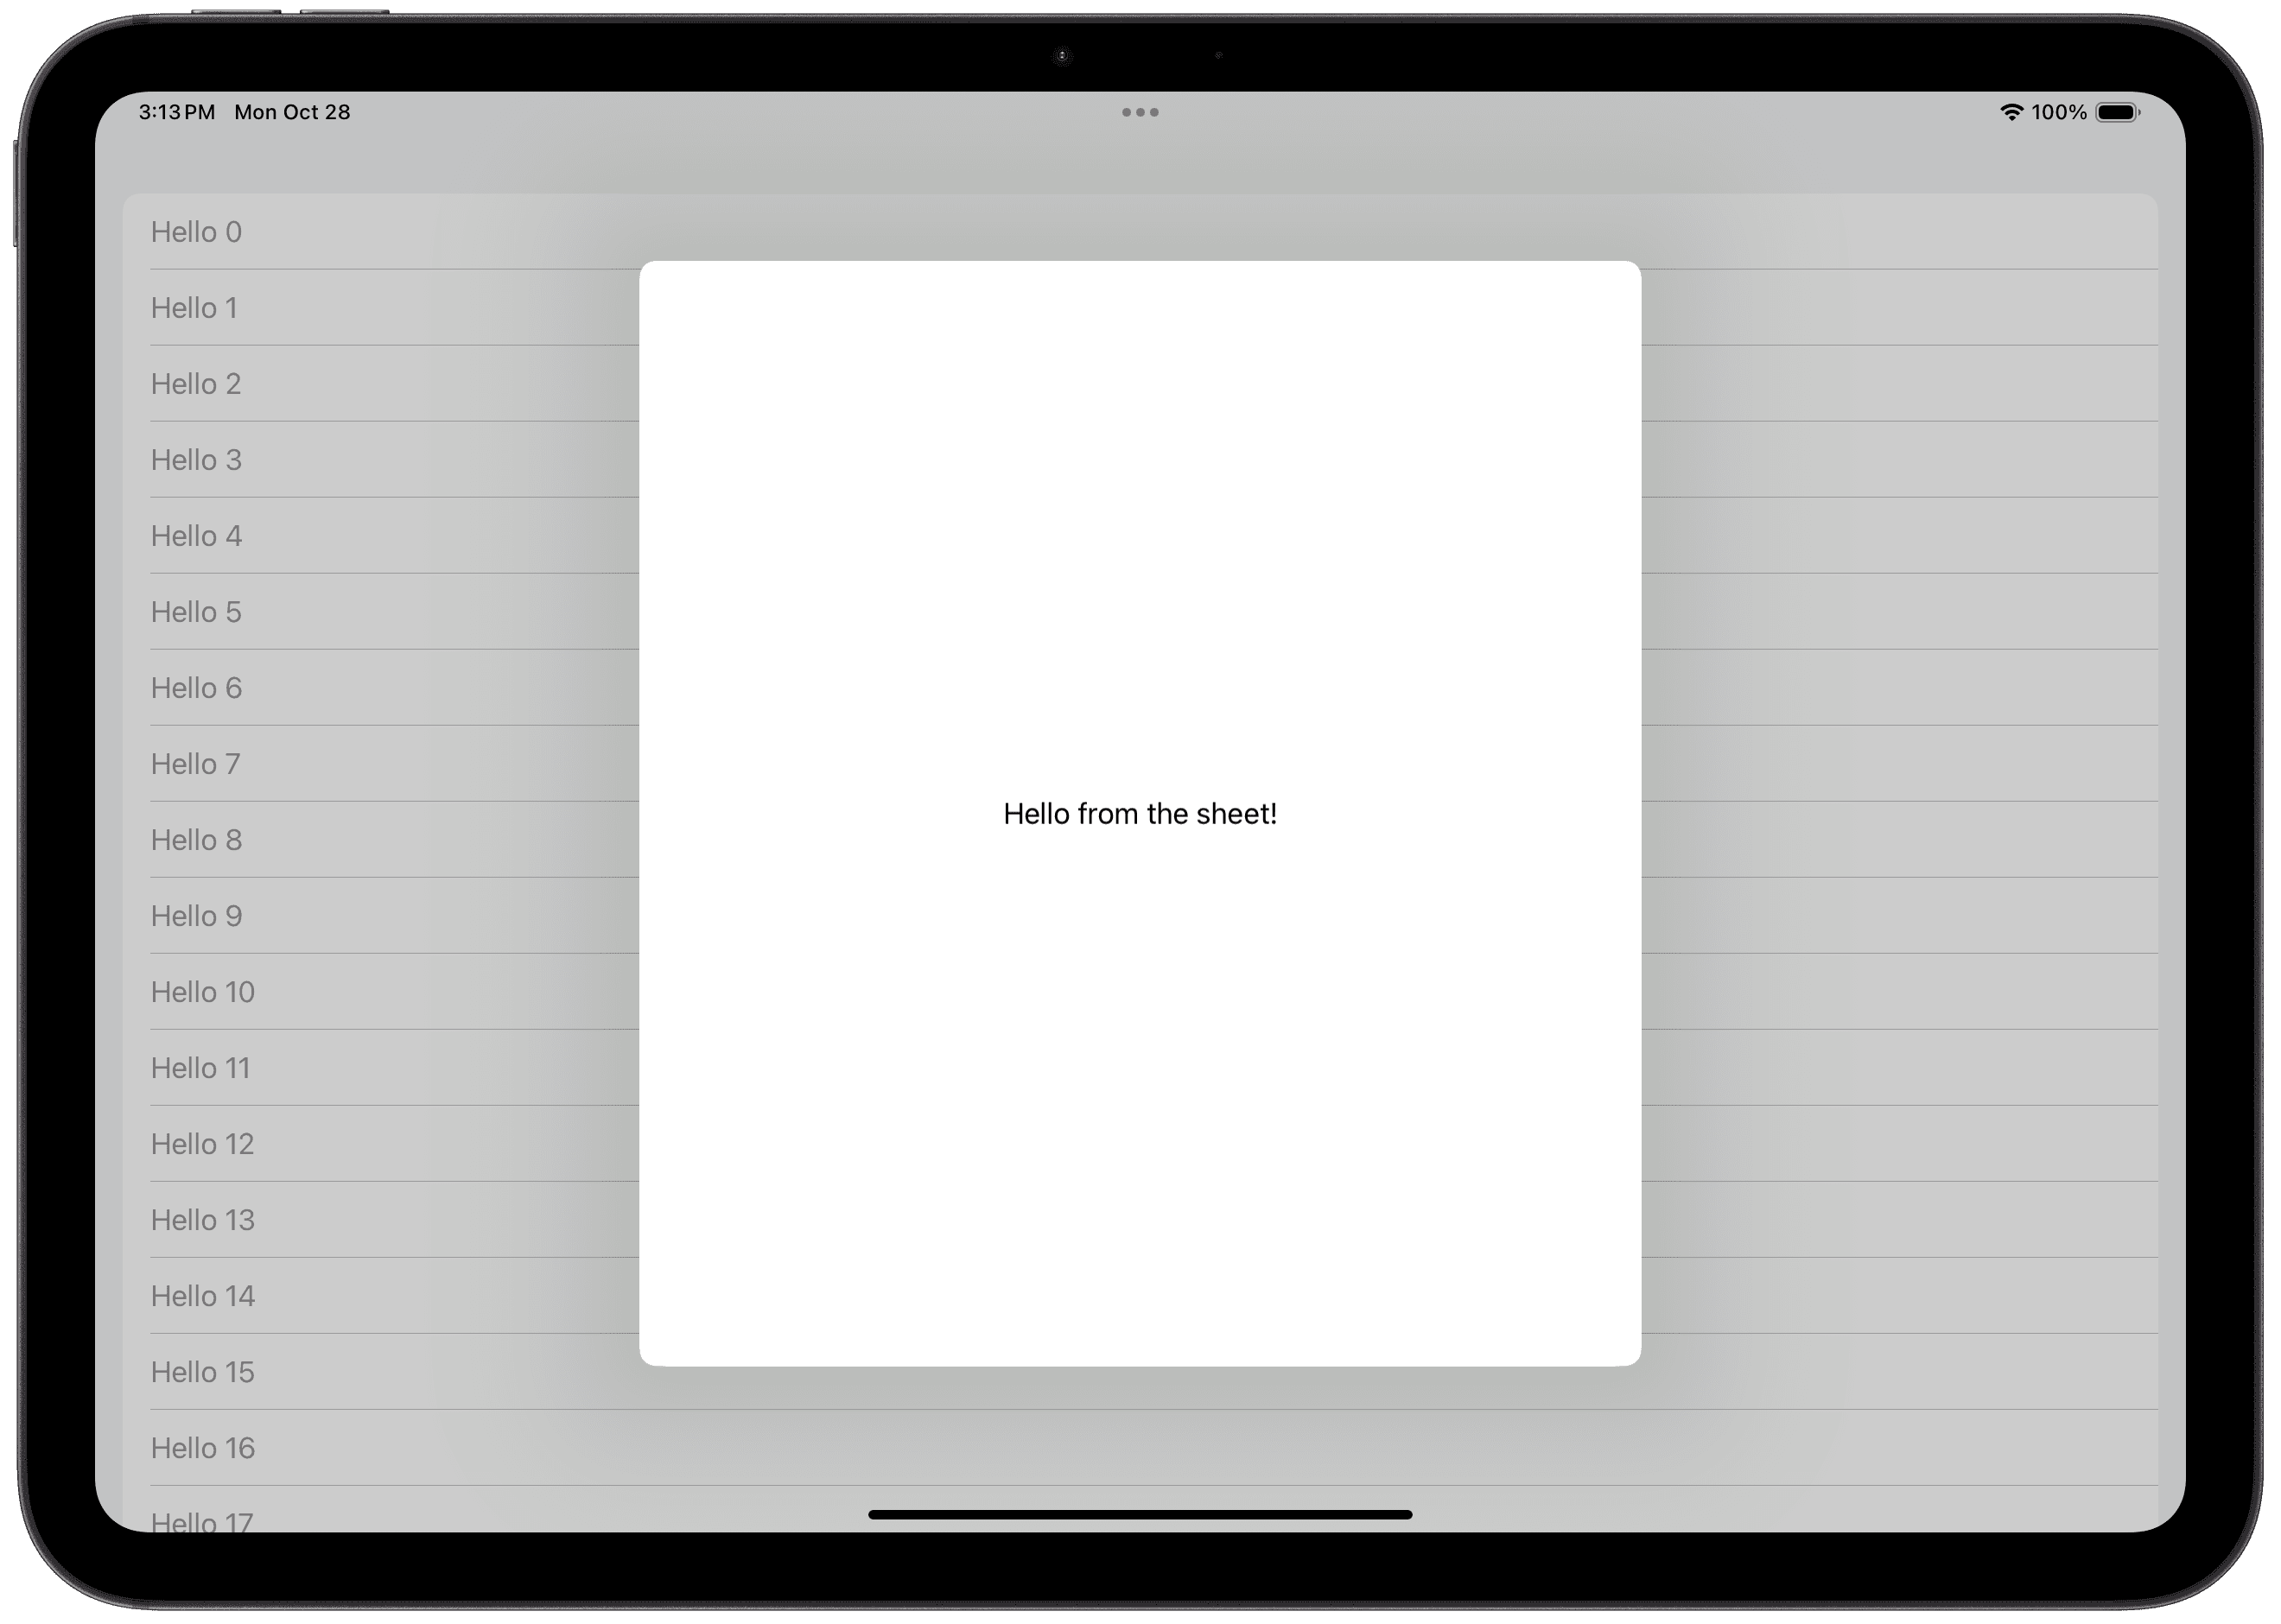
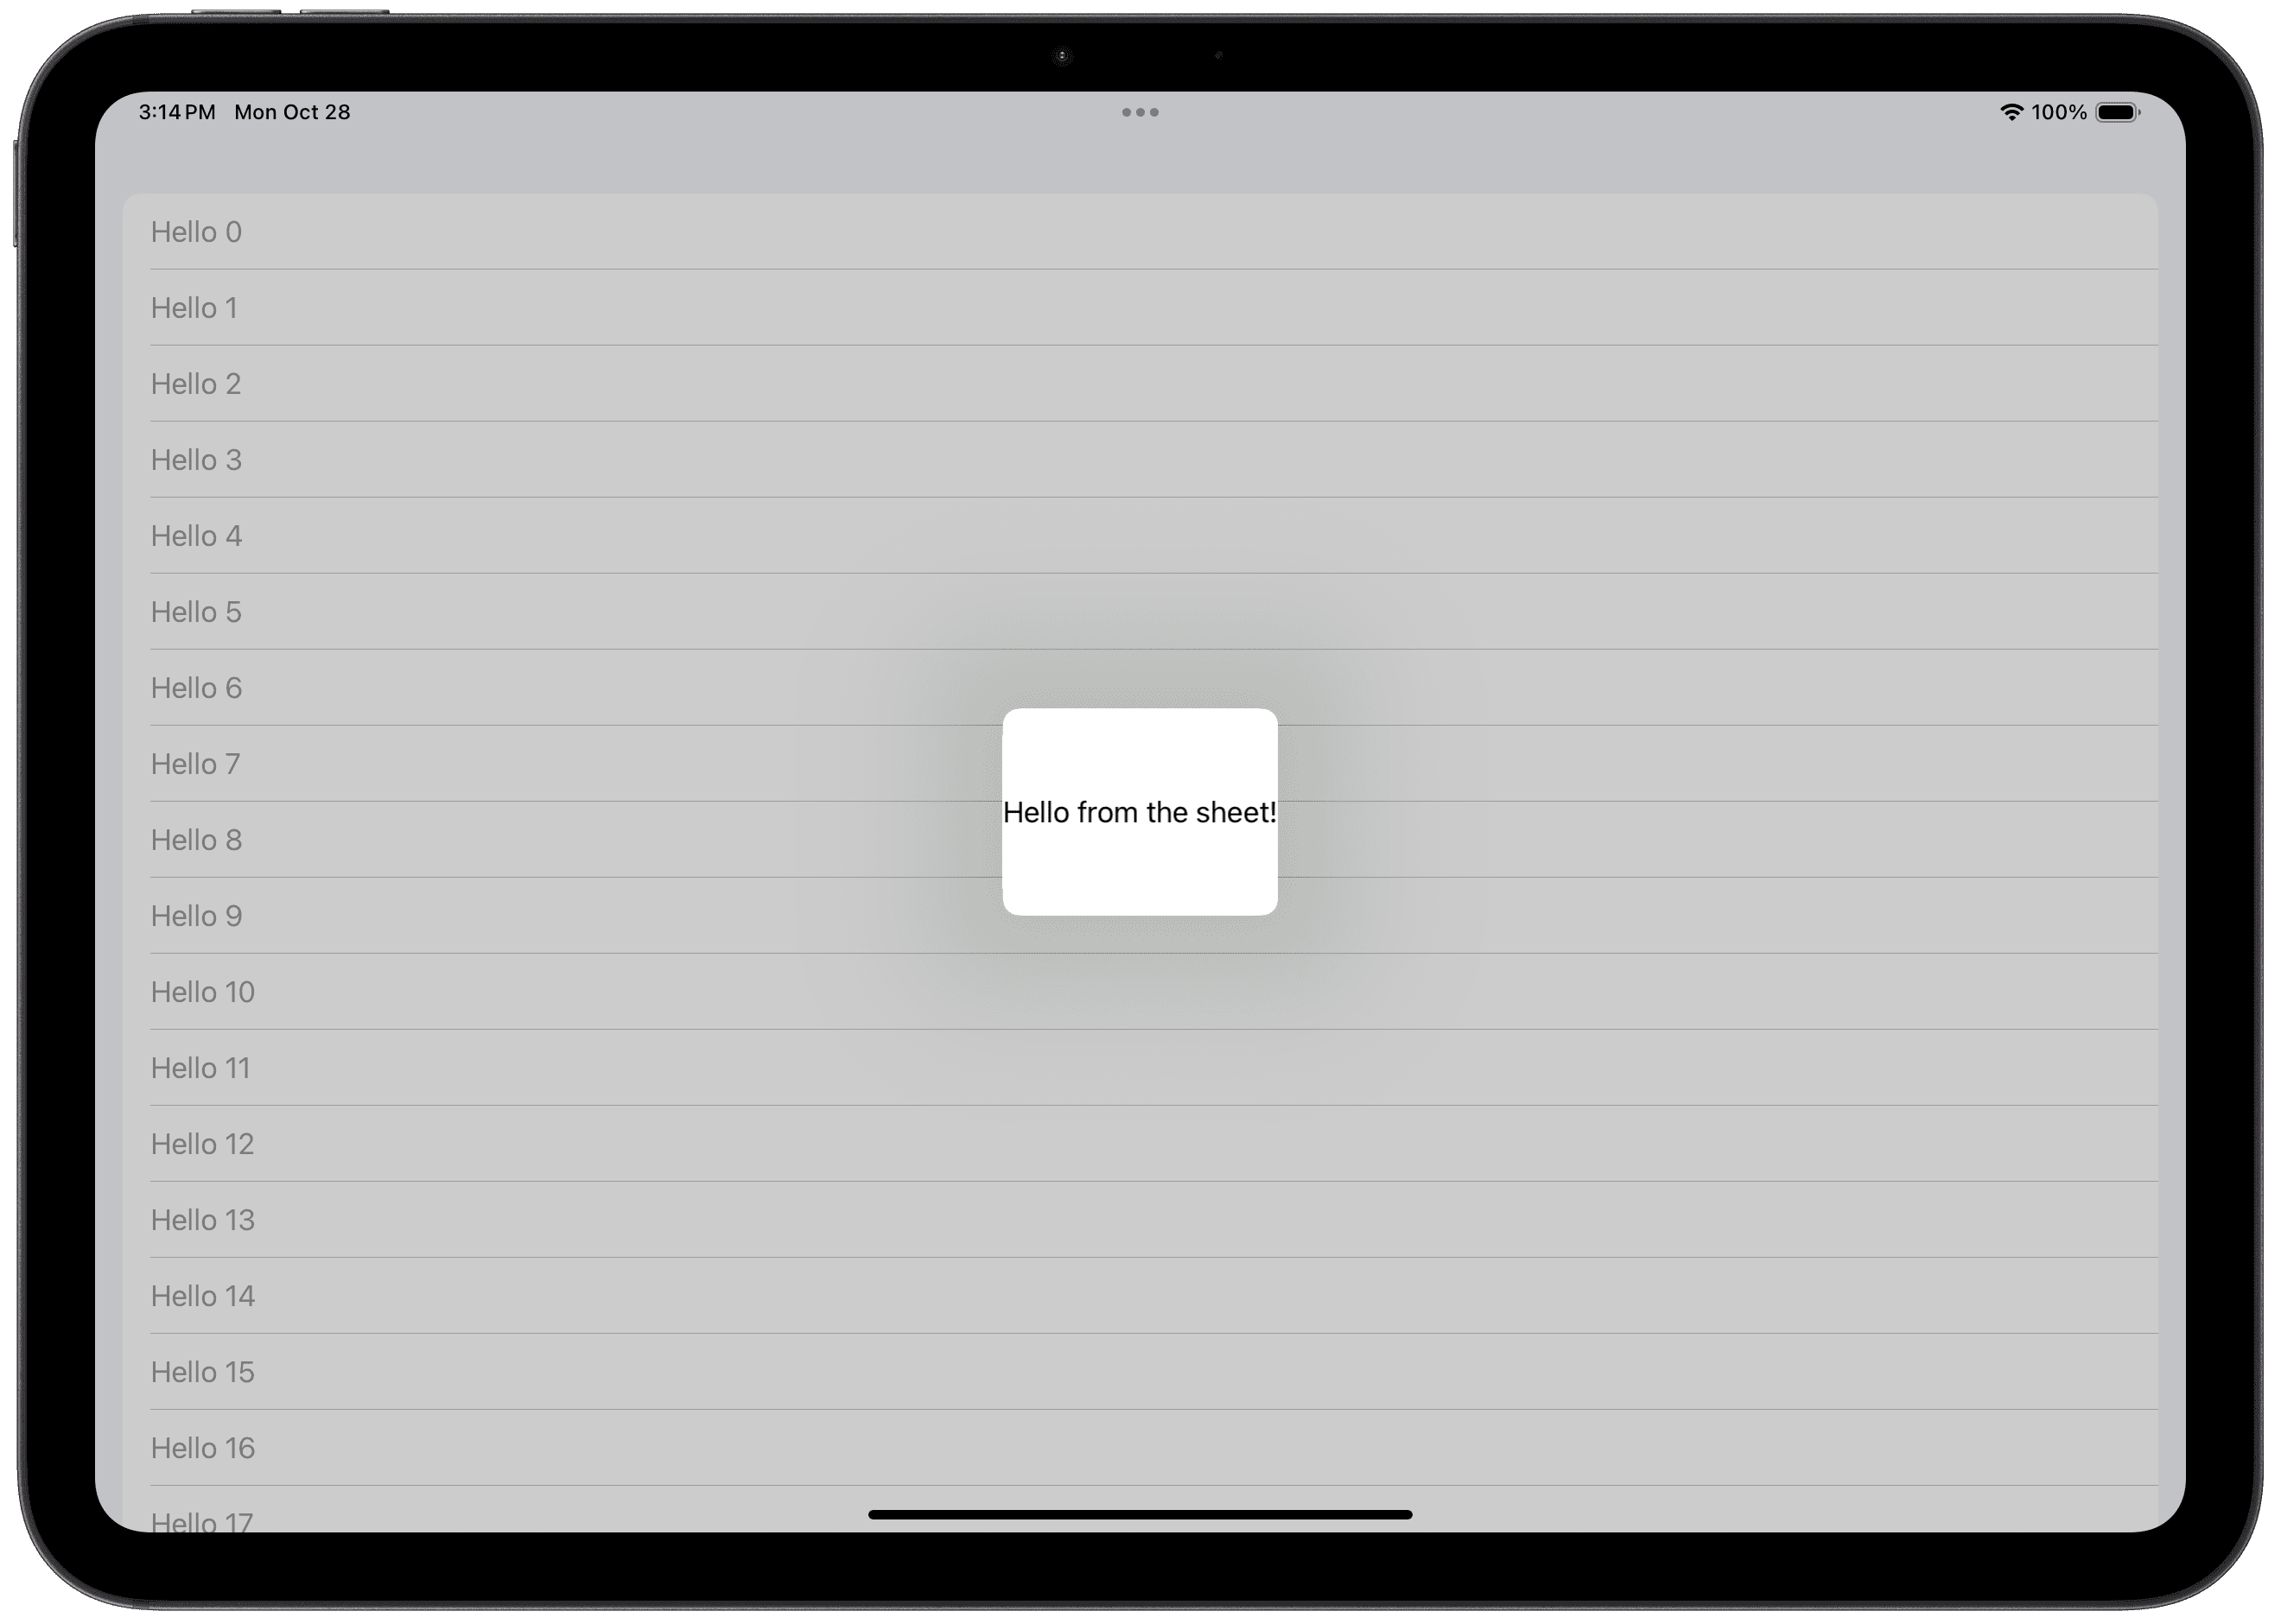
You can customize the presentation sizing. There are 3 main options
Page: roughly the size of a page of paper, designed for informational content
Form: slightly smaller than page, designed for forms. The default sizing option.
Fitted: Fits the presentation size to the contents
Page

Form
Fitted
Making Page/Form Fitted
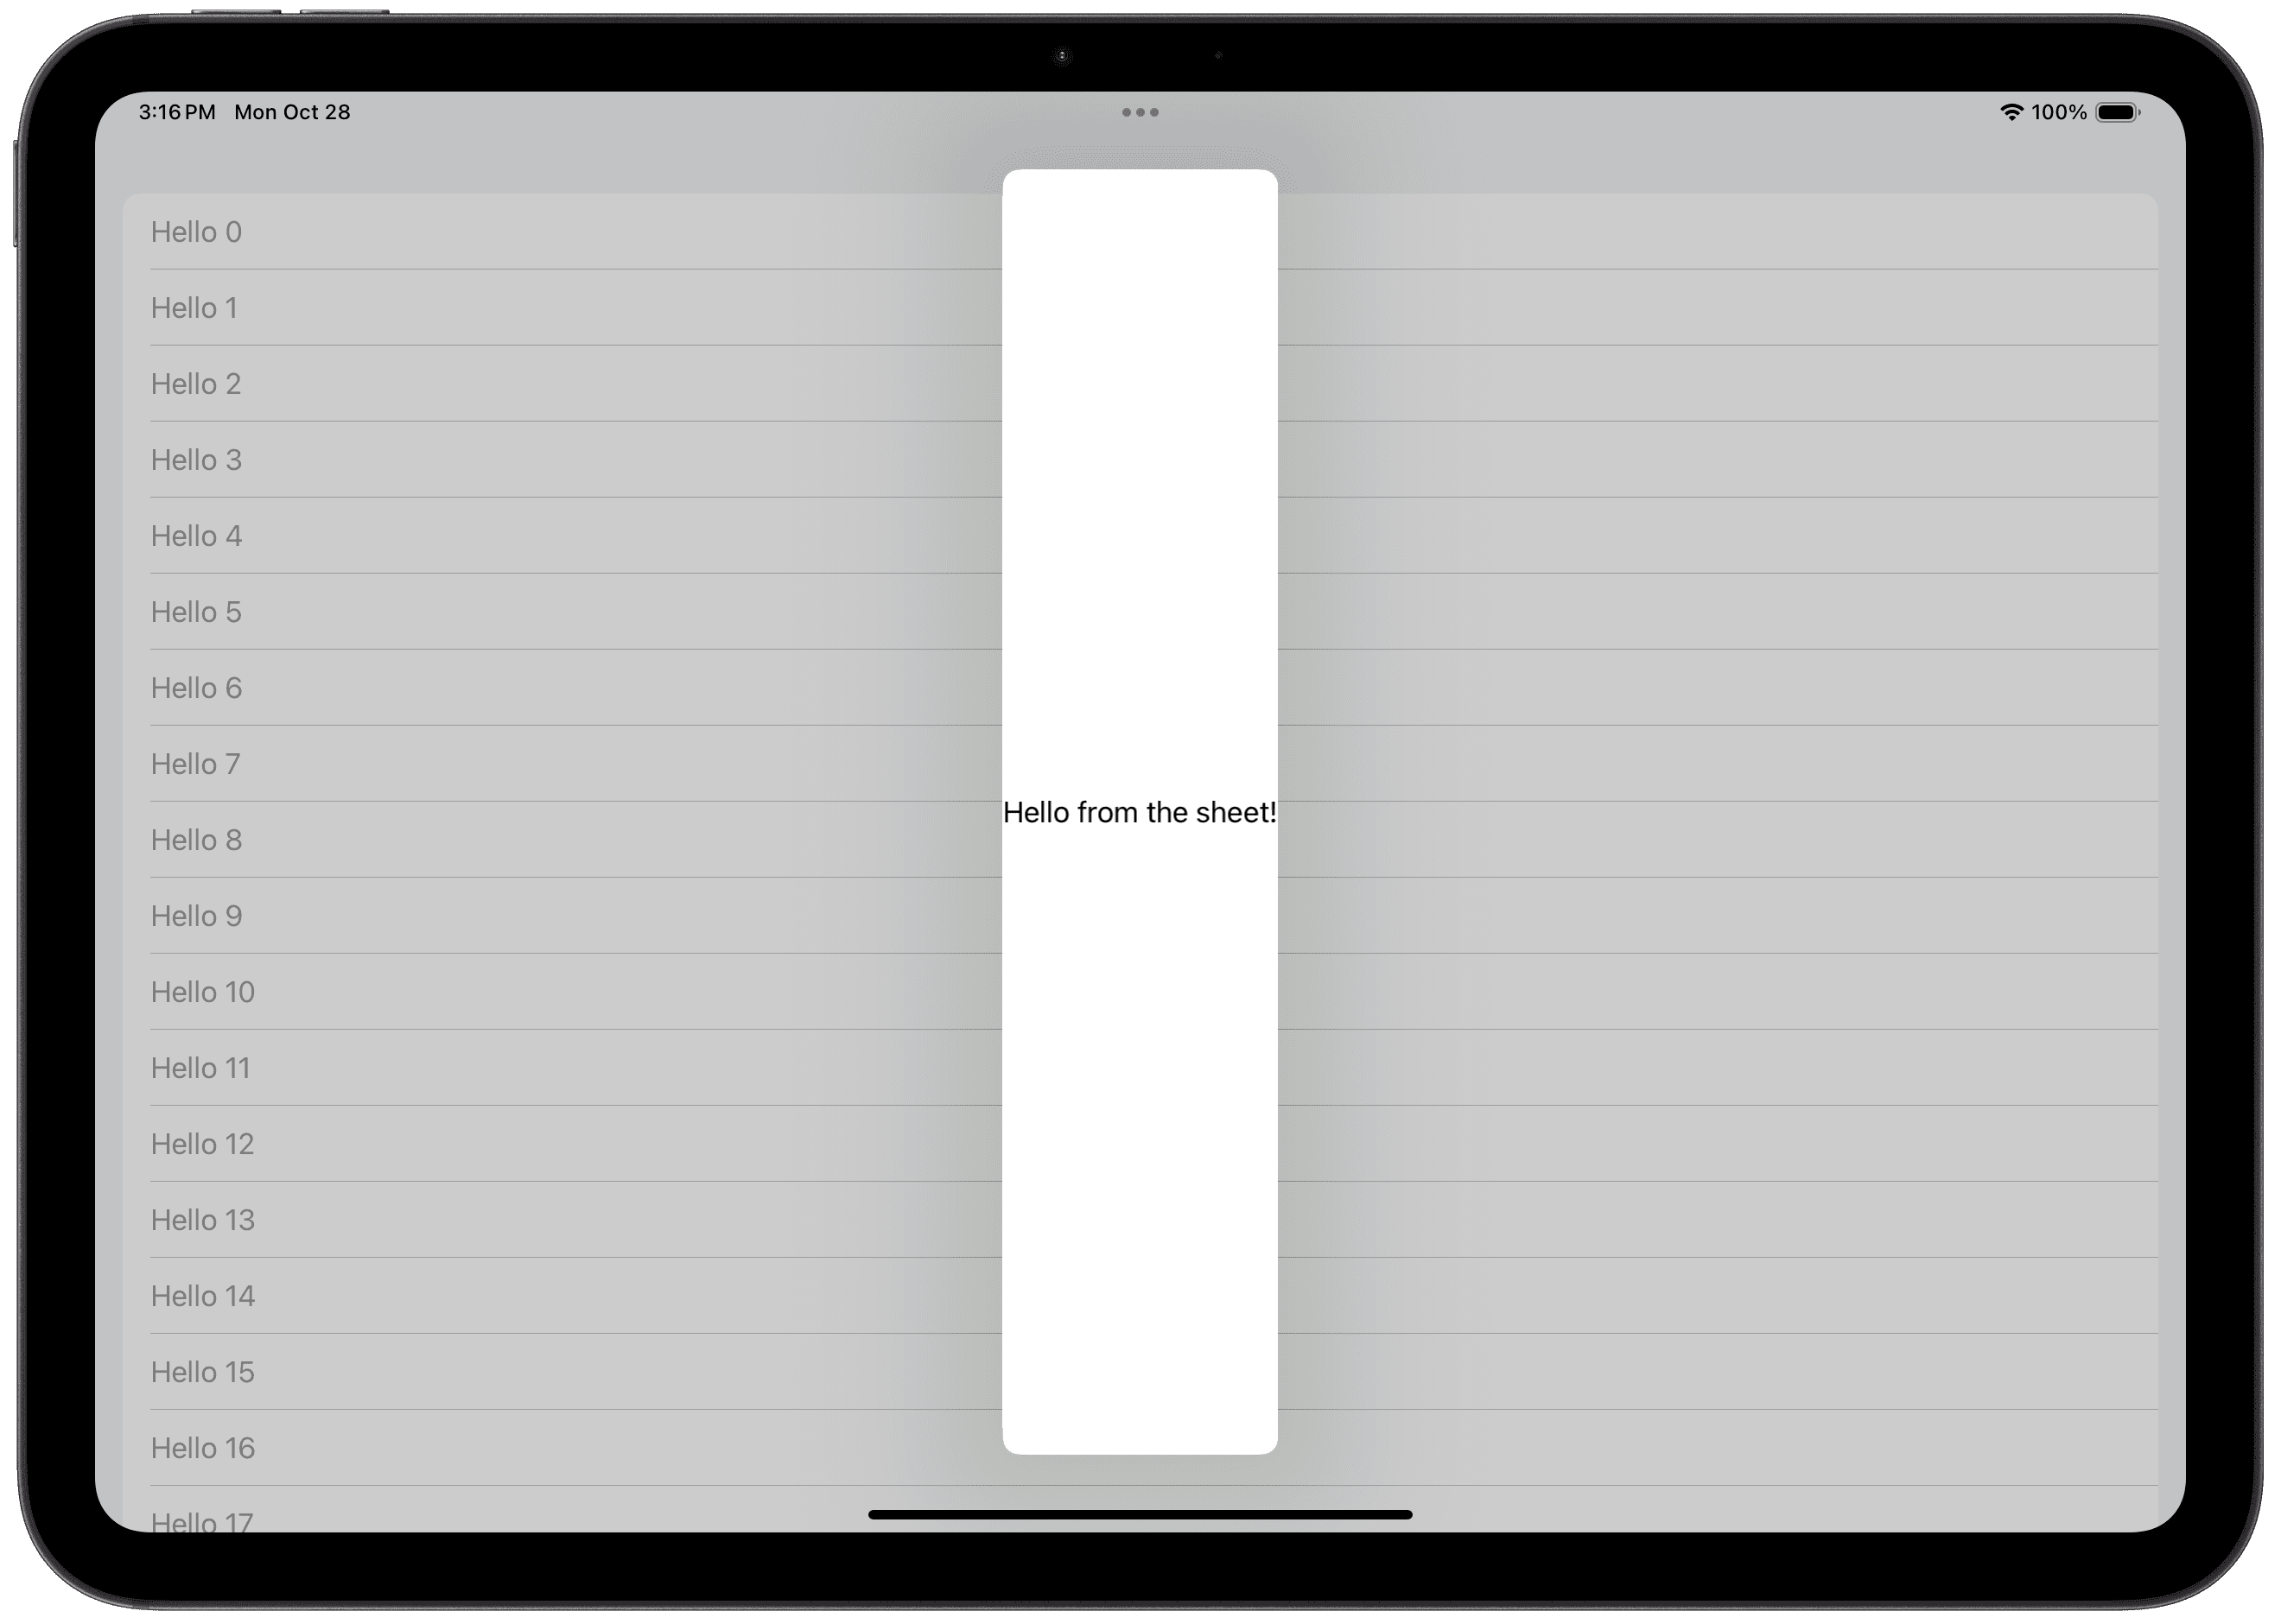
You can make Page or Form fitted in a specific axis by using the .fitted function.
The .fitted function accepts two parameters, horizontal and vertical. This allows you to specify which axis the sheet should fit to.
In the following example, you can create a long sheet by fitting it to only the horizontal axis.
In These Collections
This article can also be found in these collections.


