


About NavigationStack
NavigationStack allows you to navigate through and present a stack of views over the root view. Views can be added to the top of the stack through multiple ways, and removed using controls like a Back button or a swipe gesture.
Navigating between views
NavigationLink
To navigate to another view, you can make use of a NavigationLink. In the example below, a NavigationLink is being used to open InformationView from PeopleView. A NavigationLink can only be used within a NavigationStack or NavigationSplitView.

.navigationDestination
The .navigationDestination(isPresented: destination:) modifier's syntax is similar to that of a .sheet, where you can programmatically display and remove a view by changing the value of the isPresented argument.
The example code below describes how a settings page can be opened programmatically either via a button in the view or a button in the toolbar.

The .navigationDestination(item: destination:) modifier can be used to add a view to the top of the stack by assigning the item argument with a value. This modifier is useful when you want to keep track of the option the user has selected, while navigating to another view. You can also programmatically update the binding to remove the view by setting the value of the variable to nil.
The example below shows how the modifier can be used to programmatically add a view to the stack, keeping track of which person (if any) is being selected and printing the result into the console. .navigationDestination(item: destination:) can only be used within a NavigationStack or NavigationSplitView.


The .navigationDestination(for: destination:) modifier can be used to show a view for a specific data type. The example below shows how the modifier can be used, and how different data types open different views. .navigationDestination(for: destination:) can only be used within a NavigationStack or NavigationSplitView.

More NavigationStack
Paths
You can control and keep track of views in the a NavigationStack by creating a Binding value and passing it into the path argument, which is of type NavigationPath. NavigationPath accepts all data types, and even mixes of them, as long as they conform to the Hashable protocol. You can append to the value of the path argument by using the .append method to add a view to the stack. You can also use the .removeLast method to remove the last view from the stack, which would also be the current view on the stack. Passing an Int as an argument into the .removeLast() argument removes the last n number of views from the stack, and assigning the value of the path argument as NavigationPath clears out the whole stack.
The example below shows how you can append views to the stack using NavigationPath, remove a specific number of views from the stack, and remove every single view from the stack.

.navigationTitle
Make use of .navigationTitle to create a title for your views. In the example below, a title is used to provide more context on the current view you are in. .navigationTitle can only be used within a NavigationStack or NavigationSplitView, or within a view that is a part of a NavigationStack's stack, without it needing to be wrapped within a NavigationStack itself.

.navigationBarTitleDisplayMode
You can also make your title smaller and more space-efficient by using the .navigationBarTitleDisplayMode(.inline) modifier

NavigationSplitView
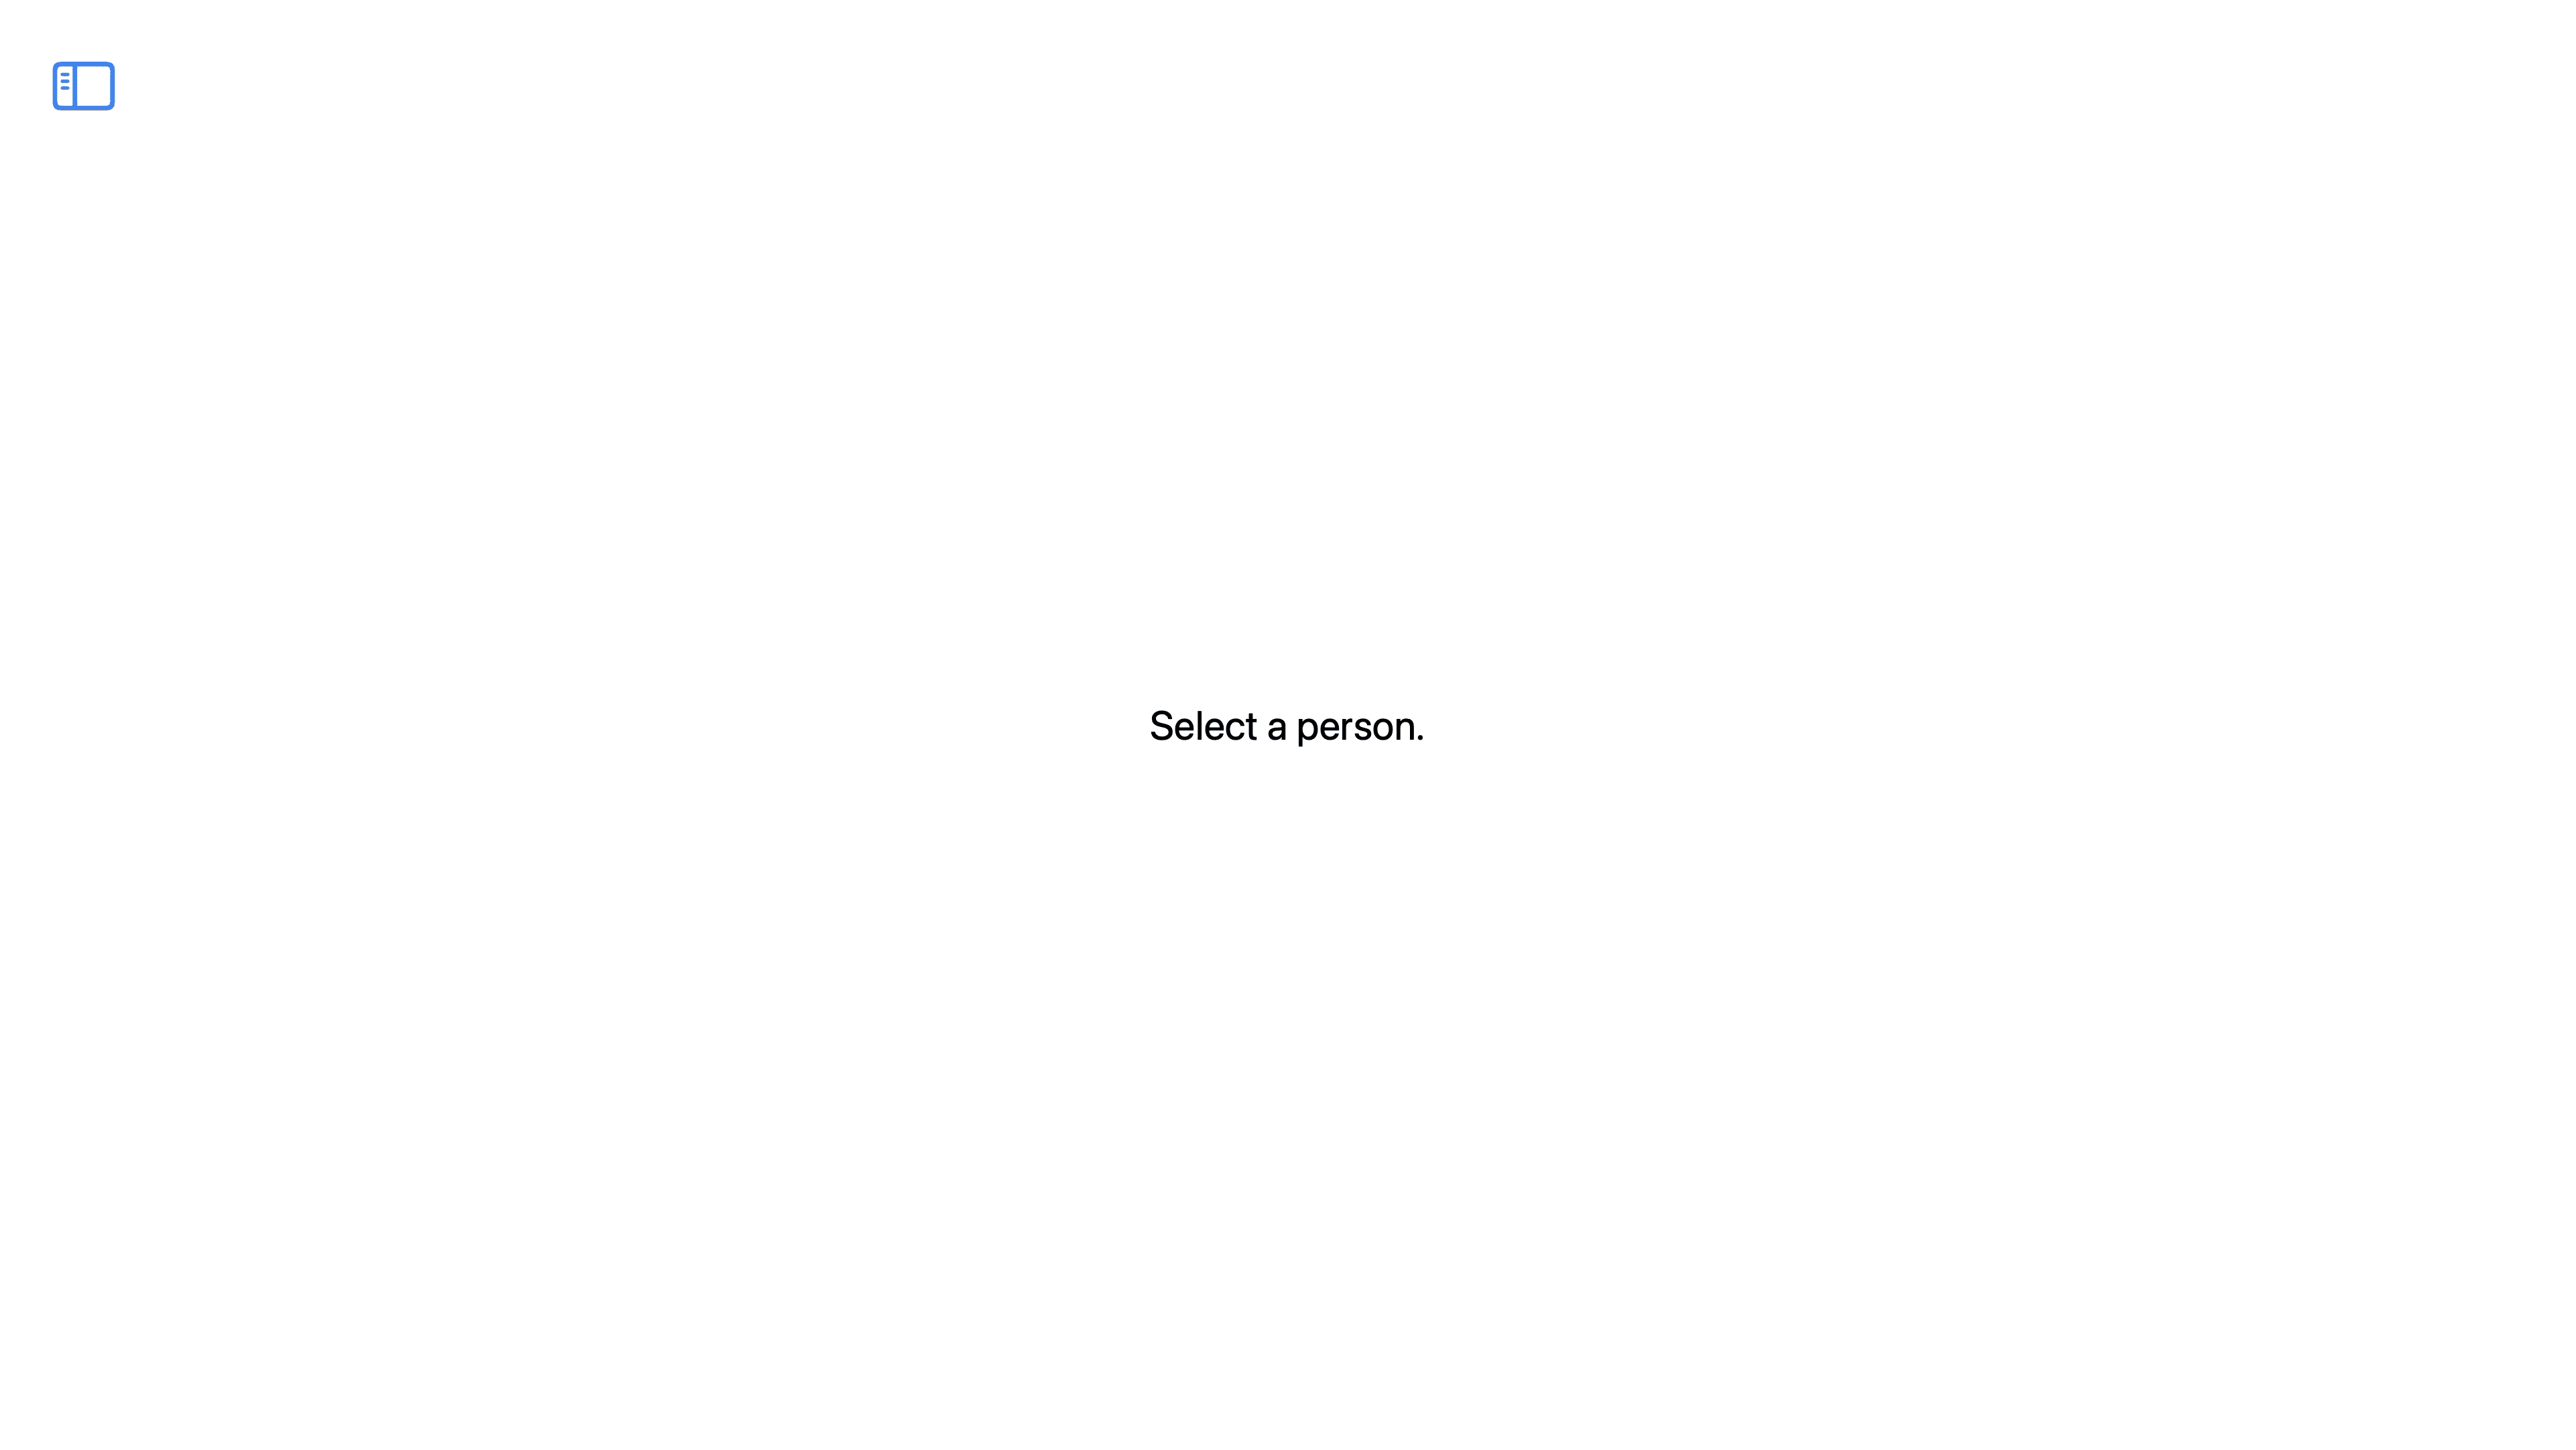
NavigationSplitView allows you to create two or three column views, with each leading column controlling the view in the subsequent column.
The example below shows a two column NavigationSplitView. The leading column called the sidebar, is being used to control what is being presented in the trailing column, the detail.

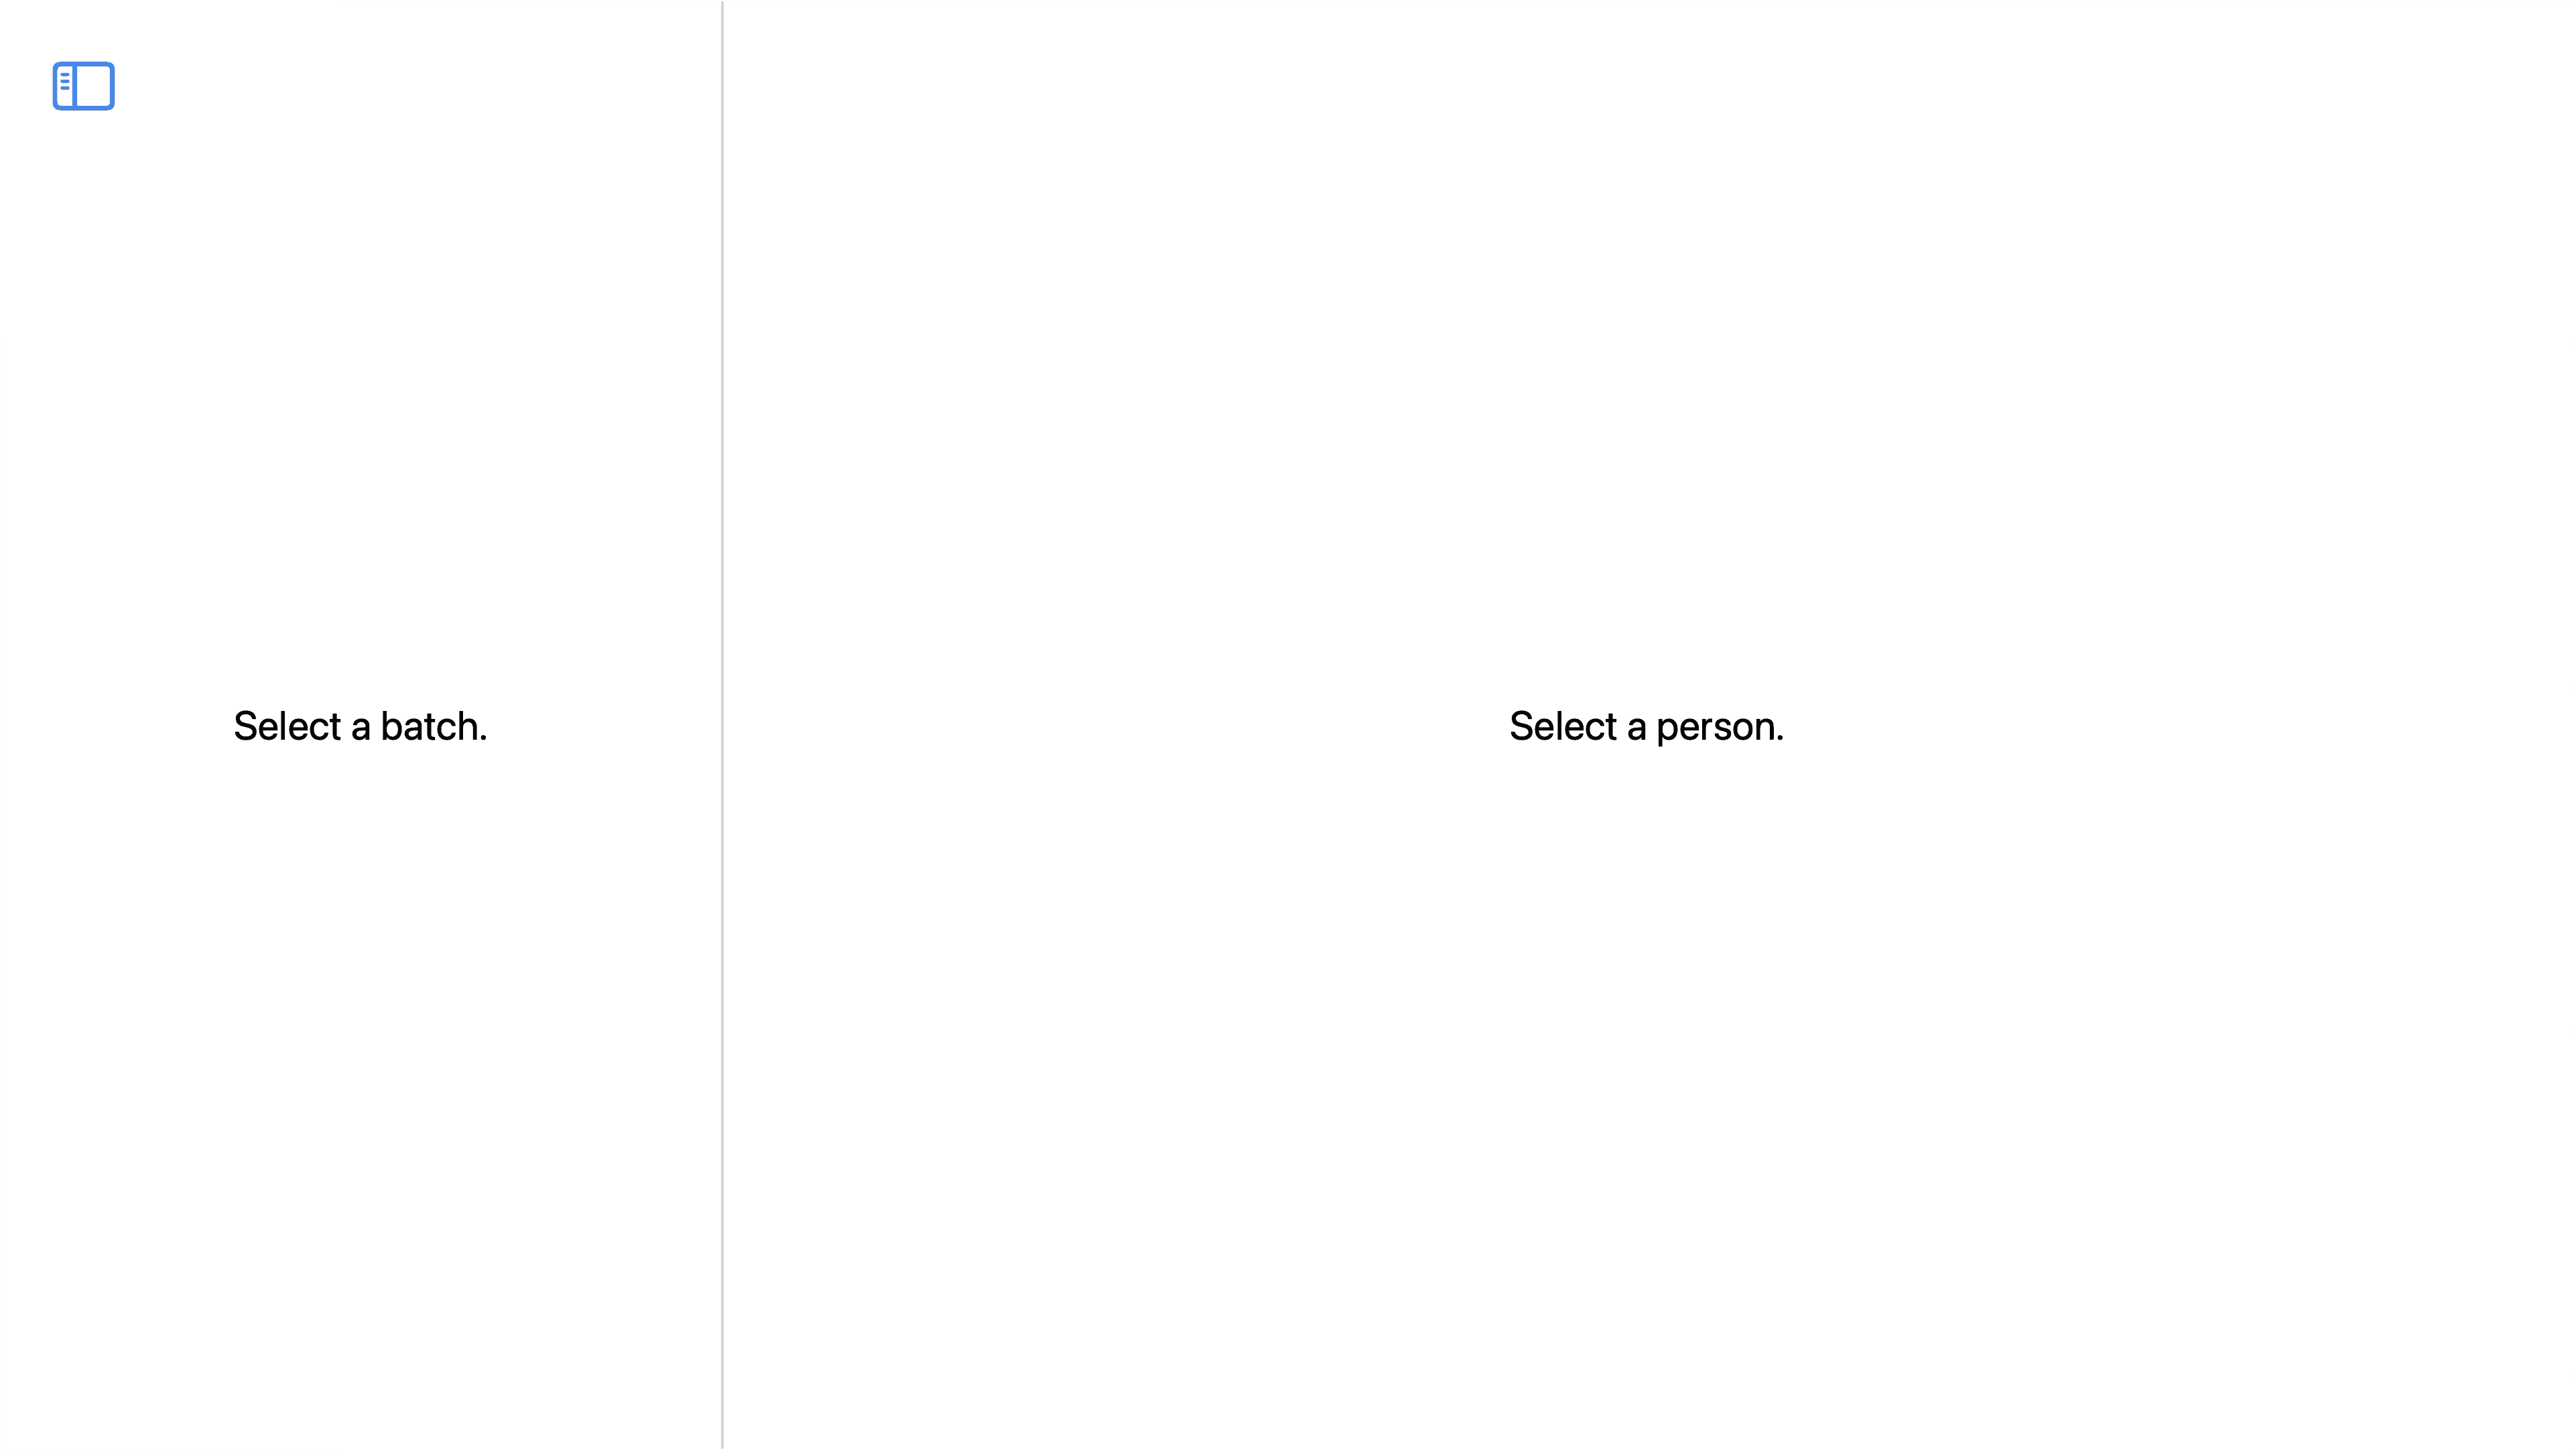
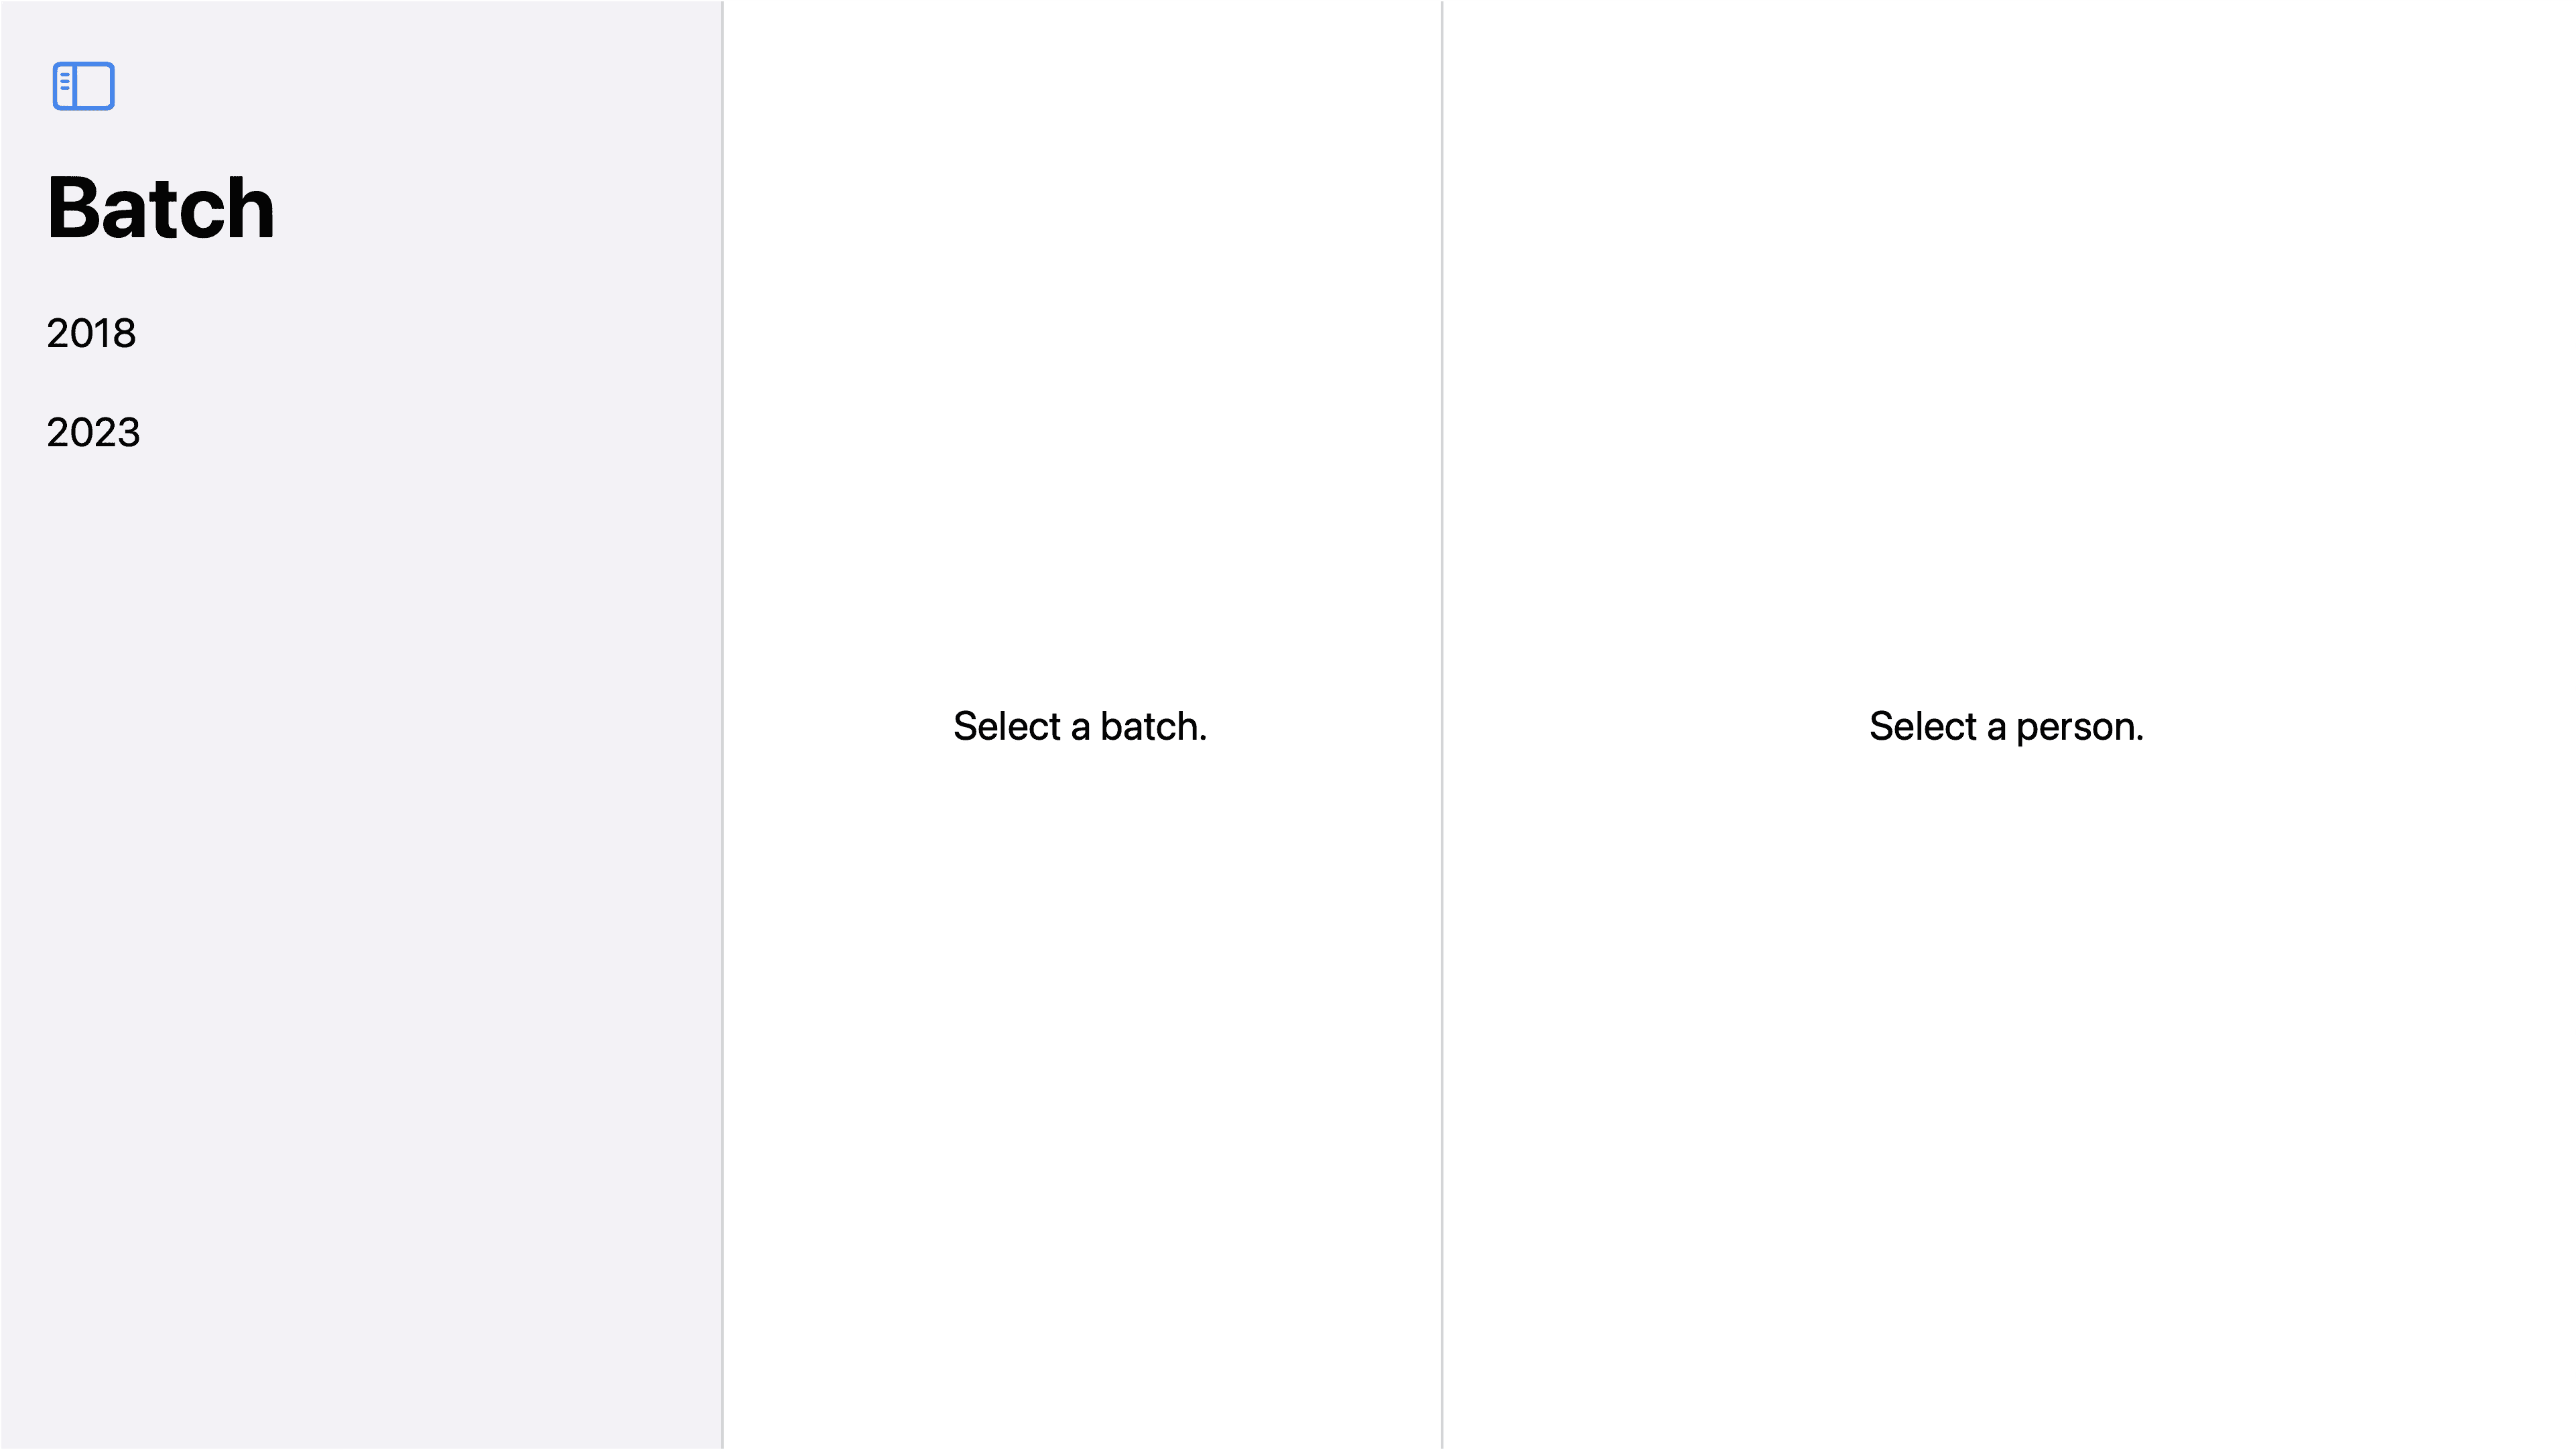
As shown in the example below, to create a three column NavigationSplitView, add the content argument before detail. In this case, the contents within the sidebar column will control the contents within the content column, which will then control the contents within the detail column.

Modifying Columns
You're able to programmatically control the visibility of columns in a NavigationSplitView by creating a State variable of type NavigationSplitViewVisibility and passing that into the preferredColumn: argument.
The example below shows a column visibility of .detailOnly.
The example below shows a column visibility of .doubleColumn.
The example below shows a column visibility of .all.
Preferred Columns
You can set a preferred column when the app becomes compact using the preferredCompactColumn: argument. Create a state variable of type NavigationSplitViewColumn and pass it into the argument. For example, if your app is running on an iPhone or if your iPad app is being used in in multitasking, the first column that is shown will be the column specified in your preferredCompactColumn argument.
Following the example code below, the detail column will be shown first if the app's size becomes compact.
Styling
Width
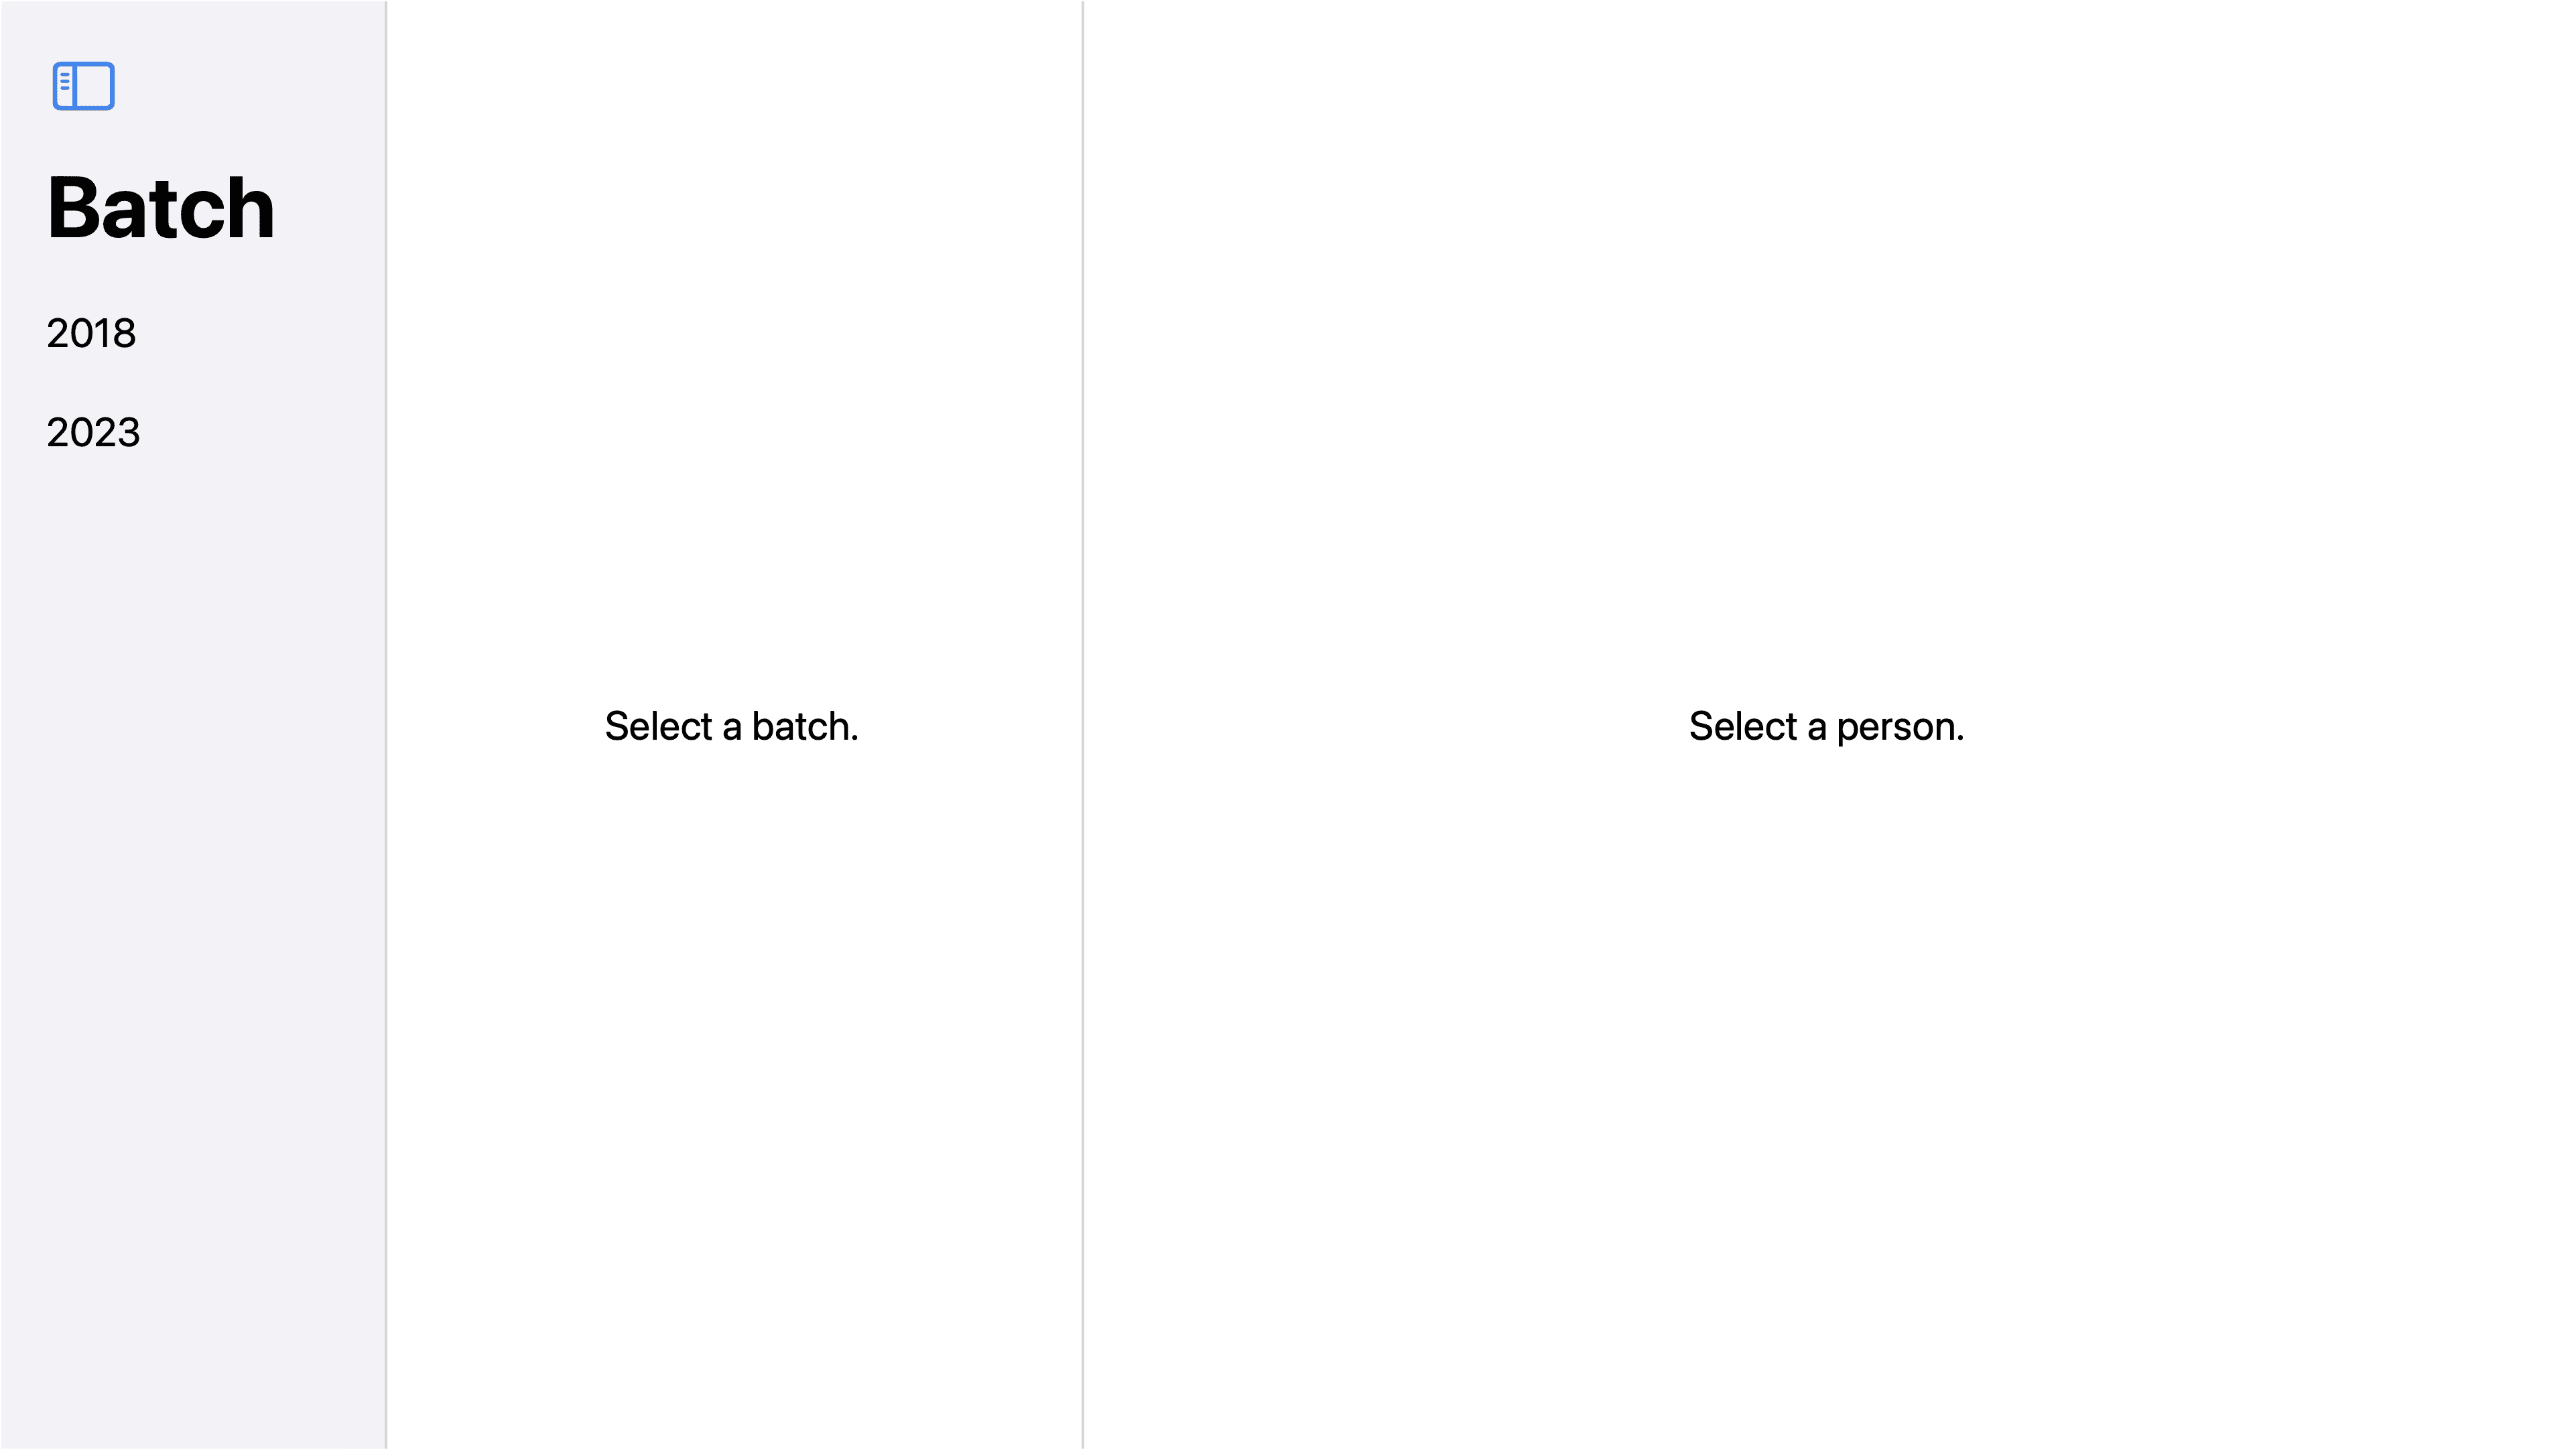
You're able to specify the width of each of the columns in a NavigationSplitView using the .navigationSplitViewColumnWidth(_:) modifier. To set minimum, maximum, and ideal sizes for a column, use the .navigationSplitViewColumnWidth(min:ideal:max:). However, NavigationSplitView may still make adjustments to the width of the columns depending on the constraints of the view.
Below shows an example of a sidebar with a .navigationSplitViewColumnWidth(200)modifier.
NavigationSplitViewStyle
You're able to customise the style of your NavigationSplitView using the .navigationSplitViewStyle modifier.
The example below shows the .prominentDetail style, where the sidebar and content are layered above the detail view area.

In These Collections
This article can also be found in these collections.
See Also

Binding Variables
Binding creates a two-way connection between a property that stores data, and a view that displays and changes the data.
Color
Colors are used throughout SwiftUI from setting text colors to background colors.

State Variables
State variables are used to provide interactivity in SwiftUI.
