
Getting Started
Creating a Stepper
To create a Stepper, you will need to supply it with a Binding value and a Label—a companion label to describe the Stepper's content.
In the following example, a stepper can be used to increment and decrement an integer.
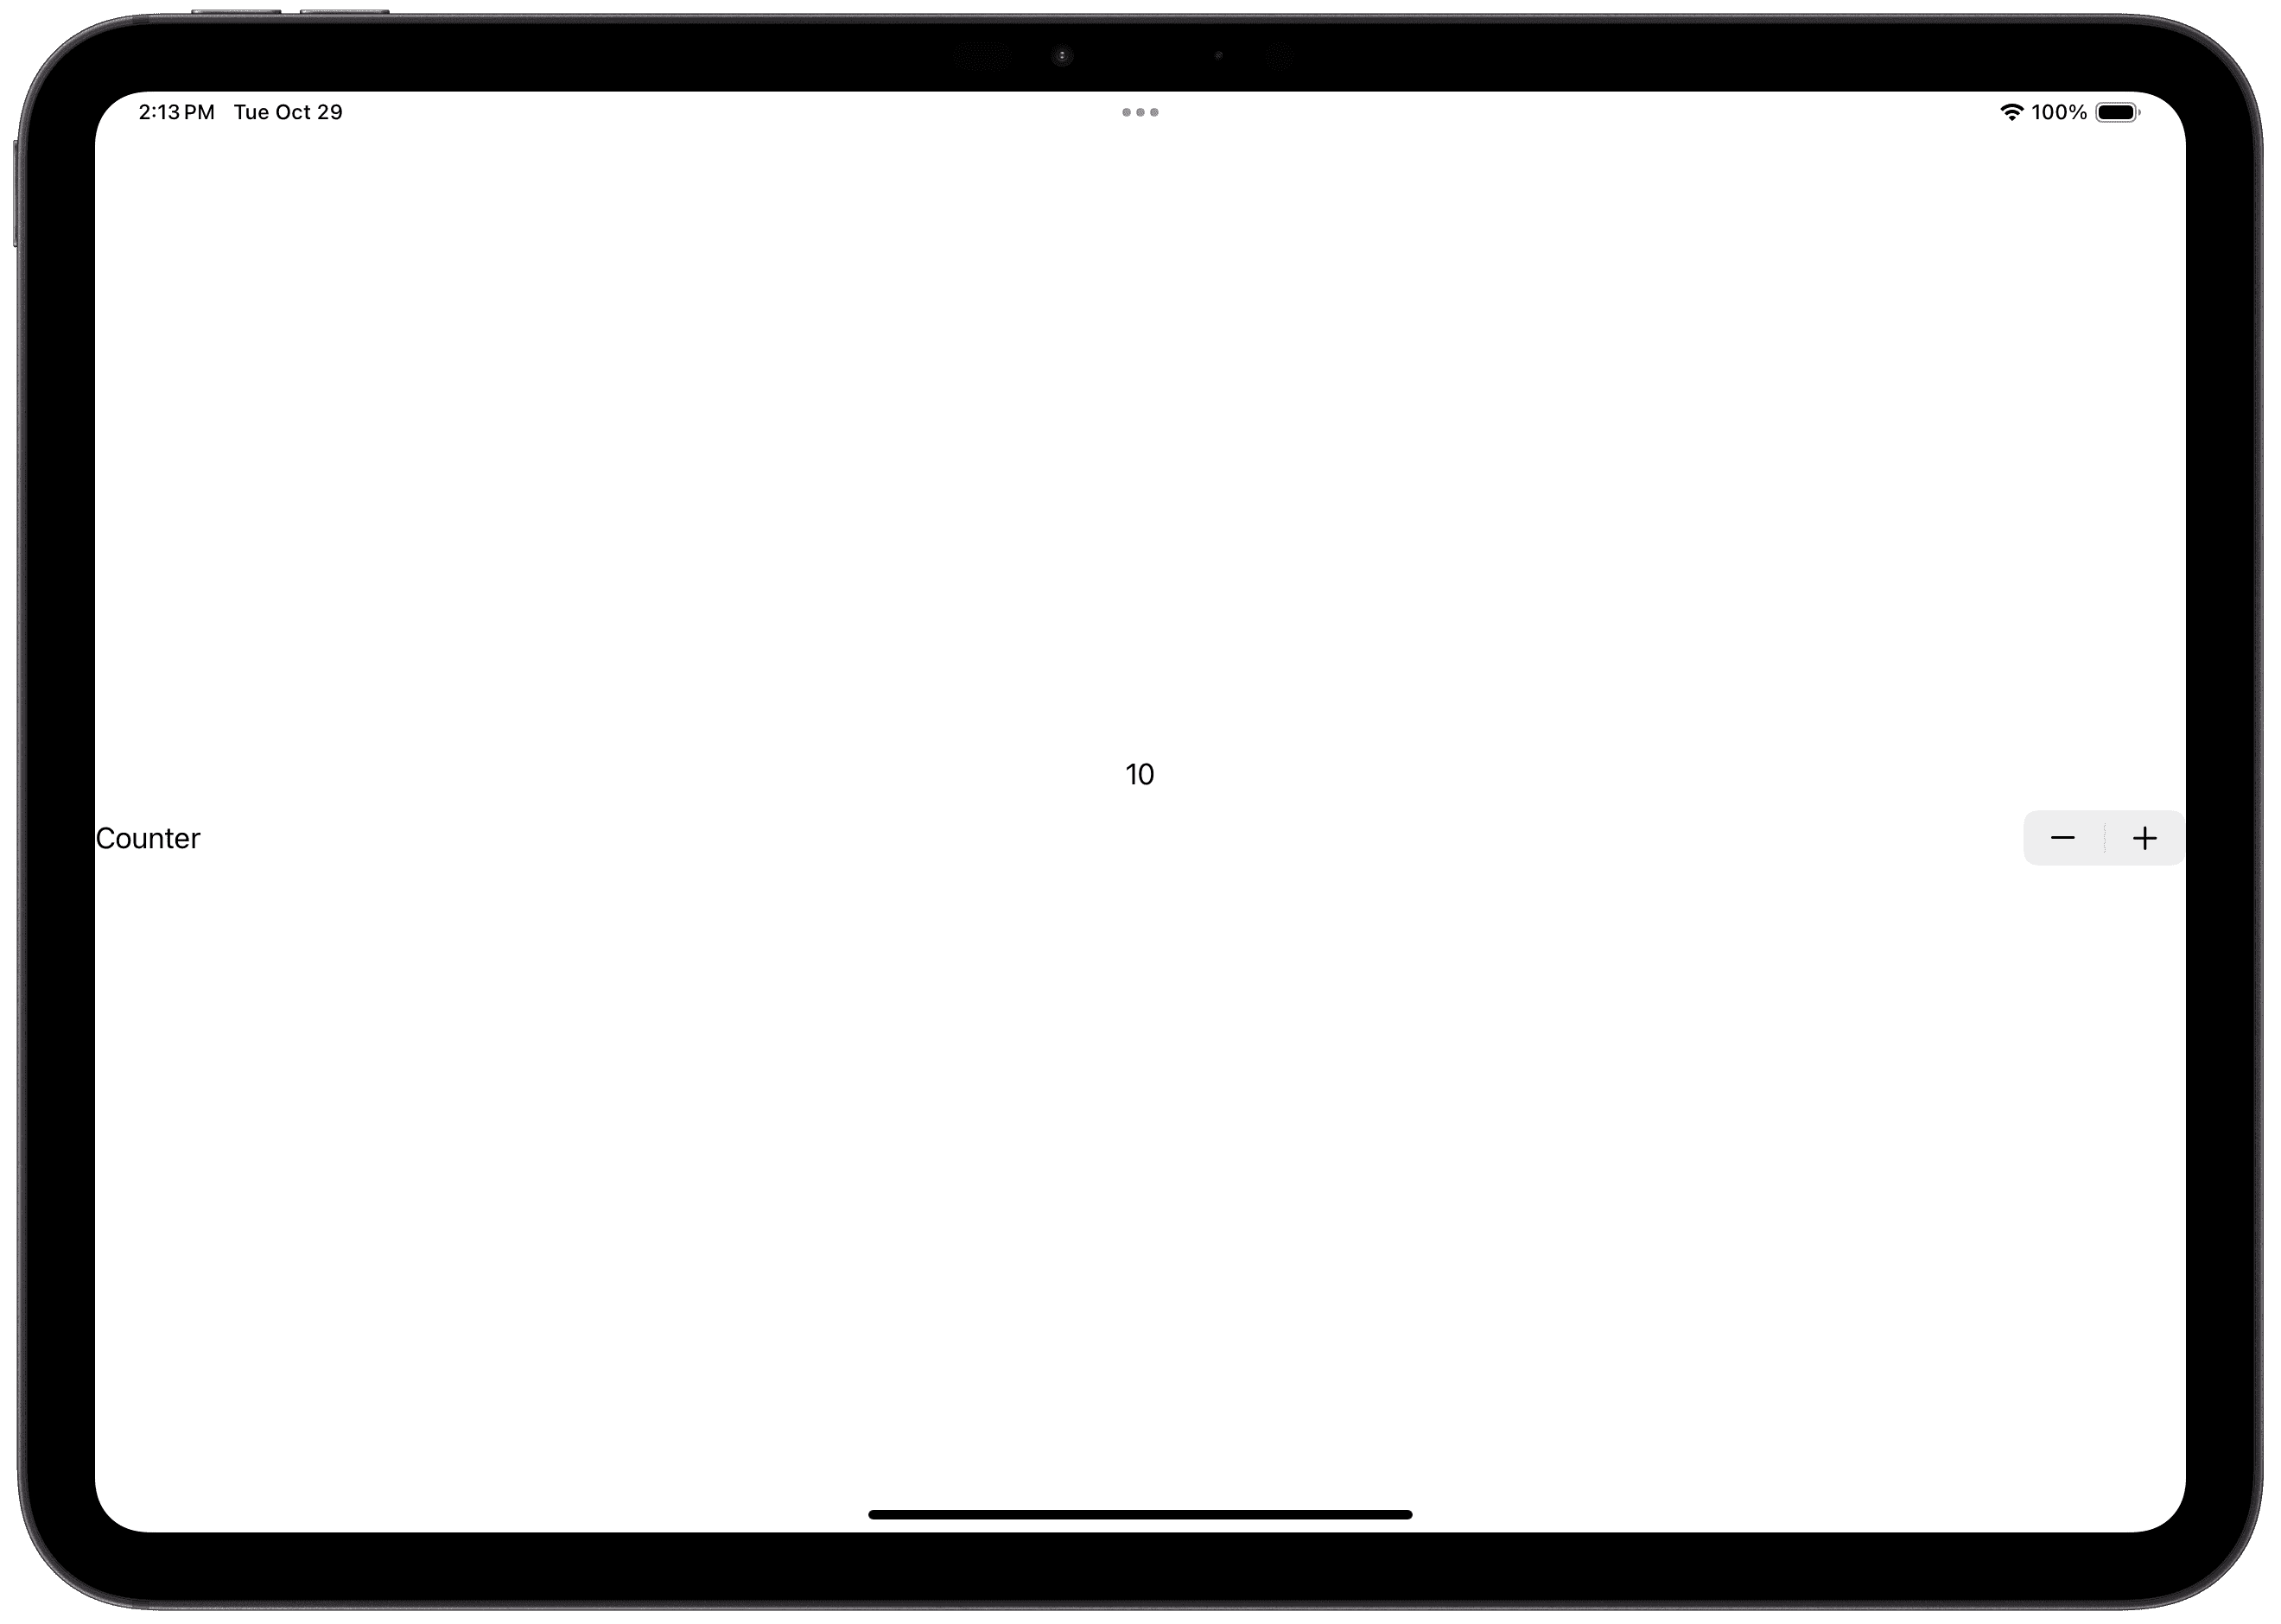
Stepper with Text Labels
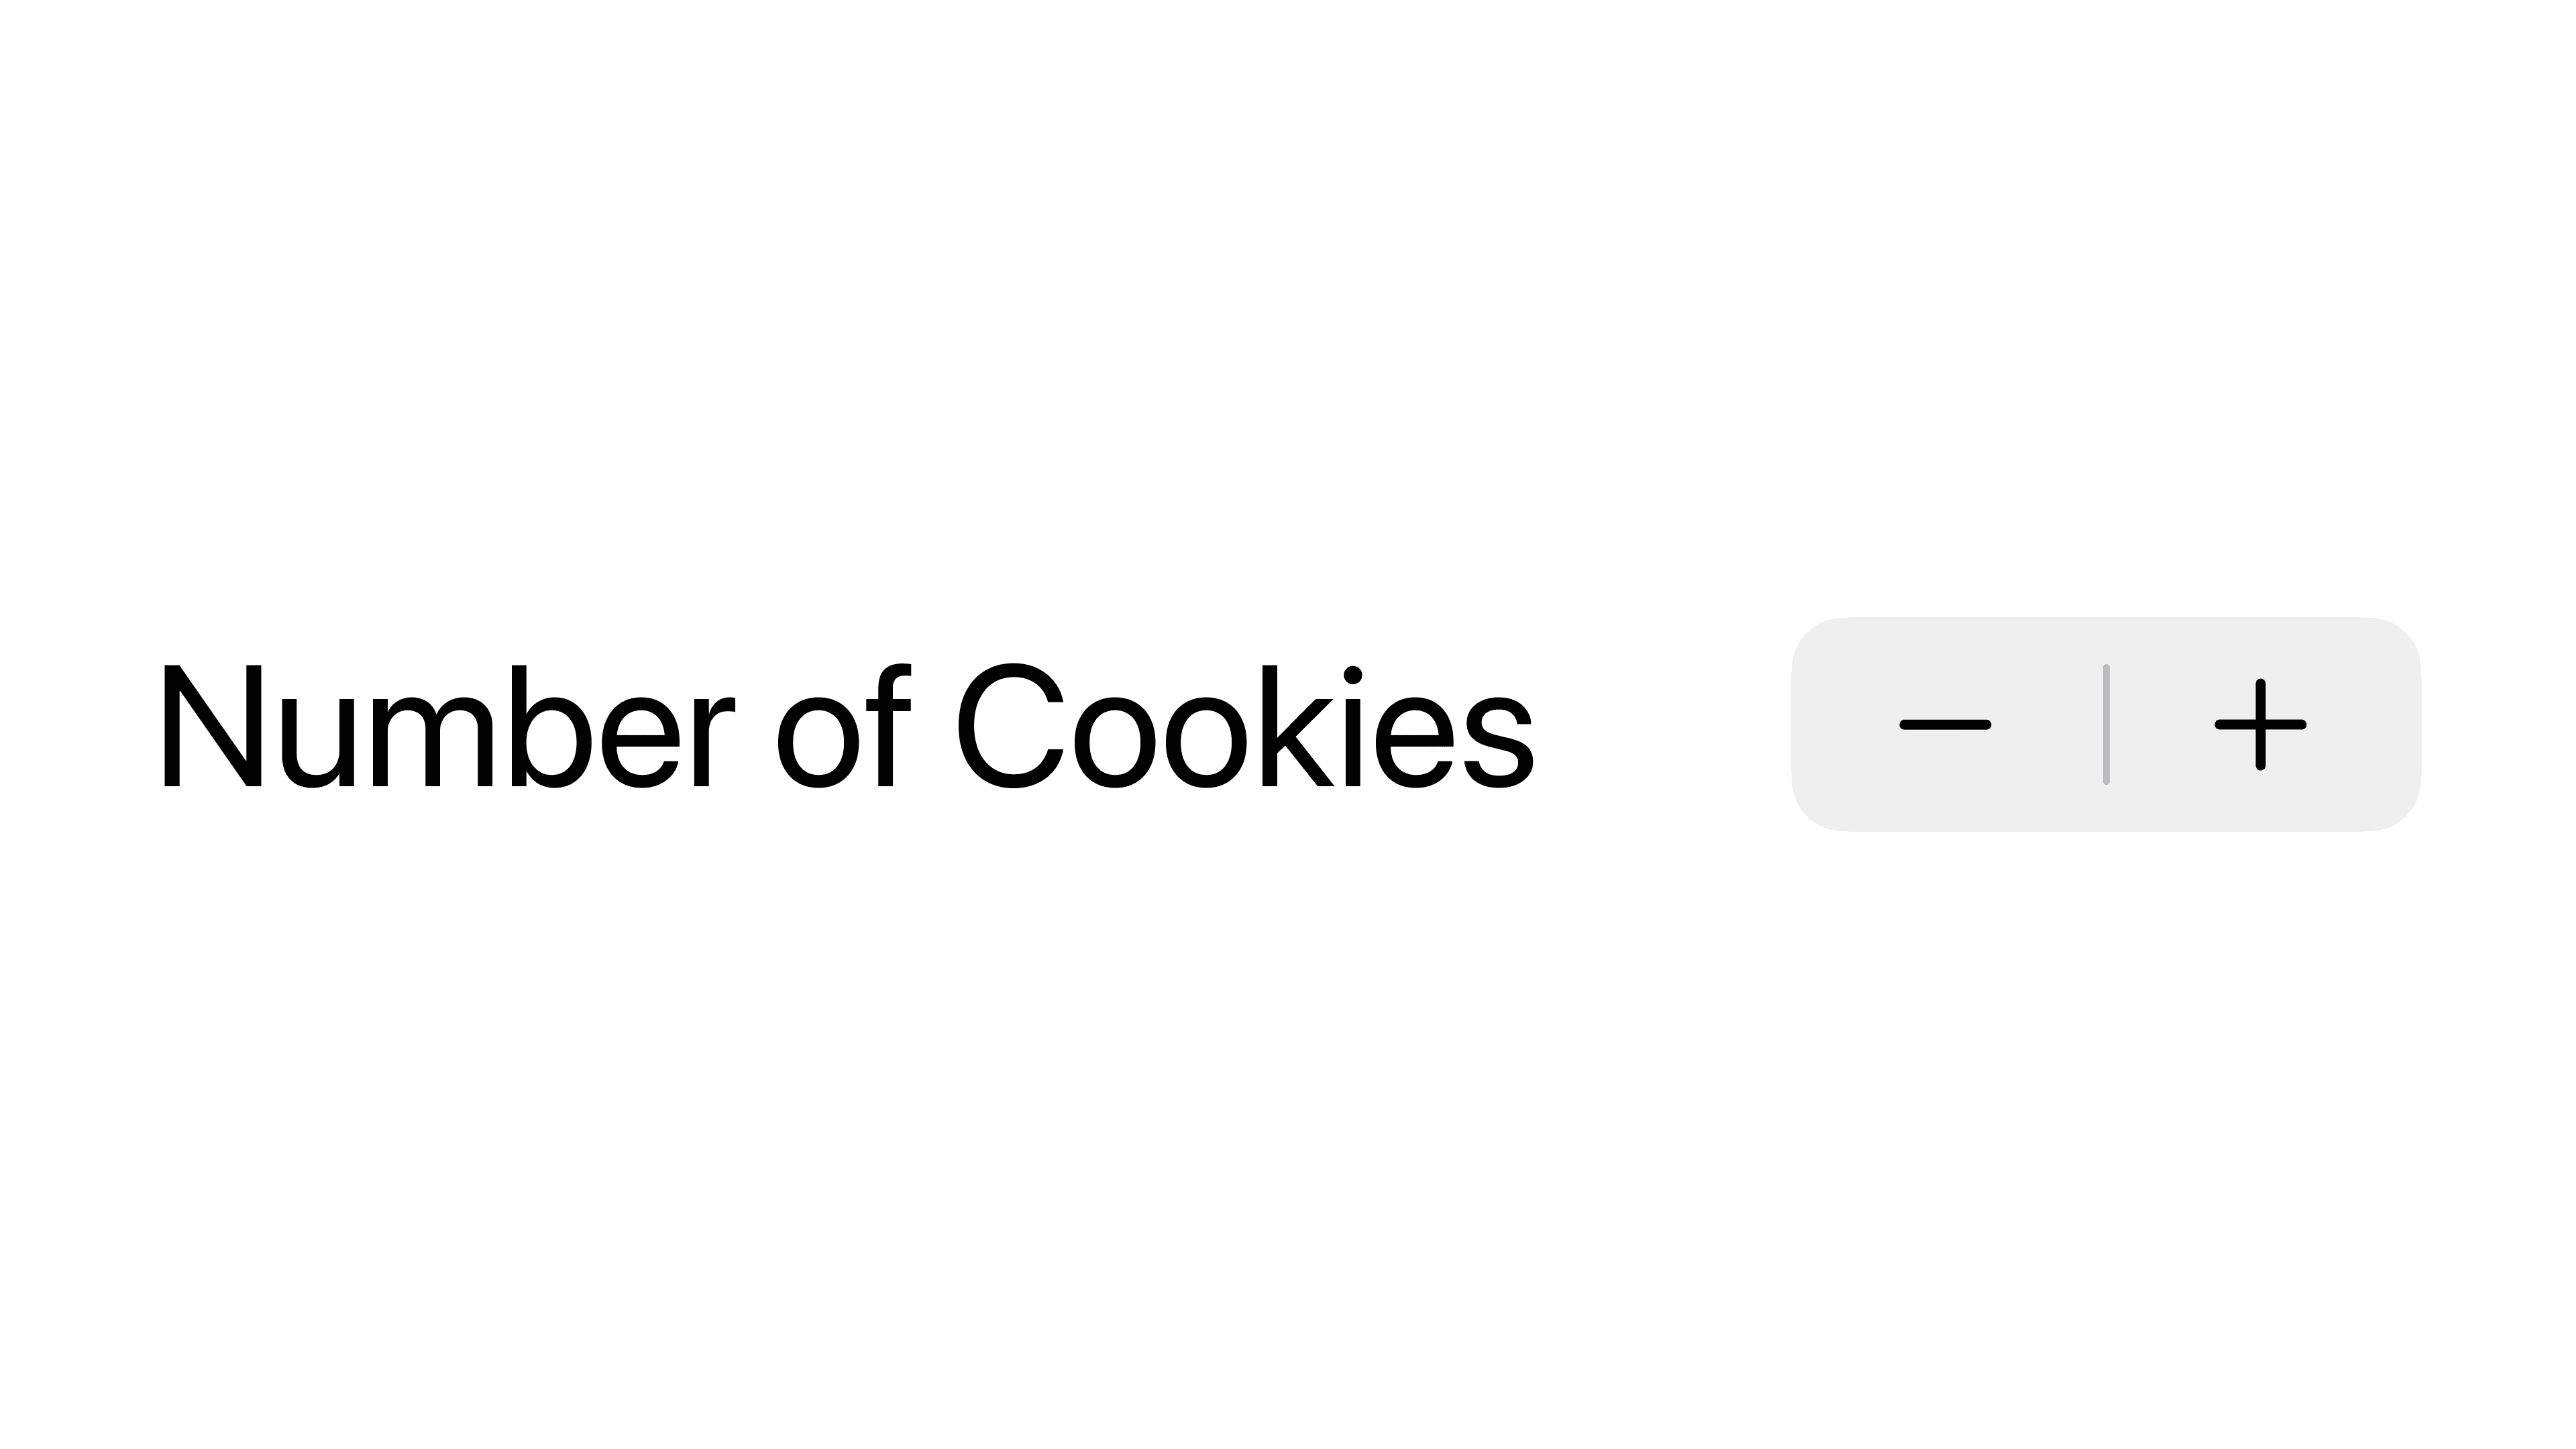
The easiest way to create a counter is by supplying it with a text label.
Note that, in this style, by default, the Stepper tries to take up as much space as possible. It will attempt to stretch to fill the entire width of the parent view. See Fitting & Filling views.
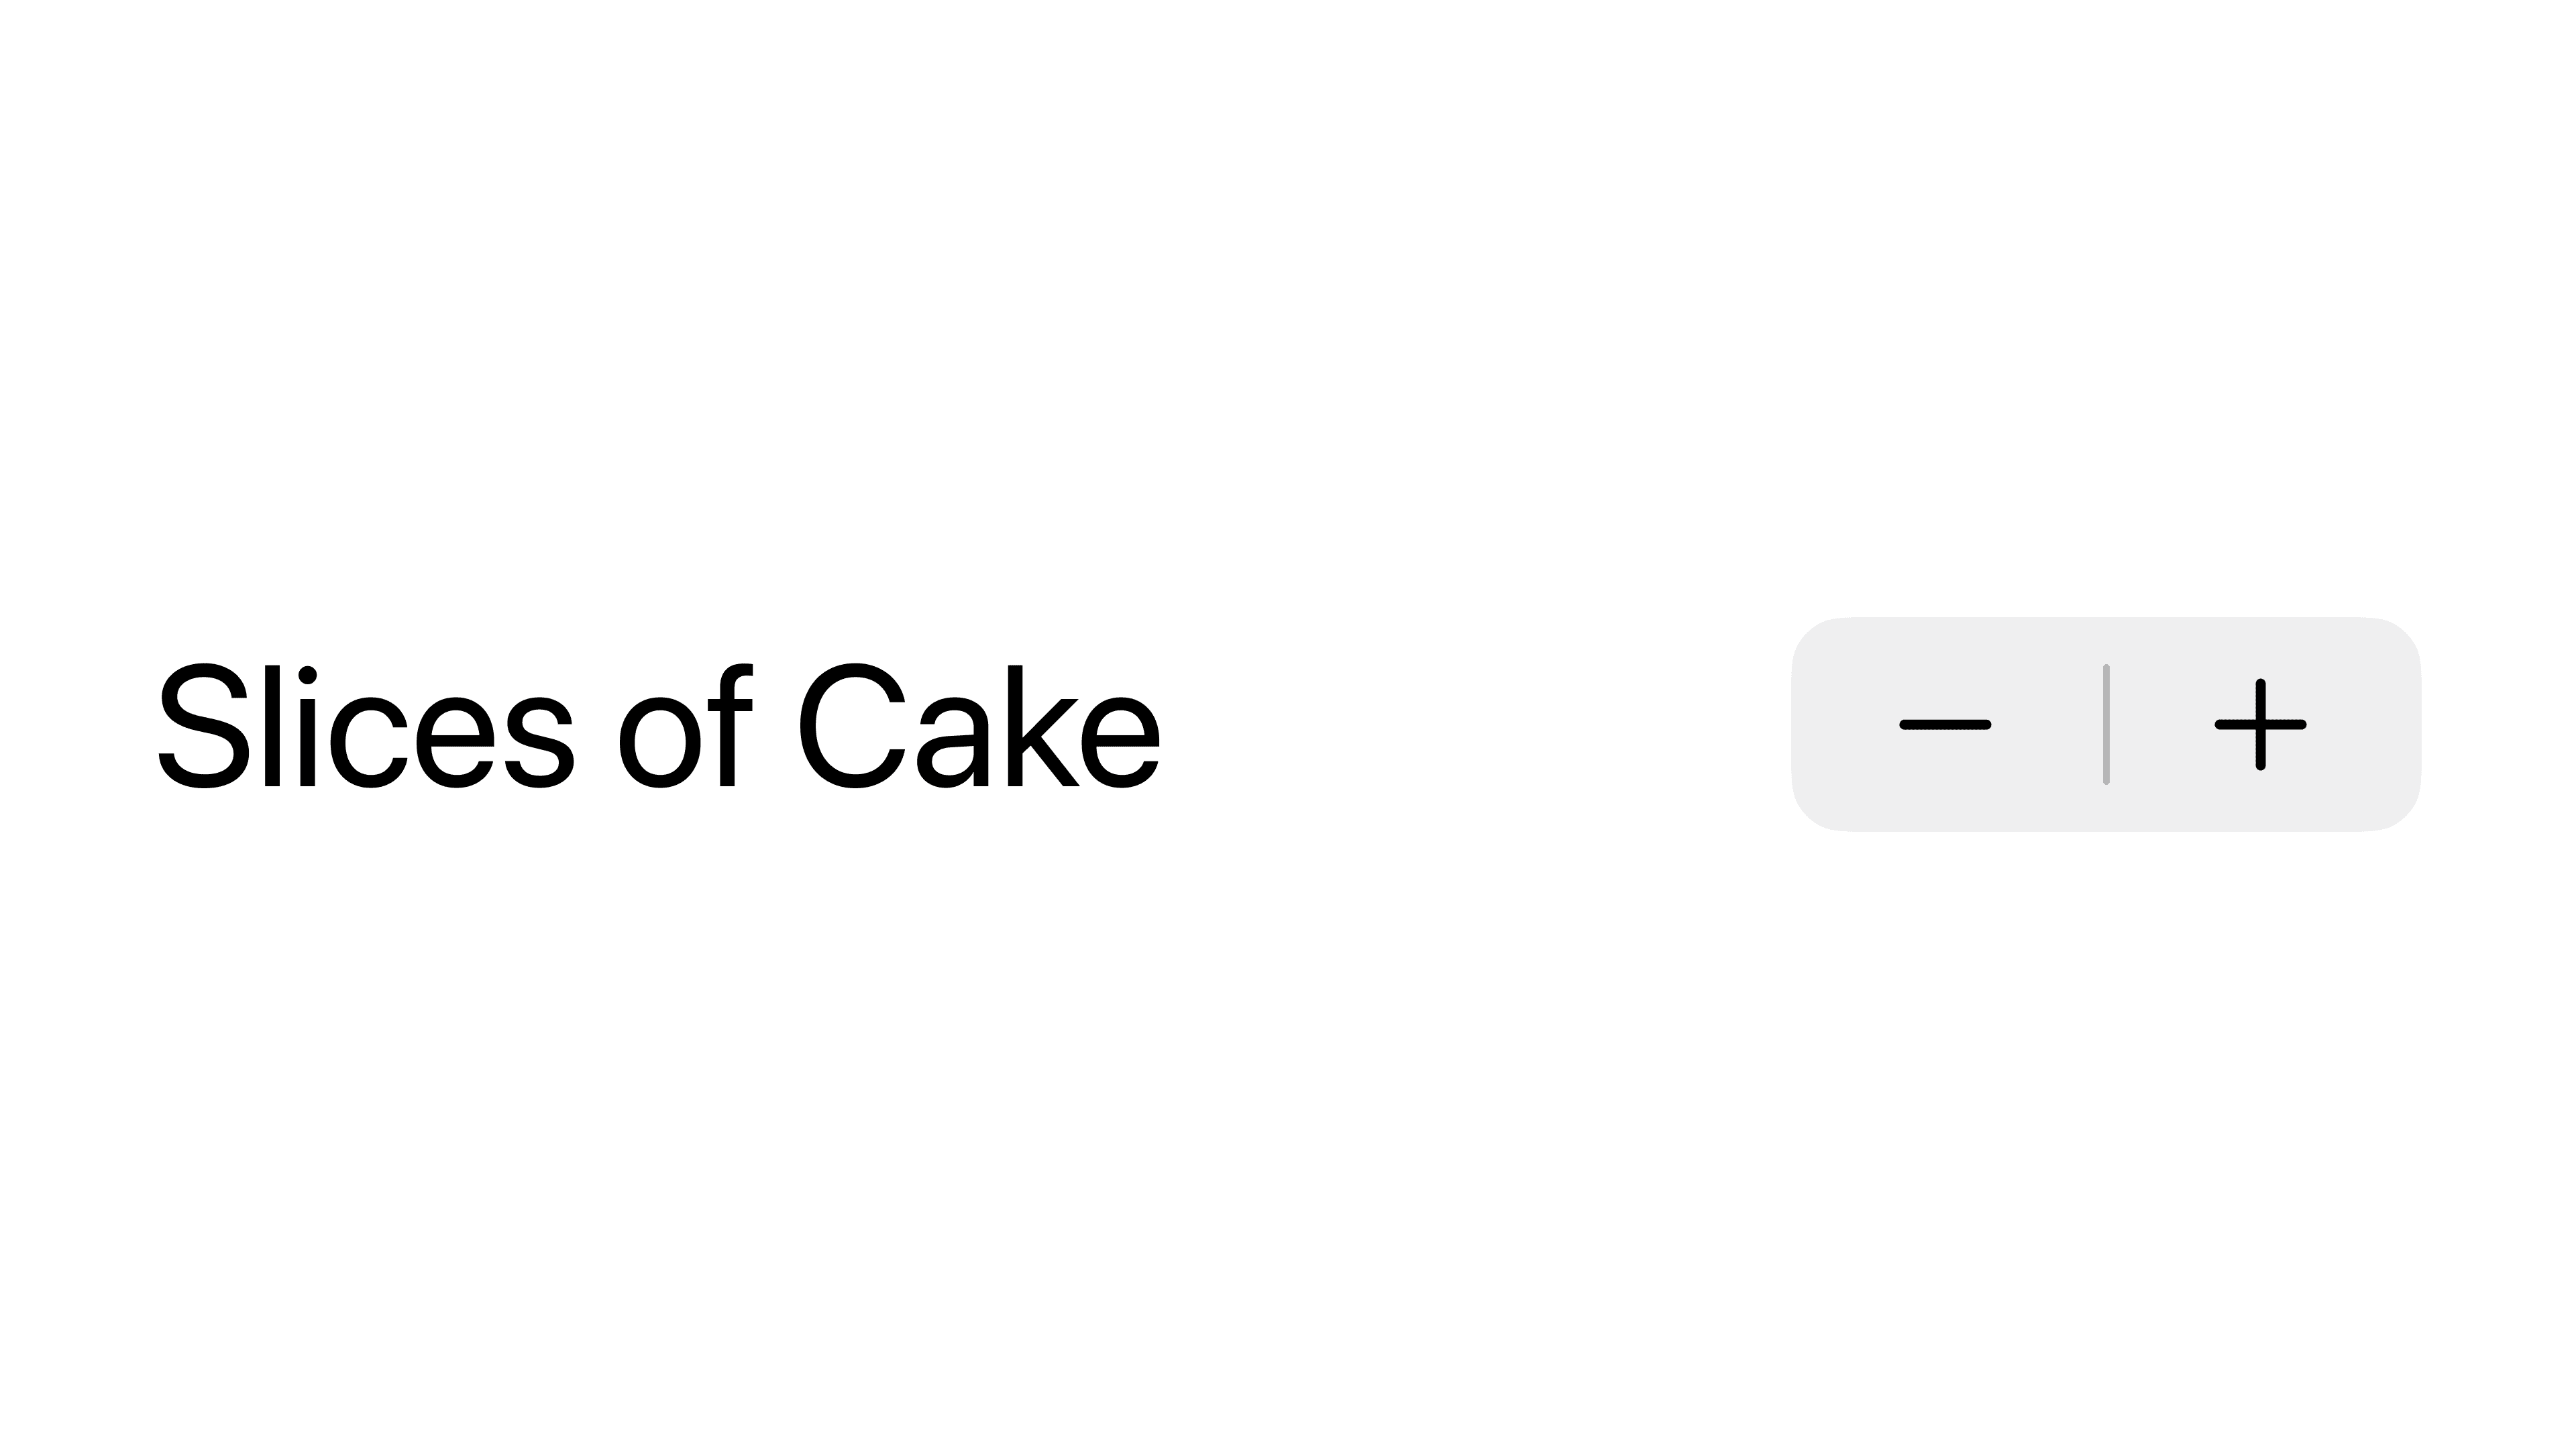
Stepper with Custom Labels
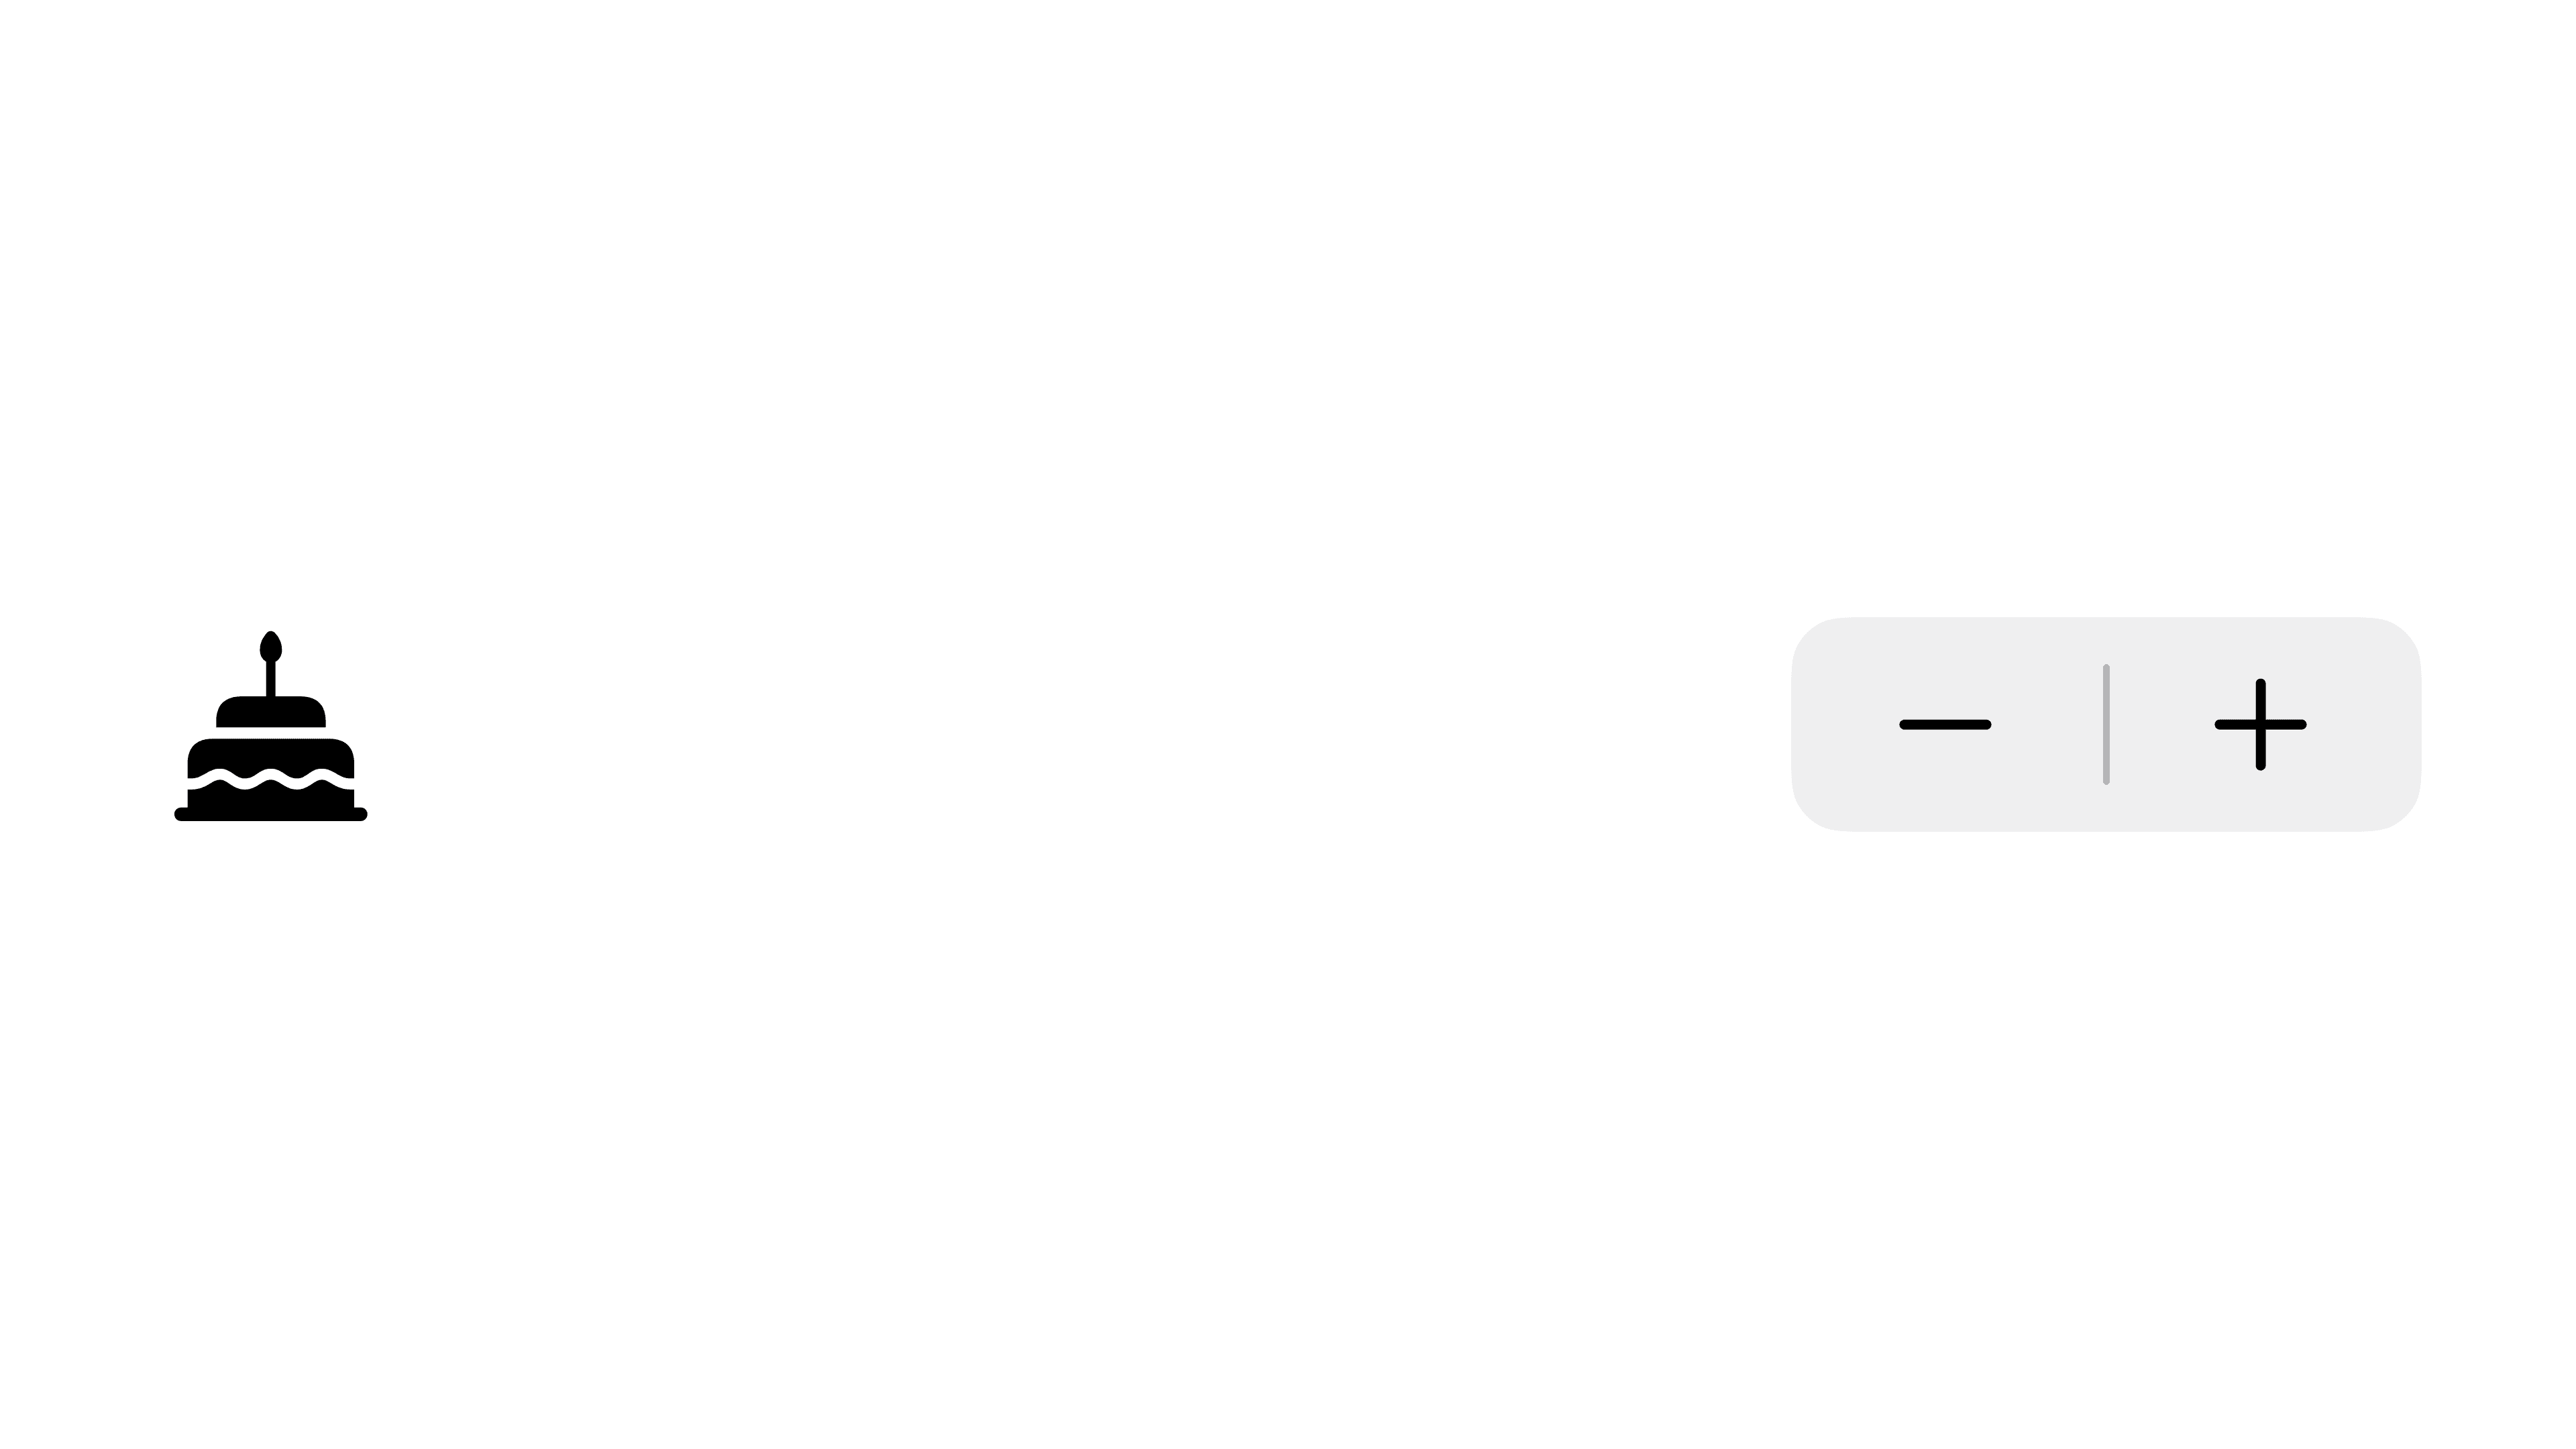
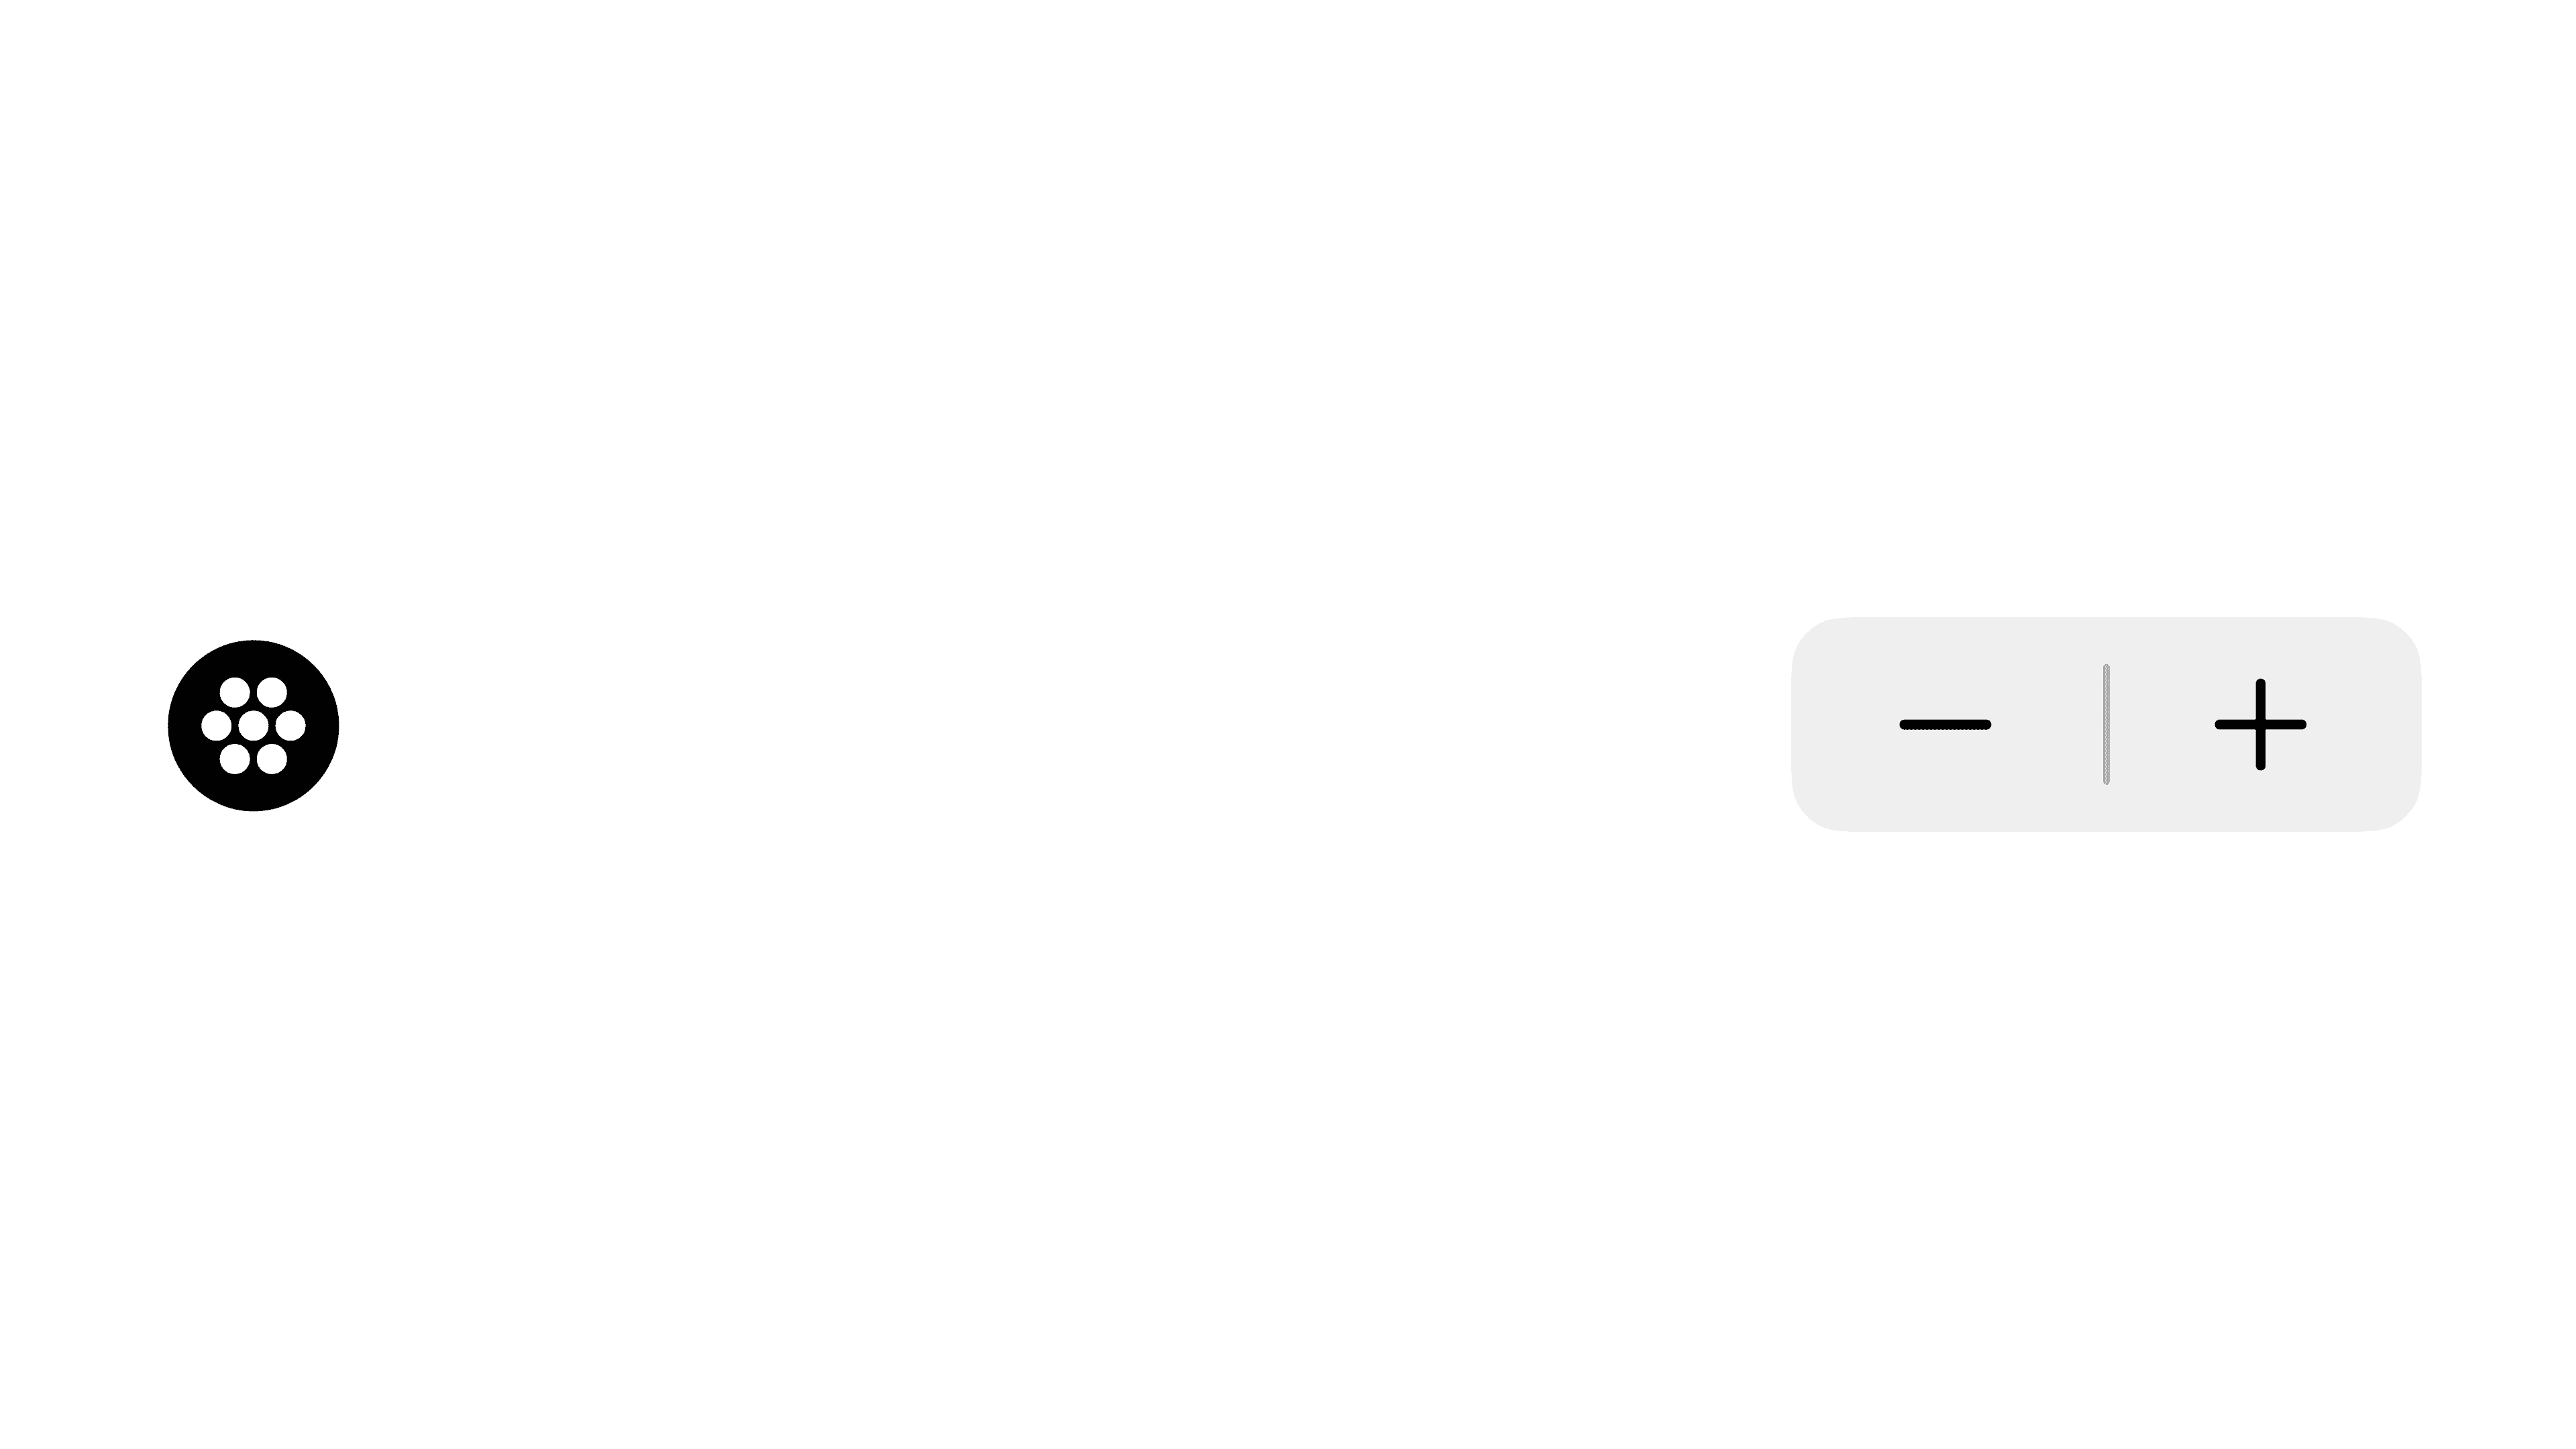
Like other controls, can also supply a Stepper with a custom label.
Over a Range
You can define a custom Closed Range to limit the possible values of a Stepper.
For example, setting a range of 1...5 would mean that Swift will use any value from 1 to 5, inclusive.
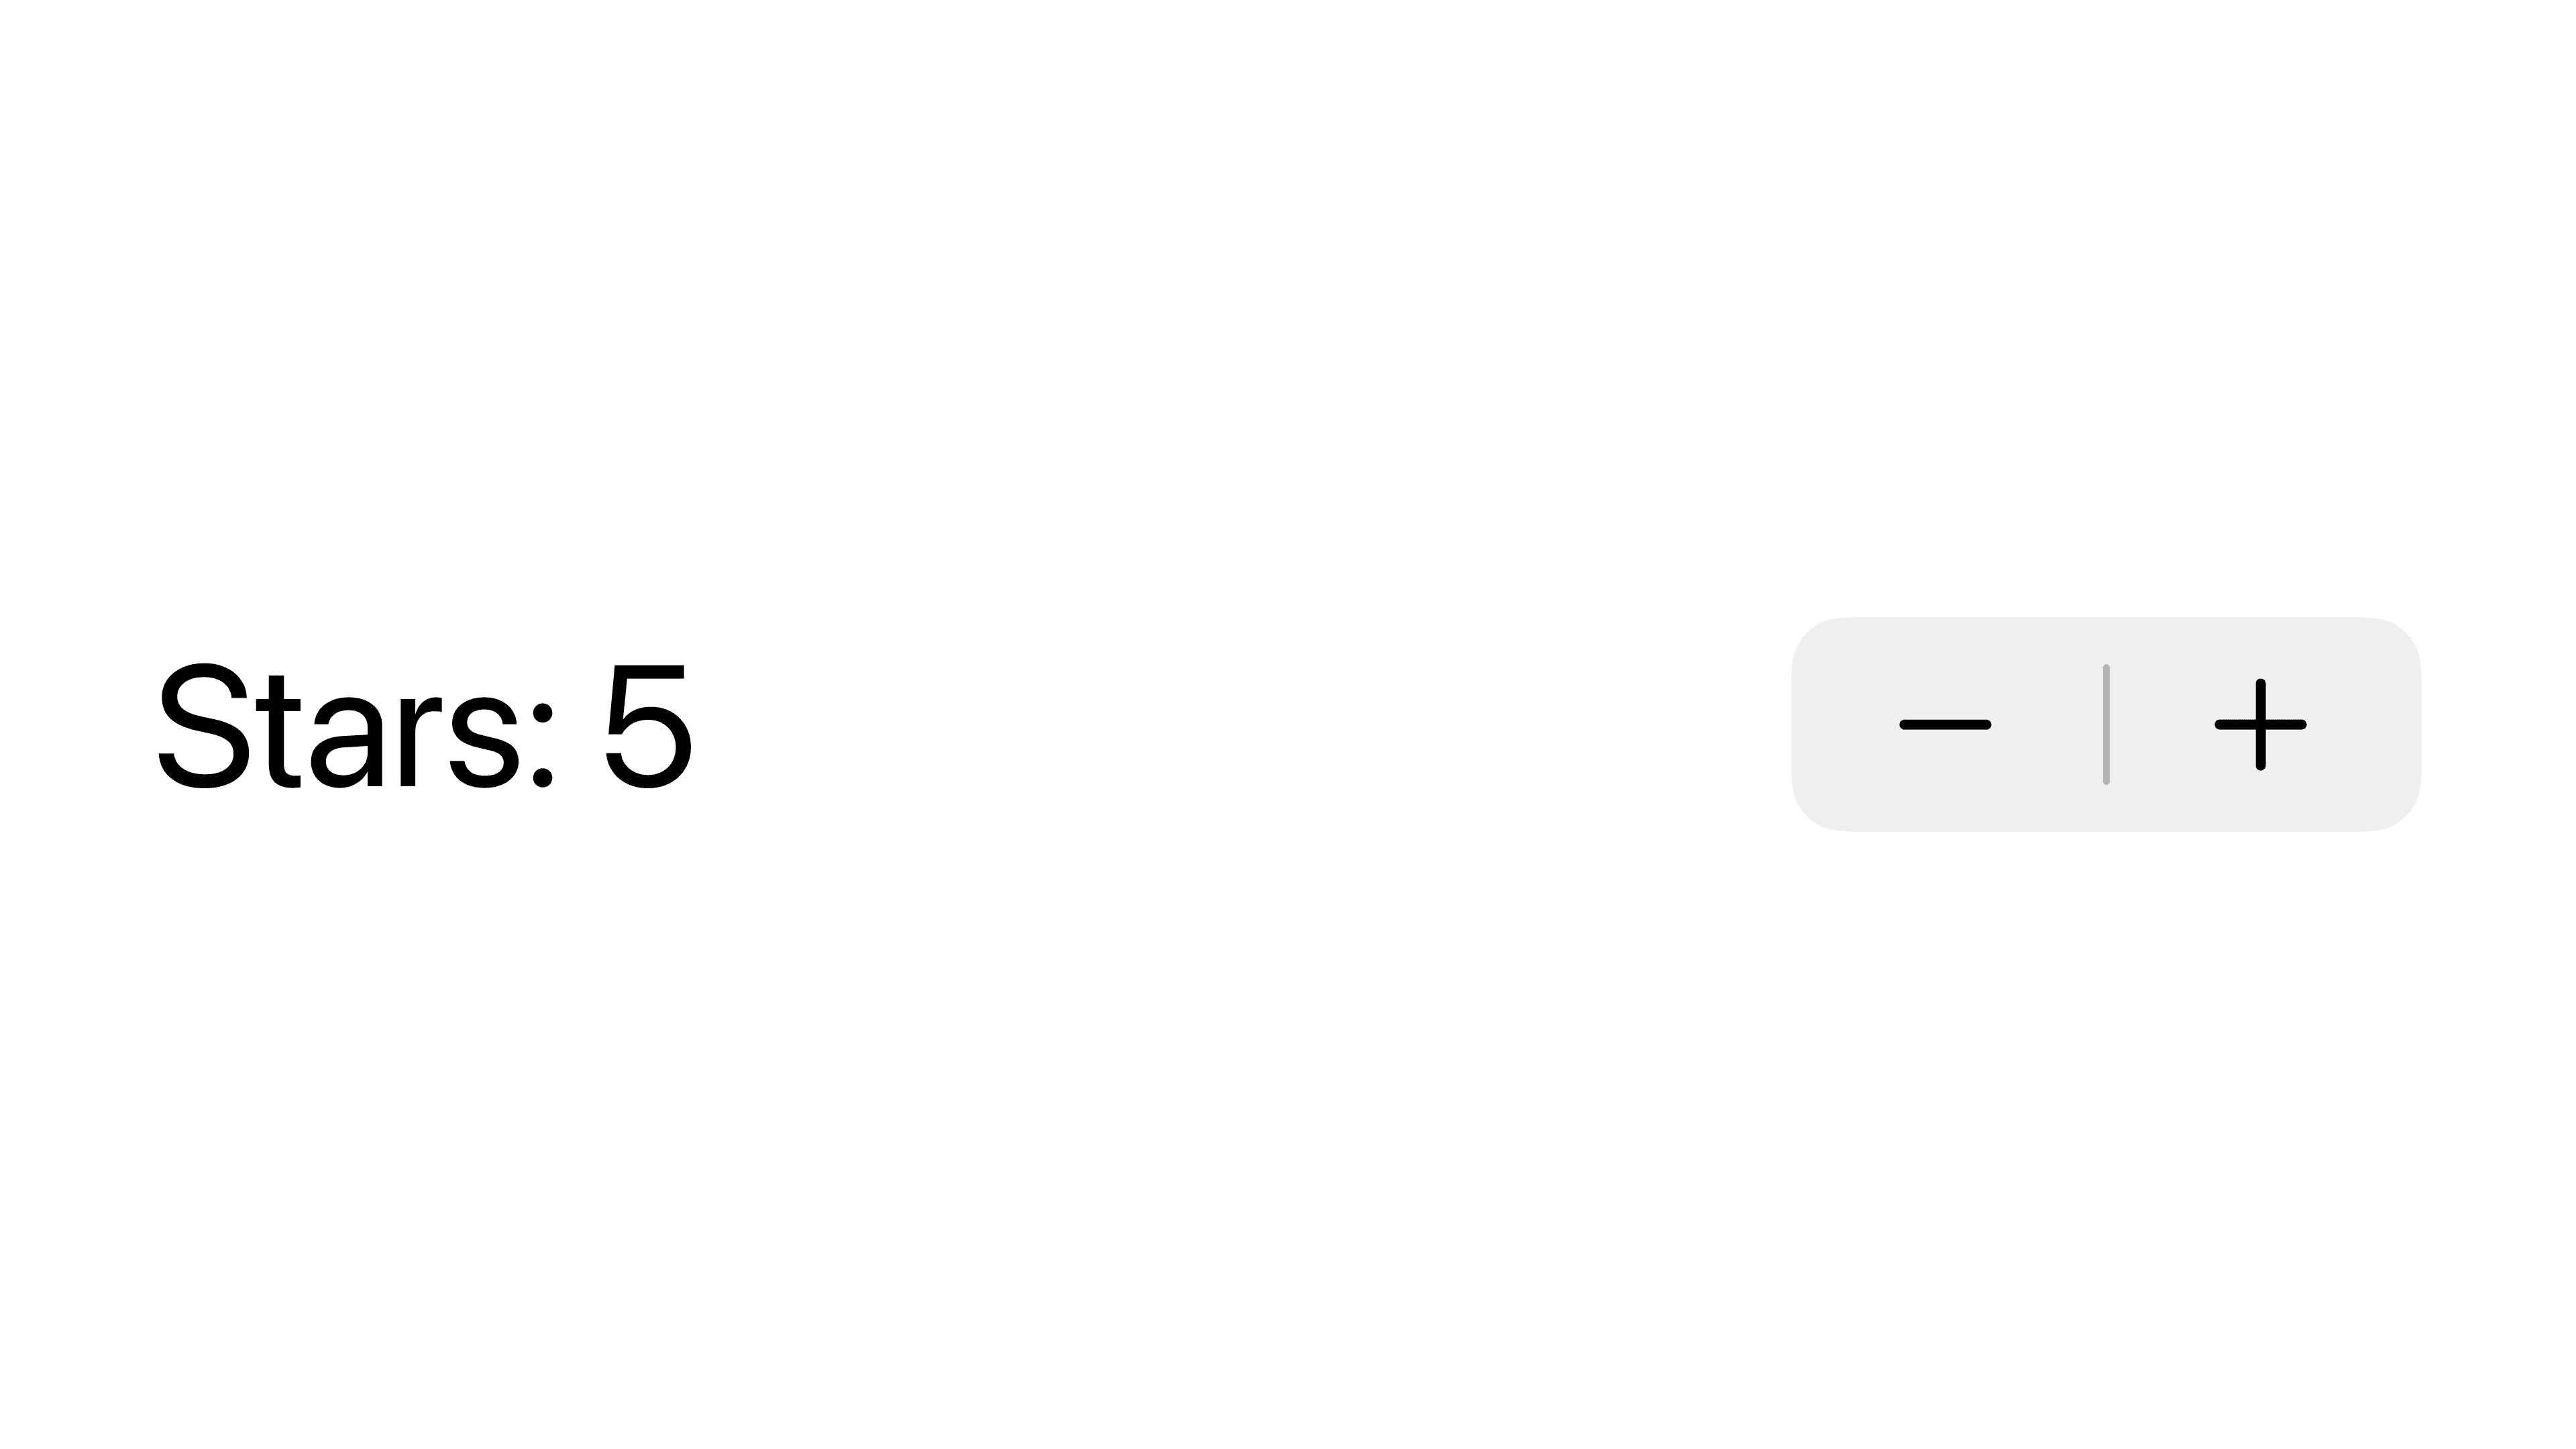
With Text Labels
In the following example, the number of stars can be limited to a value between 1 and 5, inclusive.
With Custom Labels
This will also work with a custom label.
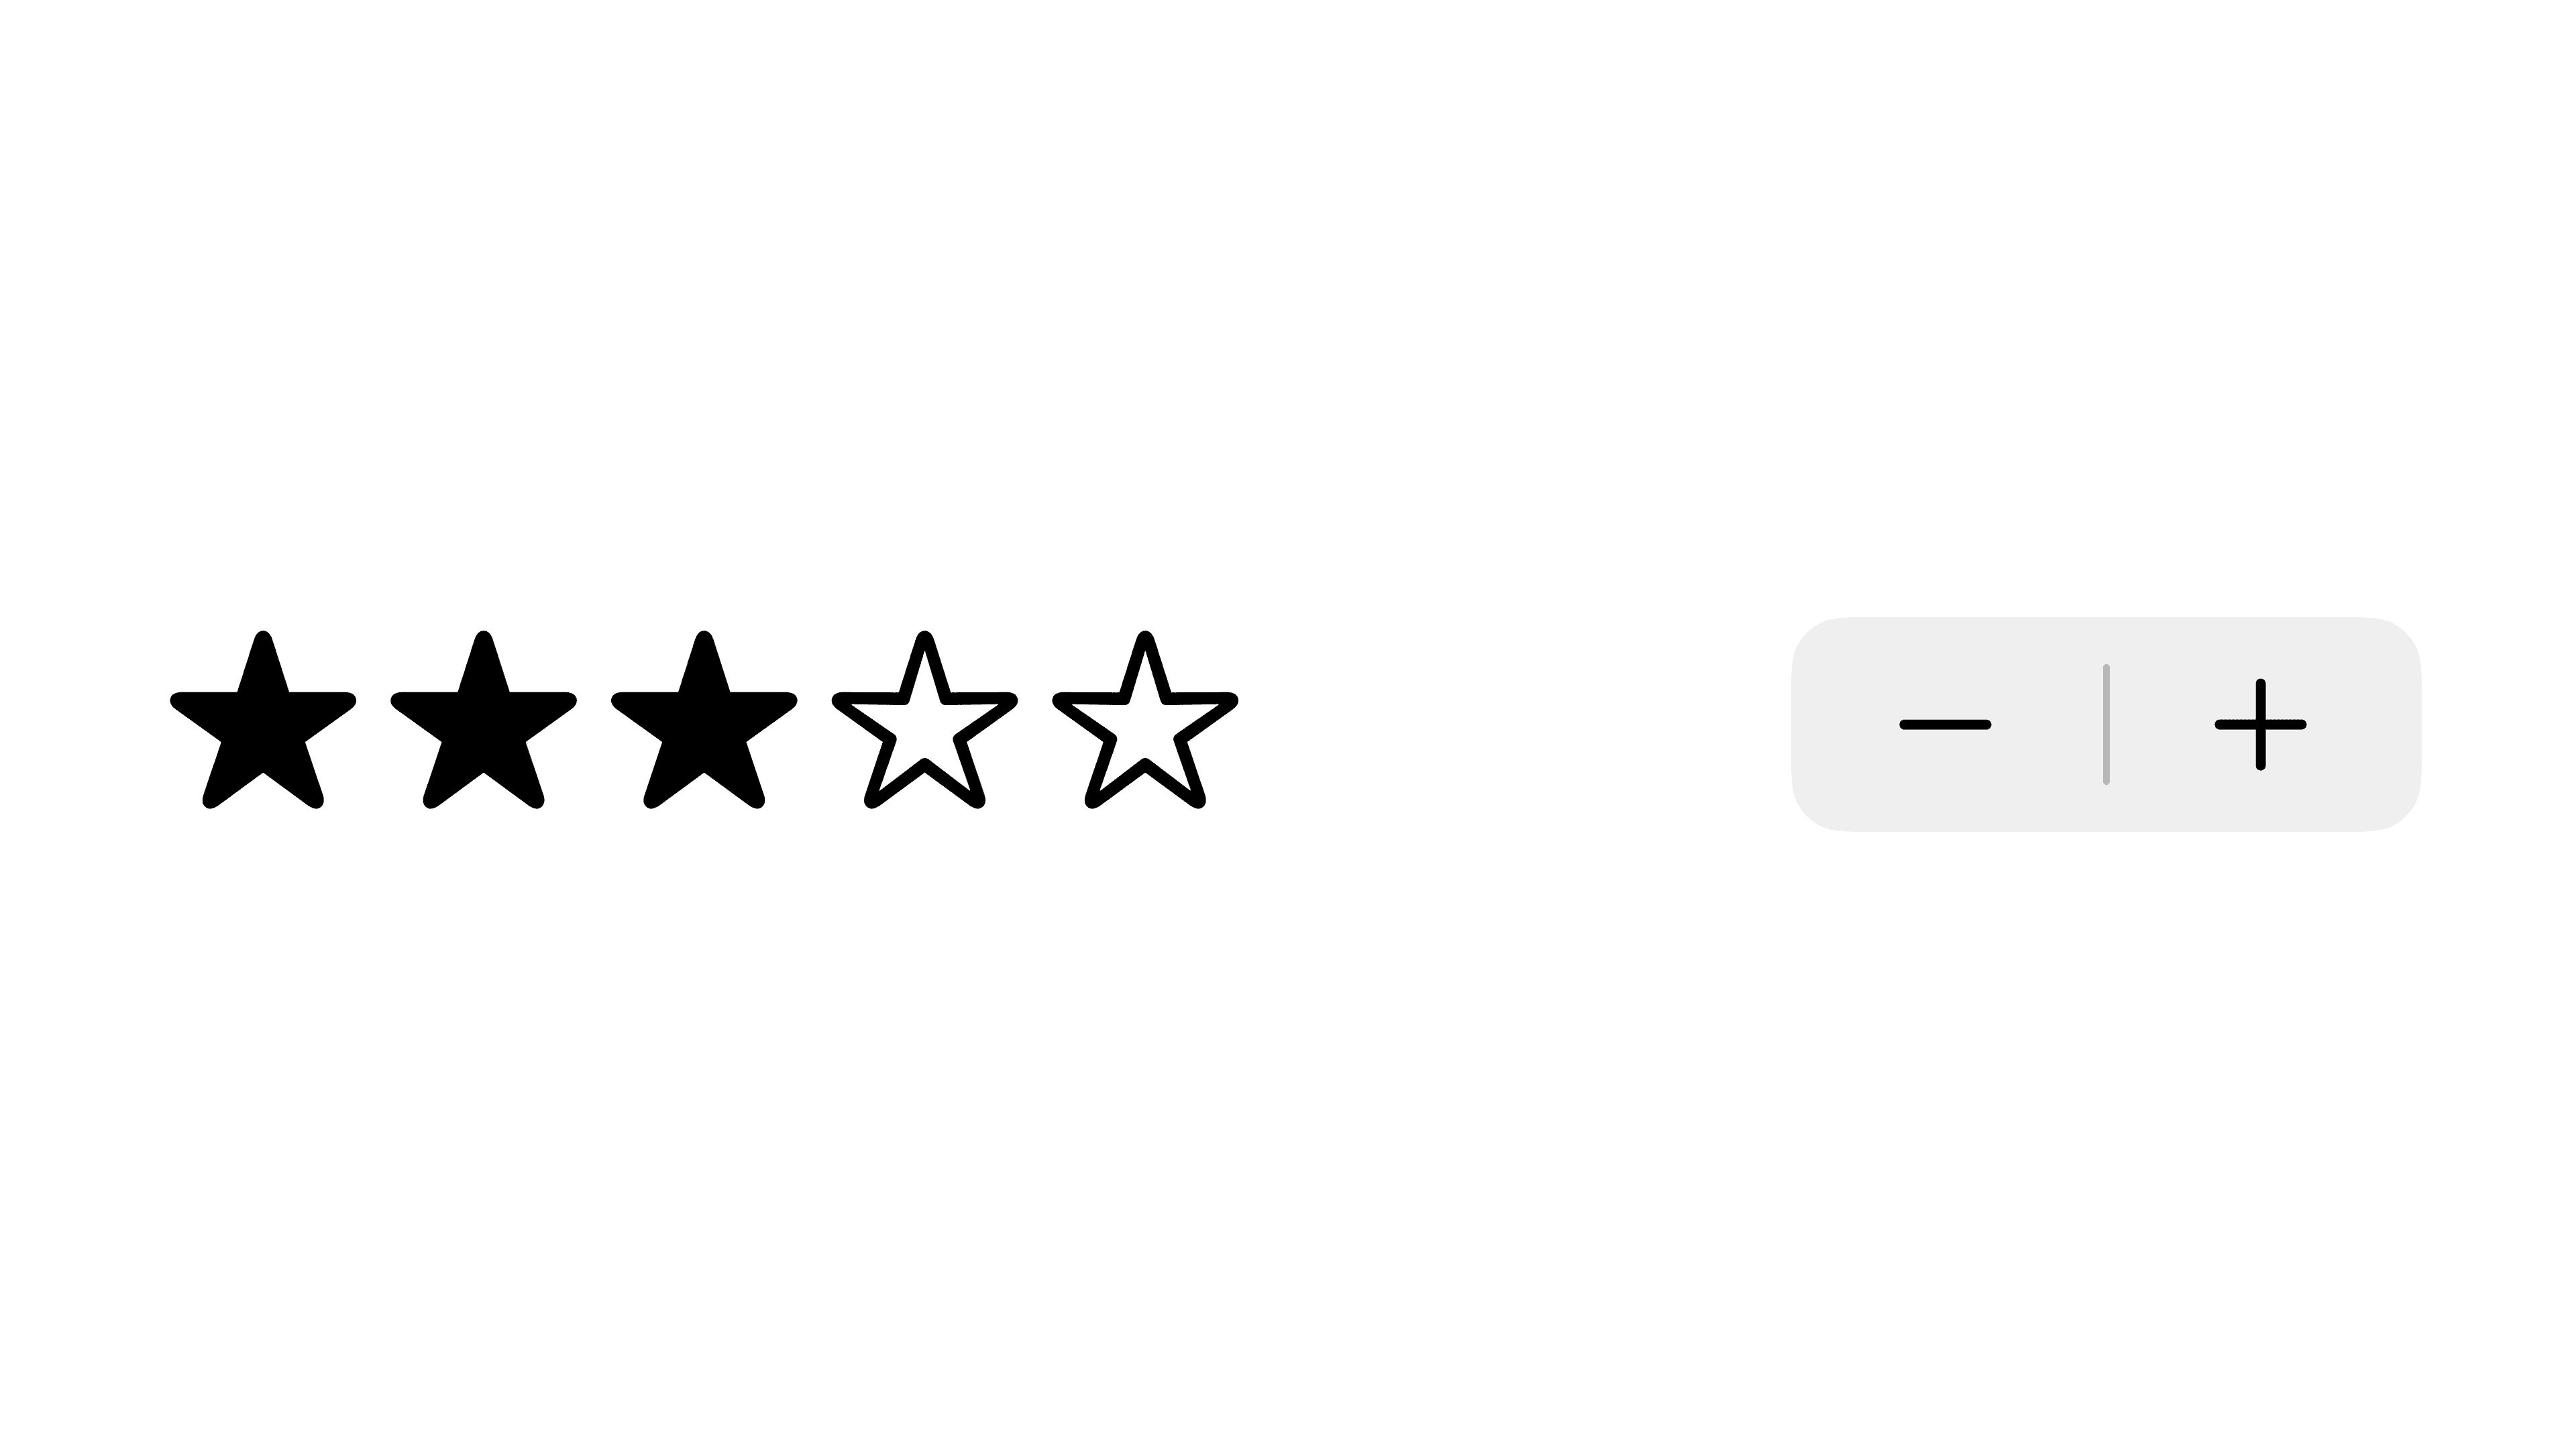
In the following example, the number of stars is limited to 1 to 5, inclusive, and the label displays the number of stars using a ForEach within a Horizontal Stack. It uses a ternary operator to switch between a filled and unfilled star SF Symbol.
With a Custom Step
By default, the step is often set to 1. However, you may want to customize the step of the stepper.
In the following example, a counter Double State variable is created with each step of the stepper, it is incremented/decremented by 0.1.

You can also use this with a custom label.
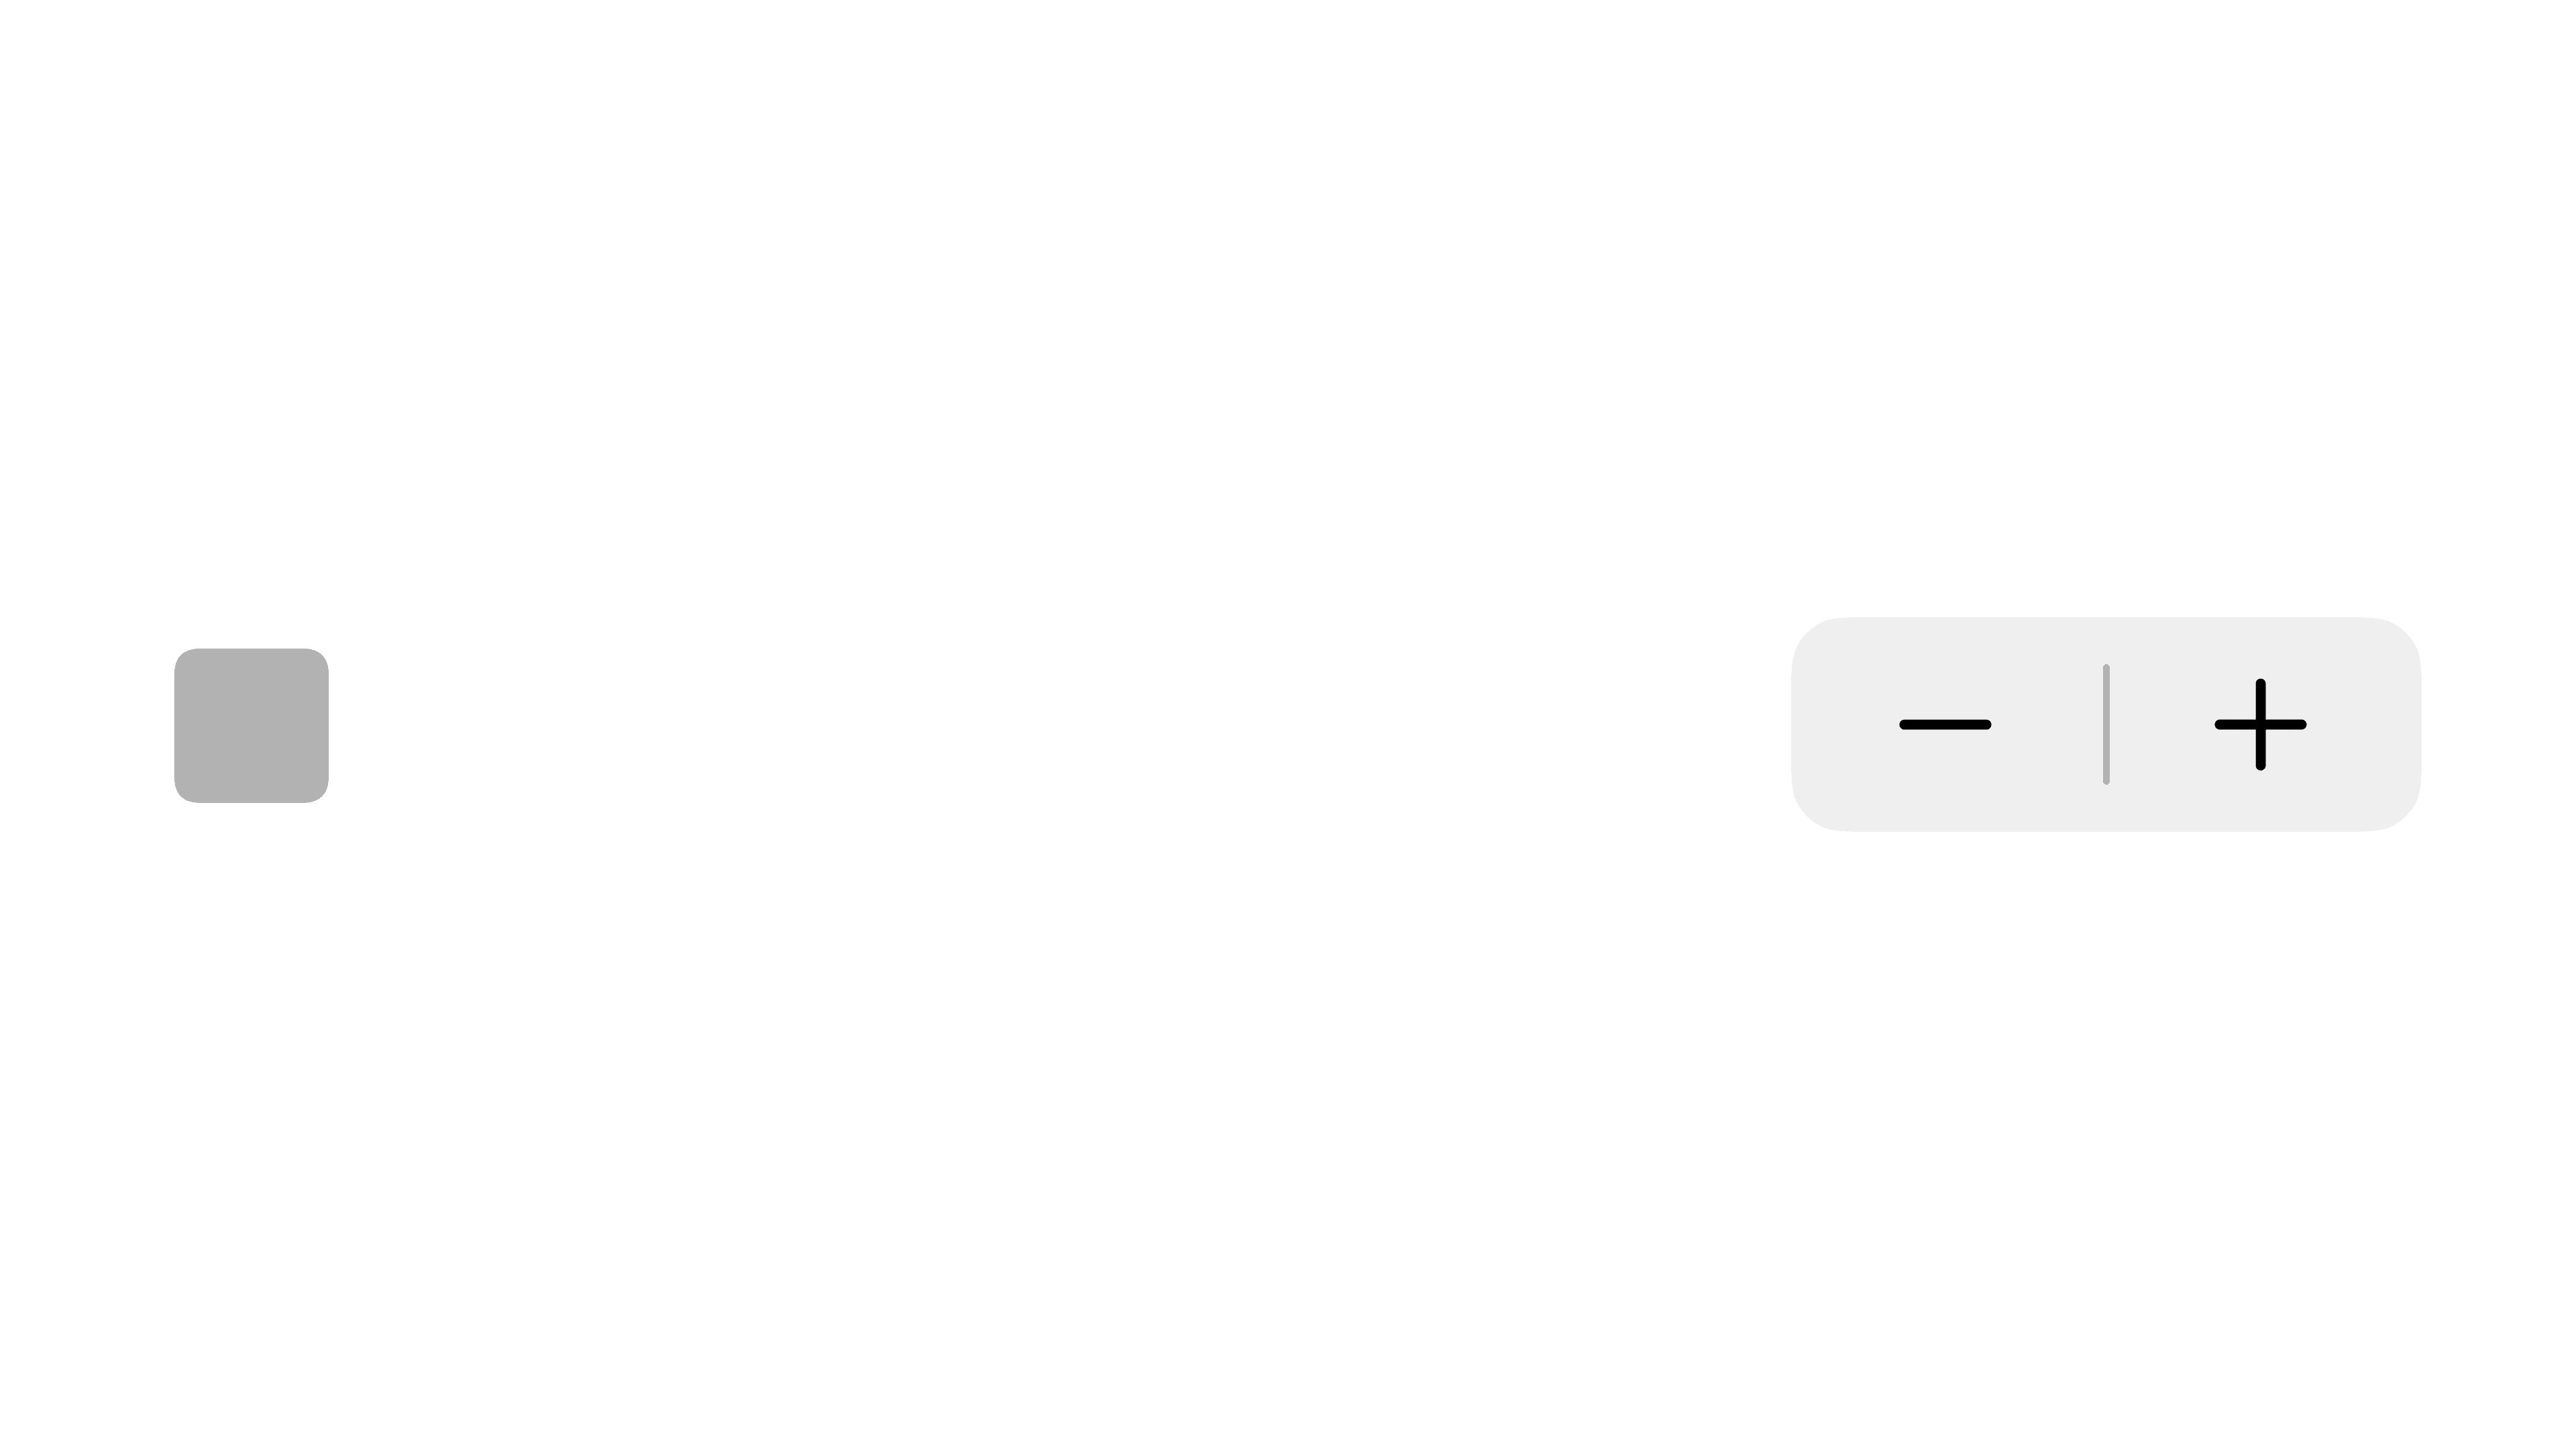
In the following example, the opacity State variable can be used to customize the opacity of an Image label.
Custom Steps with Ranges
You can combine steps with custom ranges by preceding it with the in: parameter.

Going Further
Custom Stepper Behavior
You can create an entirely custom Stepper by supplying it with an onIncrement and onDecrement clause.
In the following example, the numberOfStars value will loop around when it becomes less than 1 or greater than 5.

The same can be done with custom labels. Take note of the trailing closure syntax when supplying the 3 closures for the Label, onIncrement, and onDecrement.

Listen when Editing Changes
The On Editing Changed closure allows you to listen for changes when editing changes.
The code gets executed when
The user taps down on the stepper
The user releases from the stepper
On iOS and iPadOS, users can hold down on the increment or decrement button to further increment or decrement the value. In those cases, the On Editing Changed closure gets called when the user starts holding down and again when they release.
This will also work with custom labels by appending the onEditingChanged: parameter.
In These Collections
This article can also be found in these collections.


